Threading the Machines
For every sewist, threading the machine is the first step before starting on any project. And so, it is essential to understand the intricacies of the process. Depending on the type of machine, the threading process can be slightly different. For this article, we will focus on how to thread a Kenmore sewing machine.
To start, you must make sure that your machine is turned off and unplugged. Then, begin by raising the needle to the highest point by turning the hand wheel towards you. Unwind the end of the thread from the spool and pull it into the thread guide located just above the bobbin winder. Thread the guide, following the arrows printed on the machine and then pull the thread through the take-up lever found near the top-right corner of the machine. To prevent your thread from becoming tangled, pull the thread from the spool pin, through the thread guide, and then back over the top of the thread guide.
Next, thread your needle by looping the thread through the needle’s eye and then pulling it up towards the top. Make sure that the thread is wrapped around the groove at the needle’s base. Finally, lower the presser foot and your machine should now be threaded!
Setting the Tension
Once the machine has been threaded, the next step is to set the tension. Loosely threaded bobbin tensions often result in thread being pulled through the fabric while tight tensions can damage the fabric or thread. As such, it is important to pay close attention to this step.
To set the tension, begin by turning the tension control knob to the 4:00 position. Then, take hold of the tension regulator, found near the needle on the upper thread spool, and gently tug on it until it moves slightly. Be sure to not pull this lever too far, as this may cause the tension to become too tight or too loose.
Next, place a piece of scrap fabric under the sewing machine’s presser foot and make sure that the fabric is tucked into the feed dogs. Move the upper thread to the left and lower the presser foot. Then, turn the hand wheel in a clockwise direction and make sure that the needle is going through the fabric. If the thread is catching or looping on the fabric, then the tension is not exactly right.
Adjust the tension with the tension control knob until the desired results are achieved. To do this, start by slowly turning the knob in a clockwise direction, and making sure to keep track of how many turns you make. However, be sure to not turn the knob too far, as this can cause the tension to become too loose or too tight. Once the correct tension has been achieved, make a few stitches on a scrap piece of fabric to ensure that the tension remains consistent.
Understanding the Stitches
Now that you have set the machine’s tension, the next step is to understand the different types of stitches available on the Kenmore. Depending on the type of sewing project, different types of stitches can be used. For example, for general sewing and hemming of garments, a straight stitch is often used. This type of stitch is used to sew two pieces of fabric together and also to create a seam along the edge of a garment.
For hemming and decorative stitches, it is often best to use a zig zag stitch. This type of stitch involves the machine creating a zig zag pattern along the fabric. This type of stitch can be used to hem a garment or create decorative patterns on the fabric. It is also recommended that the machine’s stitch length is set to a small setting when using zig zag stitches.
Other stitches that can be used with the Kenmore are the one-step buttonhole, triple stretch, and blind hem stitches. For all of these stitches, the stitch width and length can be adjusted on the machine to achieve the desired effect. It is important to note that for the one-step buttonhole stitch, the stitch length and width must be adjusted before beginning to sew.
Changing the Needles
Needles are essential parts of a sewing machine as they create the stitches that are used to assemble fabric and garments. As such, it is important to change the needles regularly and on a project-by-project basis. This is because needles wear out quickly and can cause tension problems.
Changing the needles on a Kenmore sewing machine is a relatively easy and straightforward process. Begin by turning the hand wheel in a counterclockwise direction until the needle is in its highest position. Then, use a screwdriver to remove the two screws located at the base of the needle clamp. After this, remove the needle and insert the new needle. Make sure that the flat side of the needle is facing the hand wheel before finally tightening the needle clamp screws.
Cleaning and Oiling
Regularly maintaining your Kenmore sewing machine is important for keeping it running smoothly and ensuring that it produces quality stitches. To do this, it is recommended that the inside of the machine is thoroughly cleaned and oiled. To do this, you should first unplug the machine and then remove any lint or debris from the bobbin casing and feed dogs.
The next step is to oil the machine’s moving parts. This can be done by inserting a few drops of oil into the oiling holes located near the needle bar. Make sure that the oil is just lightly running out of the holes. Once the oiling has been done, it is important to test the machine and make sure there are no issues with the movements or tension.
Changing the Presser Feet
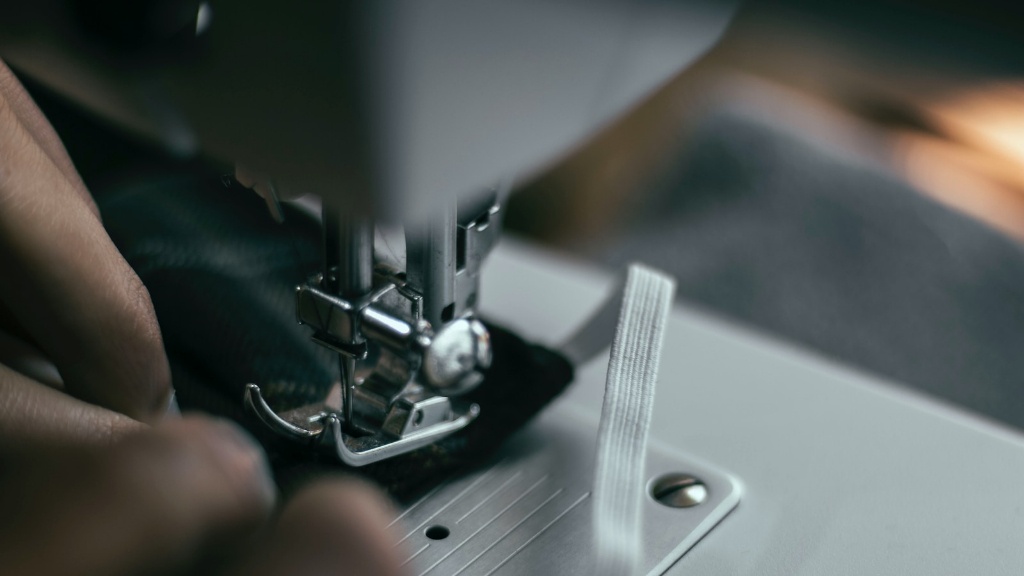
Presser feet are essential components of a sewing machine as they help to hold the fabric in place as it is fed into the machine. Kenmore sewing machines come with a wide variety of presser feet, each of which offers different benefits for different types of fabric and stitches. To change the presser feet, it is best to refer to the machine’s instruction manual. Generally, however, the process involves loosening the thumb screw at the side of the presser foot and then lifting the lever.
To attach a new presser foot, place the foot underneath the presser foot lever so that it is aligned with the groove. Then, press down on the lever and lock the foot into place. Finally, tighten the thumb screw and make sure that the foot is secure.
Troubleshooting and Maintenance
When using a Kenmore sewing machine, regular maintenance is essential in order to ensure that the machine is working well and producing quality stitches. If problems are encountered while using the machine, the instruction manual provides some troubleshooting tips. Additionally, if more specialized help is needed, many sewing machine repair shops have Kenmore-certified technicians who can help diagnose and fix any issues.
Finally, check the machine’s wiring periodically for any loose connections or discoloration. Clean the machine regularly, paying special attention to the bobbin case, the feed dogs, and the needle plate. If any parts of the machine are worn out, be sure to replace them immediately.
Conclusion
Threading and setting tension on a Kenmore sewing machine is not as difficult as it may seem. With a few simple steps and a bit of practice, you can easily thread, set tensions, and troubleshoot your Kenmore sewing machine with confidence.
