Have you ever seen the magical power of the sewing machine? Many of us consider sewing a skillful handcraft. But in reality, a sewing machine is just as important of a tool when it comes to mending, altering or creating beautiful garments. Before you get started on your sewing project, it’s essential to properly set up your sewing machine in order to ensure that the stitches you create are neat and secure. Setting the correct tension on a sewing machine can be tricky, but with a little work and patience, even a beginner can do it!
Check the manual
Before you jump in and start adjusting the tension settings on your sewing machine, it’s important to read your machine’s manual for instructions. Educating yourself about the specifications of your machine will help you set the tension properly and avoid any damage or accidental breakage. While most sewing machines have similar parts, each machine has its own unique settings and specifications.
Test the tension setting
Once you have read the manual, you can start testing the tension settings of your machine. To do this, thread the machine according to the manual and make the stitch on a scrap piece of fabric. Then, check the back of the fabric to see how the stitches look. You want to make sure that both the top and bottom threads in the fabric are evenly spaced and that neither of the threads are popping out of the fabric. If the bottom thread looks loopy, or if it’s too tight on the fabric, then you may need to adjust the tension setting.
Adjust the tension dial
Once you’ve determined that the tension needs to be adjusted, you’re ready to get to work. Most sewing machines have a tension dial located on the front or side of the machine. Generally, the dial will have numbers indicating higher and lower tension settings. You’ll need to turn the dial clockwise to increase the tension or counterclockwise to reduce the tension. Take things slowly and make small adjustments on the tension dial until you’ve achieved the desired look on the back of the fabric.
Test after adjustments
Once you’ve adjusted the tension dial, it’s important to check the stitch pattern to make sure it looks good. Again, take a small scrap of fabric and make a few stitches. Then, take a look at the back side of the fabric to make sure that the threads are neatly spaced and not loopy or uneven. If everything looks good, then you can proceed with your next project.
Choose the right thread
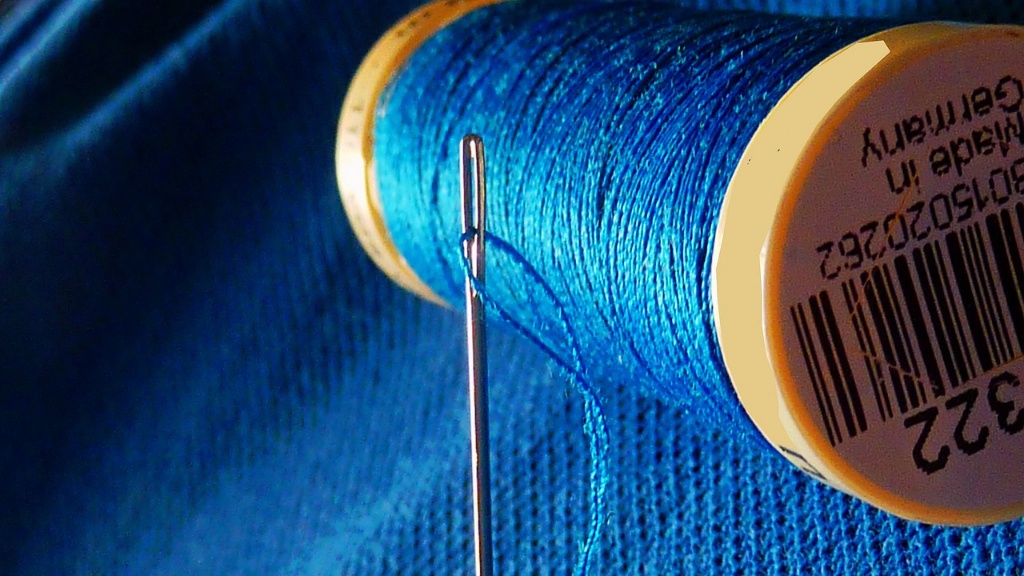
Another important factor to consider when setting the tension on a sewing machine is the type of thread you’re using. Different types of fabrics require different types of thread for optimal results. It’s important to use a thread made specifically for the fabric you’re working with, as this can help prevent breakage and uneven stitching.
Clean and oil your machine
Finally, it’s important to properly clean and oil your machine on a regular basis. This will help ensure that your machine runs smoothly and that all of its parts, including the tension dial, are in working order. Consult your machine’s manual for specific instructions on how to clean and oil your machine.
Change needle size and type
If the tension on your machine is still not right after you’ve adjusted the tension dial, you may need to change the size or type of needle you are using. Needles come in different sizes and types for different types of fabric. Choosing the wrong needle can cause the tension to be off and lead to poor quality stitching. If you’re not sure which size or type of needle to use, consult your machine’s manual for more information.
Practice patience
Sewing can be a rewarding endeavor, but it can also be frustrating at times. Knowing how to properly set the tension on your sewing machine is an important skill to have, but it can take some time and patience to get it right. Don’t get discouraged if it takes you a few tries to get the tension settings just right. With some practice and attention to detail, you’ll soon be stitching like a pro!
Use different stitch settings
Most sewing machines come with several different stitch settings that you can use. Different types of fabric require different stitch settings, so it’s important to adjust the tension according to the type of fabric and stitch you’re using. For example, if you’re working with a delicate fabric, you should use a smaller stitch setting and a lighter tension. Alternatively, sturdy fabrics like denim require a larger stitch setting and a heavier tension.
Find the right tension for each type of fabric
Different types of fabrics require different types of tension. It’s important to do some research to find out the optimal tension for the type of fabric you’re working with. For example, delicate materials like silk and chiffon require a lighter tension than sturdy materials like denim and canvas. Once you’ve found the right tension for each type of fabric, you can use the same settings each time you work with the fabric.
Consult experts
If you’re unable to figure out the right tension settings on your own, you can always consult an expert. Many sewing machines come with a customer service line that you can call if you need assistance. Alternatively, you can search online for how-tos and instructional videos. With a little bit of research and persistence, you’ll soon be able to find the right tension settings for all of your sewing projects.
Lay your fabric flat
One of the most important parts of setting the tension on your sewing machine is to lay your fabric flat before you start stitching. This will prevent the fabric from bunching up or shifting as you sew. Make sure the fabric is firmly in place with all threads lying flat before you begin stitching.
Upgrade with technology
Sewing machines have come a long way over the years. Today, many models come with digital readouts, pre-programmed stitch settings and advanced tension control. If you’re serious about sewing, you may want to consider upgrading to a more modern model with advanced features to help make your work easier.
Know when to replace the needle
Last but not least, it’s important to remember to replace the needle on your sewing machine when needed. Needles become dull and brittle over time, which can affect the quality of the stitches. Check your machine’s manual for instructions on how often to replace the needle, and always make sure to use the right type of needle for the type of fabric you’re working with.


