Step 1: Familiarize Yourself with Basic Machine Parts
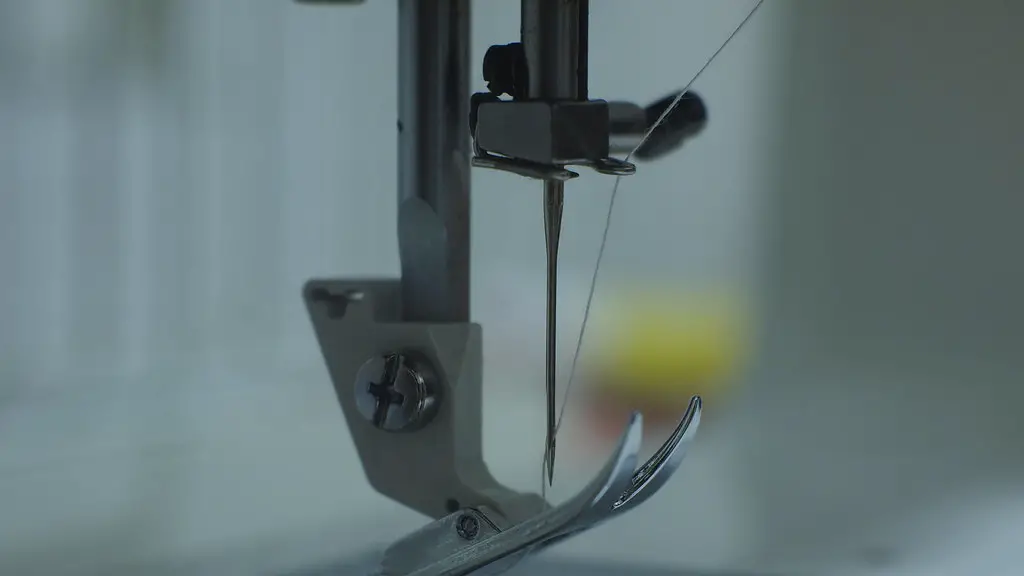
Learning how to set the tension on a sewing machine is a valuable skill for anyone who is serious about crafting with a sewing machine. To adjust the tension properly, it’s important to have a basic understanding of the inner workings of a machine and know the various parts that make up the machine. Generally speaking, each machine has the same basic components, such as the throat plate, bobbin case, tension disc, needle, presser foot, and the needle thread guide. Once you are familiar with the main components of a sewing machine, you can get started learning how to properly set the tension.
Step 2: Prepare the Threads
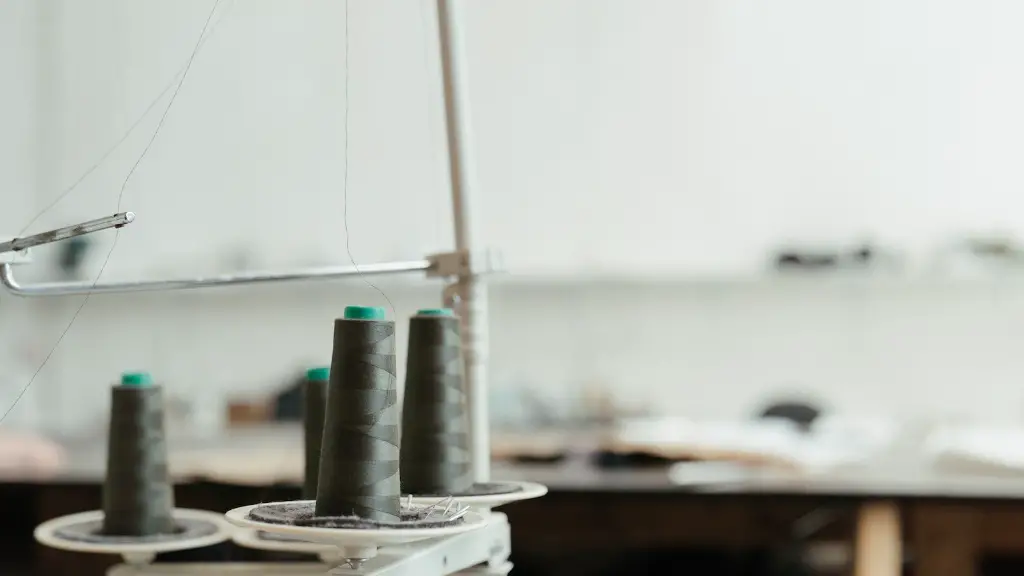
Before attempting to adjust the tension on your sewing machine, it’s important to prepare the threads by winding them properly on the bobbin and the spool. Once they are properly attached to the machine, you should use a thread conditioner such as beeswax to ensure that the threads glide through the machine evenly. This will help reduce the amount of time you spend adjusting the tension.
Step 3: Set the Tension Disc
The tension disc is the most important part of the sewing machine when it comes to setting the tension properly. The tension disc puts tension on the needle thread by drawing it up as the fabric is stitching. In most machines, the tension disc is adjustable and can be adjusted to give the desired amount of tension on the needle thread. One important tip is to start out with the tension disc set at the lower setting and then gradually increase the tension as needed.
Step 4: Adjust the Bobbin Tension
The bobbin tension is a crucial part of the sewing machine that ensures that the bobbin thread is not too loose or too tight. To adjust the bobbin tension, you need to use a small screwdriver to turn the adjusting screw while holding the bobbin case in your other hand. The bobbin case should have a disc with a small hole at the top, which is where you insert the screwdriver. Turn clockwise to increase tension and counter-clockwise to decrease it. When the tension is correct, the bobbin case should feel like it is lightly resisting your efforts.
Step 5: Check the Thread Tension
After the tension disc and bobbin case have been properly adjusted, the next step is to check the tension of the threads. To do this, you’ll want to begin by stitching two pieces of fabric sandwich together. The thread tension should be such that the stitches are uniform and smooth. If the stitches are too loose, the tension should be increased, and if the stitches are too tight, the tension should be decreased.
Step 6: Do a Test Run
Once the tension disc, bobbin case and thread tension have been properly adjusted, you’ll want to do a test run to make sure the tension is set correctly. Begin by sewing a sample piece of fabric and observing the finished stitches. The stitches should be uniform and consistent throughout. If the stitches are still too loose or too tight, make small adjustments until the desired tension is achieved.
Step 7: Clean and Oil the Machine
It’s also important to periodically clean and oil your sewing machine to ensure optimum performance. Regular oiling and cleaning will make sure that the machine is running smoothly and will help to prevent the tension from becoming too loose or too tight. Oiling your machine after each use will help keep the components lubricated and make sure everything is running smoothly.
Maintenance and Troubleshooting
Sewing machines require regular maintenance to keep them running smoothly. If you are having trouble setting the tension correctly, make sure you are following the proper steps and cleaning and oiling the machine on a regular basis. It’s also important to make sure that the tension disc and bobbin case are properly adjusted before stitching. Finally, if you are having trouble setting the tension properly, you can always take your machine to a trusted repairman or take a sewing machine maintenance class to learn more about adjusting the tension.
Tips and Tricks
Setting the tension on a sewing machine doesn’t have to be a complicated process. Here are a few tips and tricks to make the process easier:
- Make sure to use a thread conditioner such as beeswax to ensure that the threads move through the machine smoothly.
- Start with the tension disc set at the lower setting and slowly increase the tension as needed.
- Using pins to help hold the fabric in place while you adjust the tension can help keep the fabric from shifting.
- Be sure to regularly clean and oil your machine to keep it running smoothly.
- If you are having trouble setting the tension properly, seek help from a professional.
Choosing the Right Tension for Different Fabrics
Different fabrics require different levels of tension to be stitched properly. Generally speaking, heavier fabrics such as denim will require more tension than lighter fabrics such as silk. Additionally, fabrics that have a lot of stretch, such as Lycra, require a lower tension setting than non-stretch fabrics. Be sure to adjust the tension accordingly for each type of fabric to ensure the best results.
Making Subtle Tension Adjustments
Sometimes, making subtle adjustments to the tension can be the key to achieving a perfect stitch. If the stitches are too loose, make very small adjustments to the tension disc and bobbin tension rather than making large adjustments at once. Making small adjustments will help you get the desired tension without having to start from scratch.
Testing and Troubleshooting
It’s also important to test the tension after each adjustment and make sure that the stitches are uniform and consistent. If you’re having trouble getting the desired tension, try using pins to hold the fabric in place while you adjust the tension. Additionally, if you are having persistent problems setting the tension properly, seek help from a professional sewing machine technician.


