Being able to set up a sewing machine is an important skill to learn if you are a budding seamstress or an intermediate sewer looking to tackle more complex projects. Singer sewing machines are highly popular for a good reason. With a Singer sewing machine in your arsenal, you’ll have access to dozens of different types of stitches and features that make sewing easier and more convenient. But before you can start sewing, you will have to set up the sewing machine. This article covers how to set up a Singer sewing machine from plugging it into the wall socket to threading the machine.
The very first step is to go over the instructions that come with the sewing machine to make sure you’re taking the correct steps. Also make sure to have the necessary tools on hand such as a screwdriver and an adjustable wrench as you’ll need them to secure and assemble the components. Once you’ve gone through the guide and gathered the necessary tools, you can start setting it up.
The next step is to assemble the base, arm, face plate, and needle bar of the sewing machine. You can do this by taking the screws that came with the package and using the screwdriver to tighten them. It’s important to follow the instructions in the user manual, as the diagrams they include are very helpful in assembling the furniture. Once you’ve assembled these components, you can attach the power cable to the machine and plug it into the wall socket, if you’re using an electric Singer sewing machine.
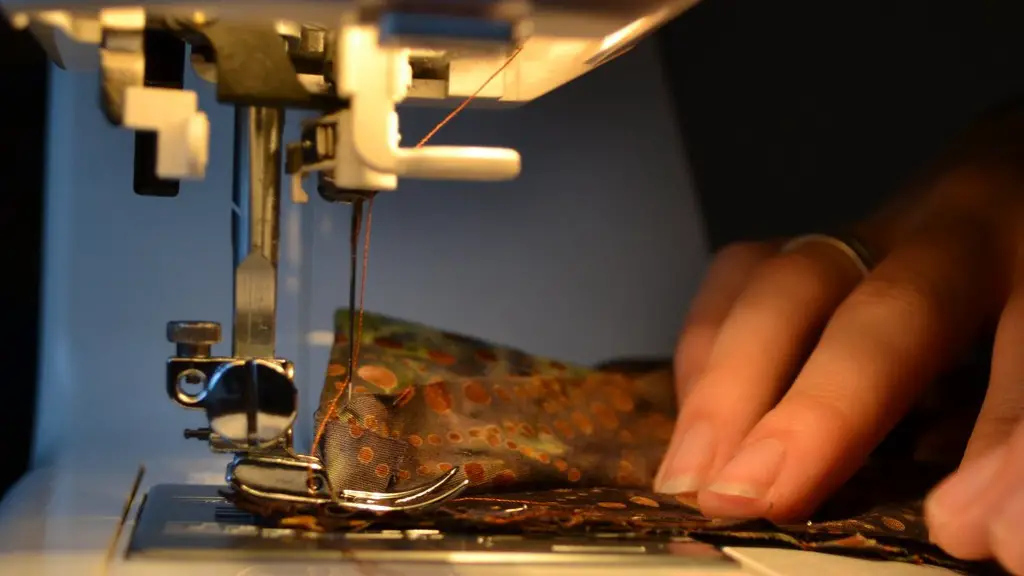
After the furniture is all assembled, you’ll need to thread the machine. Threading the machine correctly ensures that the stitches produced by the machine will look neat and tidy and won’t jam. To thread the Singer sewing machine, start by threading the lower thread from the spool pin and into the thread guide, then feed it through the tension discs and finally, thread it through the take-up lever. You will then need to repeat this process for the top thread.
Once the machine is threaded, you’re ready to start sewing. Make sure to wind the bobbin with thread and insert it into the bobbin case before you start stitching as the bobbin case holds the bobbin and the bobbin thread. You can then adjust the thread tension according to the weight of your fabric. If the tension is too loose, the stitches may be pulled from the fabric, and if the tension is too tight, the stitches may bunch up and cause tangles.
Installing Feet
One of the other important settings to configure is the presser foot, which is the foot of the sewing machine that holds the fabric in place. Different types of presser feet can be used depending on the kind of project you’re working on. There are universal presser feet, zigzag presser feet, and quilting presser feet, to name a few. Installing them is easy as you just have to unscrew the thumb screw and slip the foot on before tightening the screw.
Maintenance
Once you’ve set up your Singer sewing machine and you’re all set, it’s important to remember to perform some basic maintenance on a regular basis. This will ensure that the machine stays in good shape and that the stitches look neat and professional. Maintenance involves regularly cleaning and oiling the machine to keep it free from dust and lint, as well as replacing worn out parts.
The manual for the sewing machine will always have instructions on how to perform maintenance, so make sure to check it for advice. It’s also a good idea to bring the parts that need replacing to a professional seamstress or a repair shop. This way, you will ensure that the parts you purchase work with the machine and that they are installed correctly.
Practice Makes Perfect
Finally, it is important to remember that, while setting up a Singer sewing machine can seem like a daunting task, it becomes easier with practice. It might take a few attempts before you get the hang of it, but that’s perfectly normal. When you become more familiar with the process, setting up a sewing machine will become second nature.
Sewing Machine Essential Tools
Once you have set up your sewing machine and learnt the basics, you can think of adding some extra tools that make sewing easier. First, an installation of an armrest makes a great addition to any sewing machine. This helps keep the arm and shoulder relaxed and is useful for people with arthritis or joint pain.
Additionally, having a seam ripper is essential as these are used to unpick stitches. Seam rippers are a common tool found in any sewer’s toolkit, it helps to prevent frustration when undoing work.
Also, you can add the extra convenience of a thread spool holders. These are found at the side of the sewing machine, it helps to hold the thread spool and maintains thread tension without the need to move the spool around.
Learning To Use a Singer Sewing Machine
Once you have set up your Singer sewing machine, it is important to use your machine often to get the hang of it. People often give up on sewing because their results are not satisfactory, but with practice and proper guidance from experienced sewers, one can learn to use a Singer sewing machine with ease.
Make sure to use good quality fabrics, threads and needles as these affect the overall outcome of your work. Get to know your machine’s features and capabilities as this will help you to make the most out of it.
Sewing can be intimidating for beginners, but having a Singer sewing machine can make it more enjoyable as it offers a wide variety of features, stitches, and settings that make it easier to sew with. With practice and patience, anyone can become a sewing expert.
Storing a Singer Sewing Machine
Though a Singer sewing machine is quite durable and can last a long time, it needs proper storage and care to maintain its condition. To ensure that your sewing machine is kept safe, make sure to store it in a dry, dust-free environment. It’s best to keep it away from heat and direct sunlight to avoid damage.
You should also give the machine a thorough cleaning after each use. Wipe off the surface of the machine with a damp cloth, clean out any lint that may have accumulated in the crevices, and oil the machine’s parts according to the instructions in the manual. This will ensure that the machine runs smoothly and continues to produce remarkable results.
Conclusion
Knowing how to set up a Singer sewing machine can open a whole world of possibilities with your sewing projects. With guidance, you can easily set up your Singer sewing machine and experience all the wonderful features it offers. And with proper maintenance, your sewing machine will stay in good condition for years to come.


