About Embroidery
Embroidery has been around since the earliest days of civilization. The ancient Egyptians, Greeks, and Romans all used various types of embroidery to decorate clothing and other pieces of fabric. The art has evolved over the years and modern technology has made it easier for people to explore the world of embroidery. In this article, we will be talking about how to embroidery with a sewing machine.
Preparation
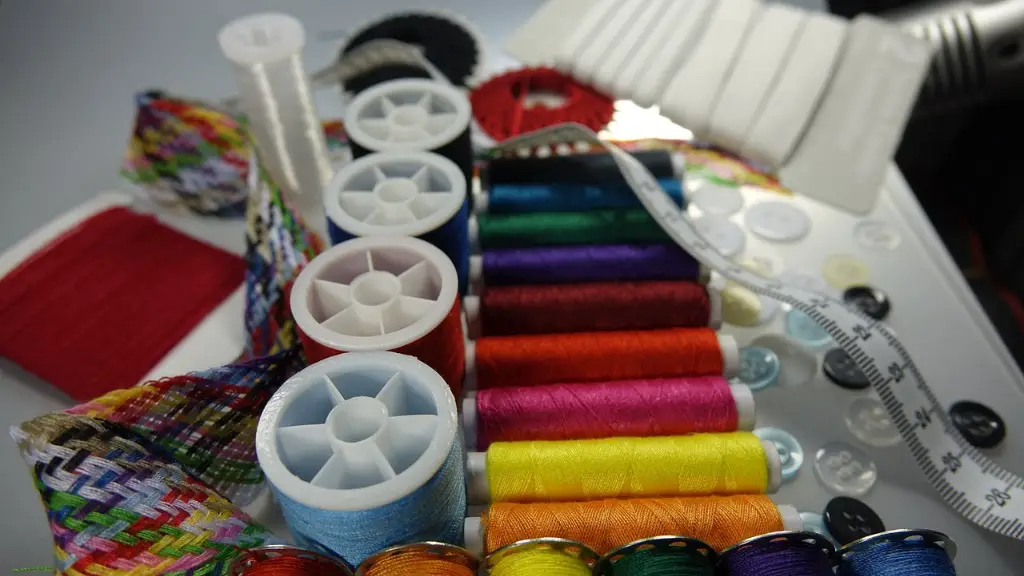
Before you begin your embroidery project, you need to make sure you have the right tools and materials. Depending on the type of embroidery stitch you choose, you will need an embroidery hoop, an embroidery needle, scissors, thread, and fabric. You will also need a sewing machine in good working order. Once you have all the materials, you can begin setting up the embroidery hoop and getting ready for embroidery.
Stitch Types
When it comes to embroidery, there are a variety of stitch types to choose from. One of the most popular is the satin stitch which is often used to create bold lines and images on fabric. There are also running and zigzag stitches as well as more intricate stitches. When you are practicing your embroidery skills with a sewing machine, it is important to experiment with different stitch types so that you can get the desired effect.
Thread and Fabric
When it comes to embroidery, the type of thread and fabric that you choose can make a huge difference in the end result. It is important to choose a thread color that will stand out on the fabric, as well as a fabric that can withstand the intense stitching. Cotton, linen and silk fabrics are popular choices for embroidery projects. You may also want to experiment with different types of threads such as rayon and polyester for a unique look.
Setting Up the Sewing Machine
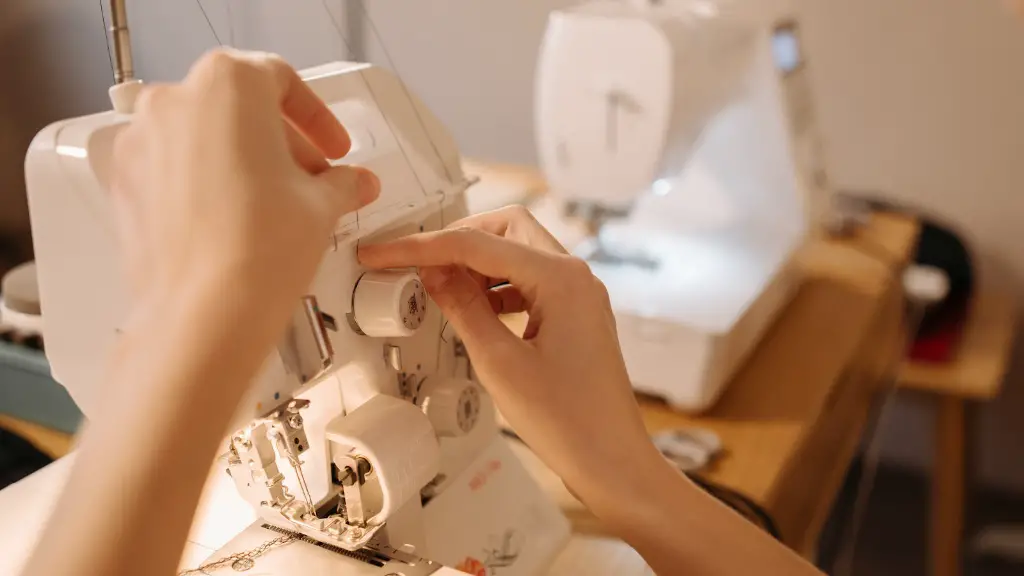
Once you have the materials selected, it is time to set up the sewing machine for embroidery. If you are using a traditional sewing machine, you will need to attach a special embroidery foot that will help to adjust the tension as you stitch. If you are using a more advanced machine, you will be able to program the settings for the tension and the type of stitch that you want to use.
Transferring the Design
Before you can start embroidering the fabric, you will need to transfer the design onto it. This can be done in a variety of ways, but it is usually done by tracing the design onto the fabric with a special pen. You can also purchase special embroidery transfer papers that can be pressed onto the fabric with an iron.
Techniques
There are many different techniques that can be used when embroidering with a sewing machine. One of the most important tips is to always use the right tension for the type of fabric and thread you are using. You should also use slow, steady stitches and work from one end of the design to the other.
Satin Stitch
The satin stitch is a popular embroidery stitch that is used to create bold lines and images. To create this stitch, you need to use a zig-zag stitch with a very tight tension, as well as a very thin needle. Once you have the stitch and tension settings set, you can begin stitching the design on the fabric. This can be done in a variety of patterns and techniques to create designs with interesting textures and results.
Running Stitch
The running stitch is the most basic of embroidery stitches and can be used to create simple lines and shapes on fabric. This stitch only requires a single line of stitching, with a moderate tension setting. The stitches should be placed at regular intervals to create a nice, even design.
Zig-Zag Stitch
A zig-zag stitch is often used in place of a running stitch when creating more intricate embroidery designs. This stitch is much denser than a running stitch and can be used to create bold lines and shapes. Adjusting the tension on your sewing machine can help you create tight, crisp lines or longer, flowing zig-zag stitches.
Embroidery With a Sewing Machine
Embroidery with a sewing machine can be a great way to create beautiful and unique designs for clothing, bags, and home decor. Before you begin your project, make sure you have the proper materials, as well as the knowledge and experience to properly set up the sewing machine and embroider the fabric. With a little practice and patience, you can create beautiful embroidered fabric.
Finishing Touches
After you’ve completed the straightforward embroidery with a sewing machine, you may want to add the finishing touches. This can include cutting loose threads, pressing the fabric, and adding decorative elements like beads or buttons. There are a variety of ways to add that special touch to your work, and with some practice and experimentation, you will be able to create unique and beautiful designs.
Care and Maintenance
Once your piece of embroidery is finished, it is important to care for it properly. Make sure to store it away from direct sunlight and away from any moisture. Over time, exposure to the elements can cause the fabric to fade and the thread to become brittle. When cleaning the fabric, use a gentle detergent and cool water, and never put it in the dryer.
Storing Embroidery Projects
After you have finished your embroidery project and taken the proper steps to care for it, it is important to store it in an airtight container away from the elements. This will help preserve the fabric and thread, ensuring that the project will last for years to come. If you take the time to properly store and care for your embroidery projects, you can enjoy them for years to come.
Designs and Patterns
There are a variety of ways to find patterns and designs for your embroidery projects. You can use pre-made patterns from craft stores, draw your own designs, or even buy embroidery kits that come with everything you need to get started. Exploring the world of embroidery can be a fun and creative way to express yourself and create unique, one-of-a-kind pieces of art.
Transferring Designs to Embroidery Machines
If you are using an advanced embroidery machine, you can transfer designs to it by inserting a memory card or USB. This is a great way to take designs from pre-made kits or create your own designs and easily transfer them onto fabric. It can also save time and make the embroidery process easier and more efficient.
Software and Tools
There are a number of software and tools available that can help make the embroidery process easier. Software packages such as Adobe Illustrator can be used to create custom designs and patterns, as well as turn photographs into patterns. Tools such as transfer pens, pattern marking tools, and fabric management systems can also make the process of creating embroidery projects more efficient and precise.
