Introduction
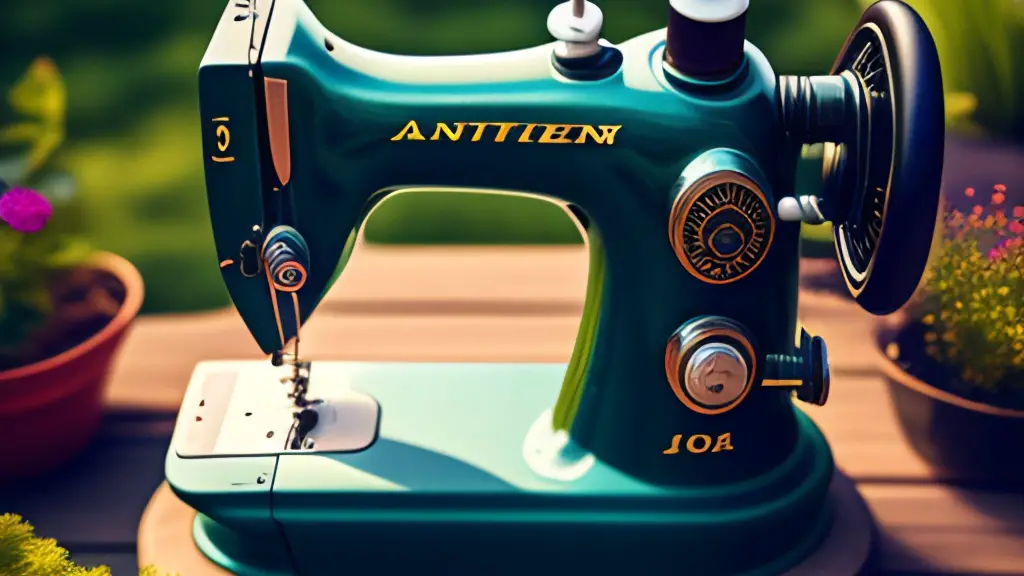
Sewing machines are an integral part of any creative and professional sewing project. Not only are they a quick way to finish your project, but they also provide a great way to learn about fabrics, techniques, and construction. Setting up a sewing machine is an important step in ensuring that your machine runs efficiently and safely. While the principles of sewing machine setup and maintenance are generally similar, each different brand or model machine may vary slightly. In this article, we’ll provide an overview of the steps involved in setting up a sewing machine, from organizing your workspace to troubleshooting common problems.
Choose an Appropriate Workspace
Creating a dedicated workspace for your sewing machine is an essential step in getting it ready for use. Your workspace should be well-lit, large enough to accommodate your machine and other necessary tools like scissors and pins, and free from distractions or other clutter that might impede your concentration. You should also, if possible, opt for a room or space that has good ventilation. This is important because you need to be able to keep your machine clean and free of dust and other particles. If you plan to use your machine to sew items that need a specific temperature such as leather or vinyl, you should also choose a room that can maintain a consistent temperature.
Set Up the Machine
The next step in setting up your machine is to assemble it. Most machines come with their own instructions and diagrams, so you should refer to those for detailed instructions on installation and setup. In general, you’ll need to install the power cord, build the arm and bobbin case, attach the presser foot, and make sure all the screws are tightened. Depending on the type of machine you have, you may also need to attach additional parts such as the shoulder straps, multi-function arm, or automatic needle threader.
Adjusting Tension
One of the important steps in setting up a sewing machine correctly is to adjust the tension of the machine. The tension on the machine affects how your stitch looks and the stitch strength. Generally speaking, the tension should be adjusted so that the needle and bobbin thread meet at the back of the fabric. To achieve this, you may need to adjust the tension dial. Refer to the manual for your machine for more specific instructions.
Clean Your Machine
Cleaning your machine is a key part of maintaining its performance. To do this, you’ll need to remove the needle, pull the thread from underneath the presser foot, and vacuum any lint or dust. You should also take the time to oil the parts of the machine that need lubrication. Doing this regularly will help to keep your machine running smoothly and efficiently.
Troubleshooting Common Problems
Before sewing a project, you should do some basic troubleshooting to identify any potential issues. This means you’ll want to check the needle, thread, and bobbin for any indication that something isn’t working properly. If the needle is damaged or worn, replace it. If the thread is tangled, cut it and start again. And if the bobbin is jammed, clean it and make sure it’s properly aligned with the needle.
Test the Machine
Once you’ve set up your machine and done some basic troubleshooting, you’ll need to do a test run. This will help you ensure that your machine is in good working order and that you’re using the correct settings and techniques. To do this, sew a scrap of fabric and inspect the stitches carefully. Make sure the tension is correct and that the stitches are even. If there are any imperfections or irregularities, you may need to make further adjustments.
Maintain Your Machine
Proper maintenance of your machine is essential for keeping it in good working order. Set aside some time to regularly clean and oil the machine, replace worn or damaged parts, and inspect the machine for any potential issues. Doing this regularly will help to extend the life of your machine and minimise the risk of damage or malfunction.
Upcycle with Old Clothes
Have you ever wanted to upcycle some of your old clothes and give them a new life but don’t know how? A sewing machine is the way to achieve this and it doesn’t have to be as difficult as it sounds. With an understanding of the basics of a machine, you can easily get creative and transform something an old t-shirt into an upcycled masterpiece. To do this, you’ll need a few tools, such as a sewing machine, fabric scissors, and pins. Once you have these things, you can start the transformation process.
Cutting the Fabric
The first step to successful upcycling is getting the desired shape from the fabric. Taking into consideration the final shape you want, you can use the scissors to cut out the fabric. You will want to use precise and precise angles to get the desired shape, so it is important to make sure the fabric is taut while cutting.
Straight Stitching
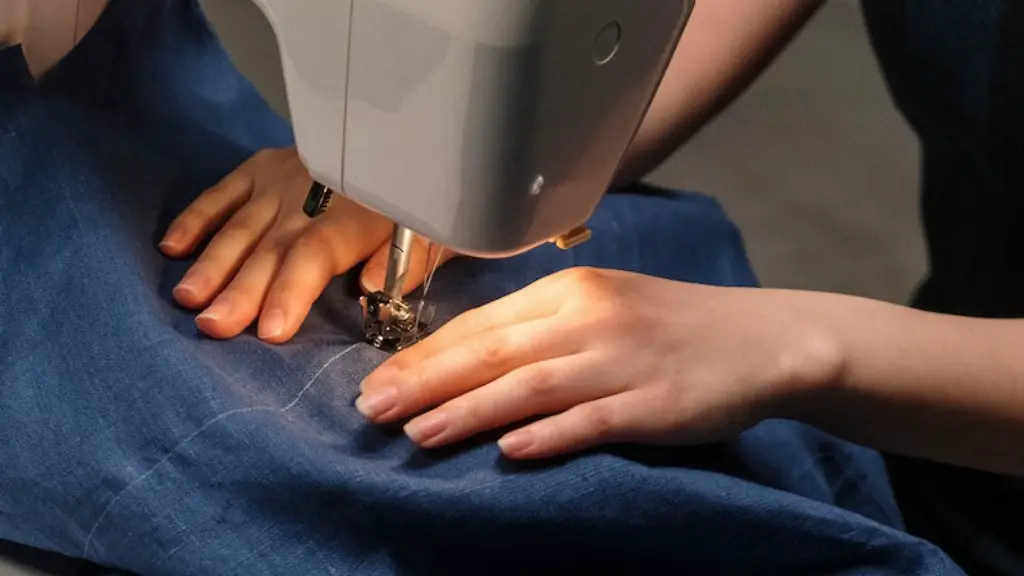
Once the fabric has been cut in the desired shape, it is time to start assembling the pieces. To do this, you will use the straight stitch on your machine. This involves threading the needle, putting the two pieces of fabric together and sewing in a straight line. Depending on the size of the project, you may need to stretch the fabric as you are sewing.
Create a Seam
The seam is the way to connect the two pieces of fabric together. Knowing how to create a seam on the sewing machine is important to ensure a secure connection. To do this, you will have to create a basting stitch before doing the main seam. Basting is a process of doing a loose stitch to keep the fabric in place during the whole process. After the basting, you may need to use the zigzag stitch to give the seam more strength and resistance.
Buttonholes and Zippers
Adding some closures to your project can give it a more stylish look. To do this, you will need to know how to make buttonholes or add a zipper. The buttonholes depend on the machine you’re using, but most machines have specific settings to get the desired size. As for the zipper, it is important to make sure the placement of it is accurate before you start sewing it.
Hemming
The hem is the last step to the sewing process. Depending on the desired look, you can either go for a rolled hem or a single fold hem. To make the rolled hem, you will need to create folds with the fabric and stitch them in place. For the single fold, you will need to fold the fabric, press it, and make the sewing line.
Ironing and Finishing
Once the project is finished, it is important to give it a neat finishing. Ironing it can make a big difference in the overall look of the project. This will help the fabric look more professional, making sure there are no wrinkles or gentle curves. You can also use some pins to hold the shape of the project while you are ironing it to make sure the seams keep their shape.
Making Use of Resources
Getting inspired can be difficult when you are starting a sewing project. To get inspiration and find out what the latest trends are, you can make use of some online resources. YouTube channels and blogs can be very helpful before you start a project and can provide valuable advice on techniques, fabrics, and patterns.
