Overview
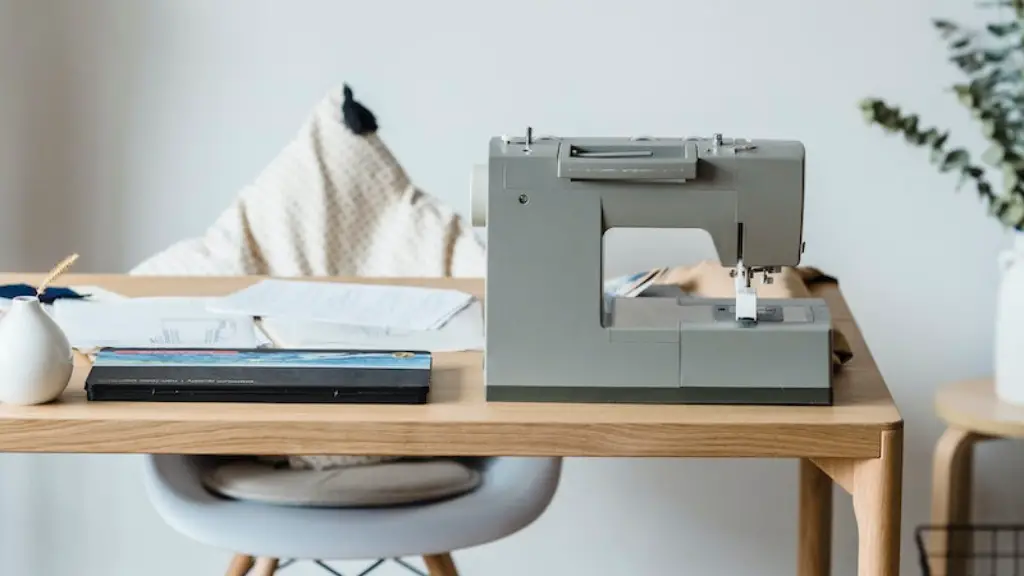
Sewing machines have been around since the 1800s and have revolutionized the textile industry. Sewing is a skill that has been passed down through generations and continues to be a hobby for people of all ages. With so many sewing machines available to choose from, it can be hard to decide which one to get. Singer sewing machines are a timeless choice and many models have remained popular for years. Setting up a Singer sewing machine can be done in a few easy steps and the end result can be a great finished product.
Assembly
The first step in setting up a Singer sewing machine is to assemble the pieces. Many models have a set of instructions that come with the machine and will explain which pieces go where. Take the time to make sure everything is secure and that all the parts fit together securely. Take note of which screws and bolts should be tightened and make sure to affix them in their proper place. Once the sewing machine is assembled, the next step is to test it out.
Testing
Once the machine is put together, it is important to test it to make sure it is working properly. Start by attaching the power cord to the machine. Then, turn the power switch on and off a few times to make sure it is working. Next, attach the foot presser and see if that is also working properly. Finally, apply some fabric to the sewing machine and try a couple of stitches to make sure that the machine is working correctly.
Set Up
Once the Singer sewing machine has been tested, the next step is to set up the machine for the project at hand. Depending on the project, the machine needs to be set up differently. For example, if the project requires straight stitching, then the stitch length needs to be set to the desired length before beginning. Other tasks may include changing the thread tension, needle size, and needle type. Finally, the fabric needs to be attached to the sewing machine and the fabric feeder lever should be adjusted to feed the fabric correctly.
Maintenance
Proper maintenance is vital for the longevity of a Singer sewing machine. Regularly check and replace the needles, oil the various gears, and make sure all the parts are clean. Also, make sure to clean the bobbin case, bobbin, and feed dogs regularly so that they are free of dust and lint. Performing periodic maintenance can extend the life of the sewing machine and will help to avoid any costly repairs.
Troubleshooting
Even with regular maintenance, issues can arise with a Singer sewing machine. Familiarizing oneself with the troubleshooting process can help take some of the stress out of dealing with a sewing machine issue. Common issues may include the fabric sticking to the presser foot, skipping stitches, tension issues, and poor stitching. Understanding the problem is the first step towards solving it, and having a trusted source of help can be beneficial if an issue cannot be resolved on one’s own.
Tips and Tricks
Once the Singer sewing machine has been set up and maintained, there are some tips and tricks that can help make the process easier. Cleaning the machine as one works will help keep the machine from clogging and also help prevent dust from getting into the tiny parts. Also, taking the time to read the manual can be beneficial as it will often have helpful information that can help save time in the future.
Making Alterations
Altering clothes to improve their appearance is a great way to extend their usefulness. With a Singer sewing machine, it is possible to make a variety of alterations to clothing. Taking in the waist of a pair of pants or letting out the side seams of a blouse are just a few of the alterations that can be done with a Singer machine. Hemming the bottom of the garment and adding pockets can also be done easily with a Singer sewing machine.
Sewing on Buttons
Replacing or adding buttons is a common task that can be done quickly and easily with a Singer sewing machine. Start by threading the machine and attaching the bobbin, making sure the thread is the color of the button. Place the button on the fabric and sew several stitches around the button. After the button is secured, tie off the thread and make sure it is firmly connected to the fabric.
Decorative Stitching
A Singer sewing machine can be used to create beautiful decorative stitching on any fabric. Decorative stitching can be done by using a variety of specialty presser feet, and these can easily be changed out when different designs are desired. Many Singer machines even have built-in decorative stitching options, providing endless possibilities for transforming a plain fabric into something special.
Finishing Options
Once the sewing project is complete, there are several finishing options available. Doing a narrow rolled hem is a great way to finish off a project and give it a professional look without a lot of time or effort. The zig-zag stitch can also be used to finish a project and give it a unique, decorative look. Finally, adding a bias tape binding is a great way to hide and reinforce raw seams.
Storage Solutions
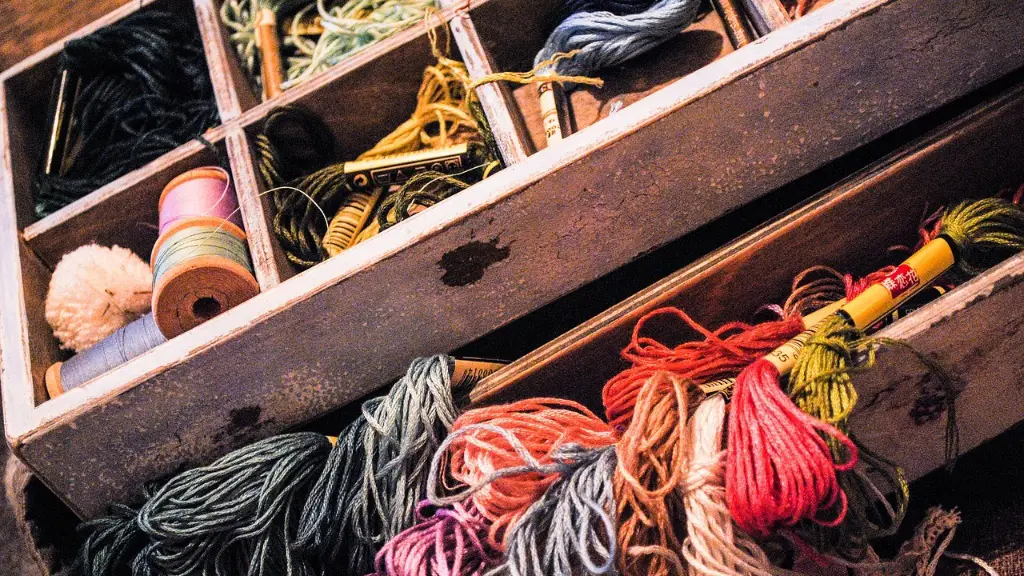
Once the project is complete, having a good storage solution can be beneficial in keeping the Singer sewing machine in great condition. Storing screws, needles, and any other loose parts in a separate, see-through container will make them easier to find when they are needed. Also, keeping the machine out of direct sunlight and heat can extend its life. Finally, investing in a dust cover can help keep the machine clean and attract less dust.
Sewing Machines in Education
Singer sewing machines are also a popular choice for educational settings, as they are easy to use, durable, and adjustable. Learning how to properly use and maintain a Singer sewing machine can teach students a variety of valuable skills, from learning how to troubleshoot an issue to understanding the basics of garment construction. With the help of Singer sewing machines, students can develop a greater appreciation for the craft of sewing and have a great amount of fun in the process.


