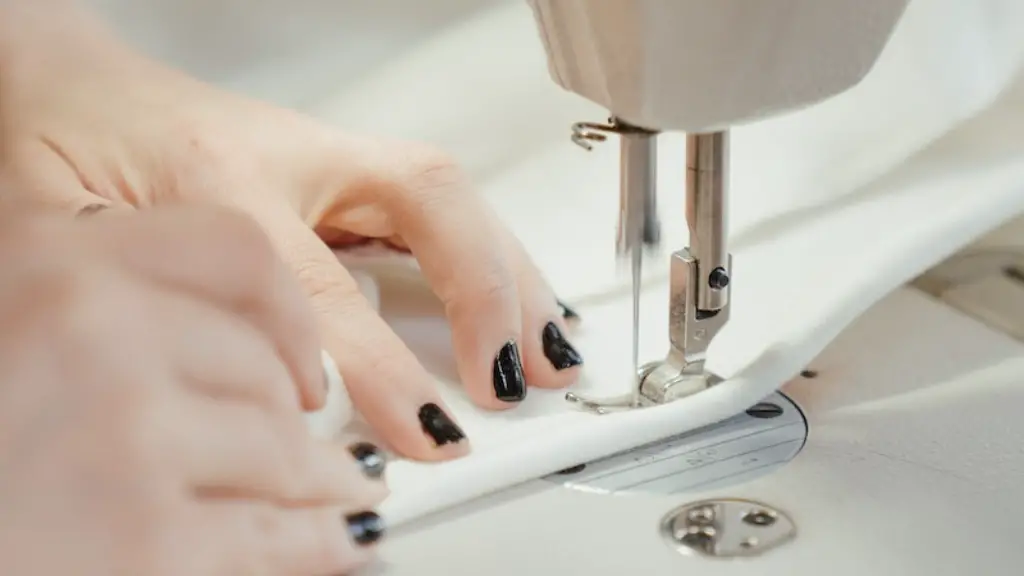
Sewing with a machine is a skill requiring dedication and practice. It allows the sewer to create professional-looking pieces, from skirts and dresses to curtains and more. When beginning the creation of a piece of clothing, the hem is one of the final pieces to be put into place. Sewing a hem with a sewing machine is a relatively quick process that leaves a lasting, professional finish.
Before beginning the process of sewing a hem, there are a few essential steps to take. The fabric must be pre-treated—that is, washed and dried—according to manufacturer’s instructions, if necessary. Once all of the relevant pieces have been cut to size, they must be laid out in the order they are to be sewn. This will provide a visual guide throughout the seam-building process and make it easier to identify any errors.
The first step in sewing a hem is to press the hemline. Using an iron, press down the top and bottom of the hem straight for an even finish. If using an iron, set the temperature as indicated on the fabric, or use a heat-resistant pad such as teflon. This will prevent marks from being burned into the fabric.
The second step is to pin the fabric. Pinning the fabric helps to keep it in place as it is sewn. Depending on the fabric, it may be necessary to use multiple pins at various points. This will help to prevent the fabric from slipping or shifting as the sewing machine works.
Set the sewing machine to the appropriate length of stitch. Generally, the stitch length should be around 5 mm. Too short a stitch length could cause puckers in the fabric, while too long a stitch length could cause the uneven stitches to show.
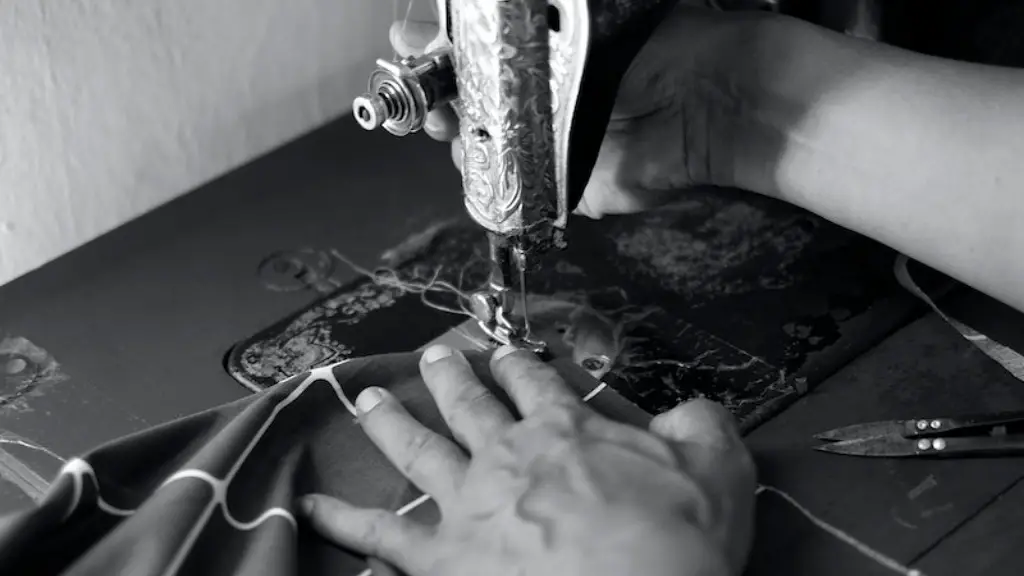
Begin stitching the hem. Stitch down the hem along the pre-pressed line. Be sure to move the fabric slowly and evenly, in order for the stitches to appear even. Switch the stitch length to a shorter stitch towards the end of the hem. This will help secure the stitches and make them less likely to come undone.
At the end of the hem, leave the needle down in the fabric and stitch backwards a few times to secure the stitching. Cut away any extra threads and press the hem down once more. It may also be necessary to top-stitch the hem for a professional finish.
Ironing
Ironing is an essential task for maintaining the look and feel of fabric. Ironing can help restore the fabric’s original shape and size, reduce static, and make the fabric smooth and look nicer. When ironing fabric, it is important to use the correct temperature and technique.
First and foremost, it is important to check the type of fabric. Different types of fabric require different temperatures and ironing techniques. If the fabric is lightweight such as delicate chiffon, a lower temperature should be used. On the other hand, for heavier fabrics like wool, a higher temperature should be used.
It is also important to use the right iron setting or steam level. This will ensure that the fabric doesn’t get damaged by the heat of the iron. For fabrics that can sustain higher temperatures, the steam setting can help to remove wrinkles quicker.
Next, it is essential to ensure that the fabric is completely dry before ironing. If it is damp, the fabric will be more prone to burns or discolouration. Fabric that has been pre-treated should be hung to dry on a clothesline before being ironed.
It is important to use a press cloth when ironing as this prevents direct contact between the iron and the fabric. A press cloth can also protect delicate fabrics from dulling or burning. If the fabric is particularly delicate and prone to burns, a damp press cloth should be used.
Finally, it is important to iron the fabric in the correct direction. For example, for woven fabrics, it is usually best to iron the fabric in one direction, from the top of the garment to the bottom. For knit fabric, it is usually better to iron in a criss-cross pattern.
Measuring & Cutting
Measuring and cutting are important steps when creating pieces of clothing. When measuring, it is important to use the right tools and techniques. This will ensure that fabrics are correctly measured and correctly cut, which will help result in garments that fit correctly and look professional.
The first step is to measure the fabric correctly. Use a measuring tape or ruler to measure the length and width of the fabric. It is important to use the correct units of measurements such as inches, centimeters or millimeters.
Next, it is important to choose the right pattern and cut the fabric accordingly This will ensure that the garment is cut to the right size and shape. It is also important to use sharp scissors to ensure a clean, crisp cut.
It is important to take into consideration any special patterns that need to be cut. For example, if a garment is pleated, the fabric will need to be accurately pleated and folded before cutting.
When it comes to cutting fabric, it is important to be careful not to cut too much fabric. If too much fabric is removed, the garment may become too small. It is therefore best to err on the side of caution, and always cut less than required.
Finally, it is important to carefully fold and store the fabric pieces. This will help maintain the fabric’s shape and prevent it from shrinking or warping.
Threads & Bobbins
Threads and bobbins are essential components of sewing. Threads are used to attach two pieces of fabric together and bobbins are used to contain the thread. It is important to use the right type of thread and the right type of bobbin in order to ensure that the fabric is securely attached and that the seams are neat and professional.
First and foremost, it is important to choose the right type of thread. Different types of thread are suitable for different types of fabrics. For example, fine silk thread is best used for delicate fabrics such as silk or chiffon, while a thicker thread is better for heavier fabrics such as cotton or denim.
It is also important to use the correct colour of thread. This is particularly important for fabrics that are two-tone or patterned. The thread should match the fabric to help the seam blend in with the fabric and make the finished garment look professional.
The bobbin should also be chosen carefully. The bobbin should be suitable for the type of thread being used. It is also important to use an appropriate weight of bobbin to ensure that the thread does not collapse during sewing.
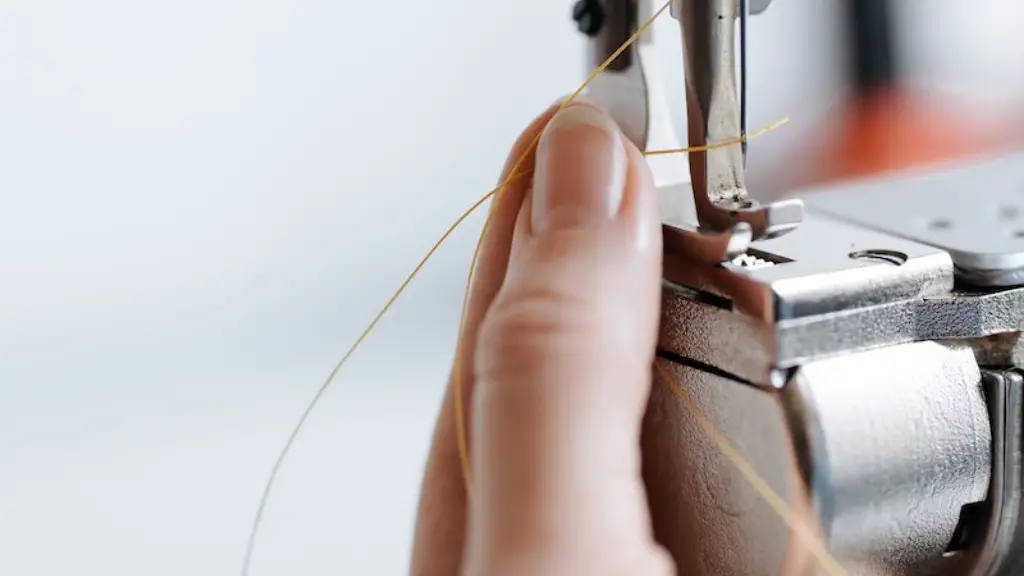
Finally, it is important to ensure that the bobbin and thread are fit properly. When threading the bobbin, it is important to ensure that the thread is wrapped around the bobbin in the correct direction. The thread should also be pulled tightly to keep it in place.
Tips & Tricks
When sewing with a machine, it is important to be aware of a few tips and tricks that can help ensure a successful project. These tips can help reduce the risk of mistakes and help ensure that the finished fabric looks professional.
First and foremost, it is important to make sure the tension on the machine is correct. It is important to use the correct tension for the type of fabric being used. If the tension is too loose, the fabric may slip, but if the tension is too tight, the stitches may pucker.
It is also important to use the correct needle for the job. Different fabric types require different needle sizes and types. For example, thicker fabric such as denim will require a larger, more robust needle than lighter fabrics such as silk.
It is also important to use an appropriate stitch setting Different fabrics require different stitch lengths. The stitch length should be long enough to secure the fabric, but not so long that the fabric puckers or gathers.
When sewing through multiple layers of fabric, it is important to use a heavier needle. This will ensure that the needle is strong enough to penetrate the fabric with ease.
Finally, it is important to practice patience when sewing with a machine. It takes time and practice to learn how to use a machine correctly. Even if the first attempt is not perfect, repetition and patience will soon result in professional-looking garments.
