Initial Preparations
Before you begin the process of sewing letters on fabric with a sewing machine, it is essential to make sure all the necessary preparations are taken care of. First of all, you need to be sure that you have the right materials and supplies. This includes the right fabric, sewing thread, needles and of course the letters. Make sure the fabric you choose is thick enough to enable you to sew the letters on without having to worry about ripping or shredding. You should also double check if you have all the necessary tools, such as a tape measure, shears, pins, an iron and so on.
Once you have all the materials, the next step is to determine the correct size and shape of the letters you need to sew. It is important to measure the fabric properly and test for fit before you proceed further. Using a straight line and pencil, mark out the shape and size of the letters you want to stitch. If you want to create a specific effect, you could use a stencil or pattern.
Threading the Machine
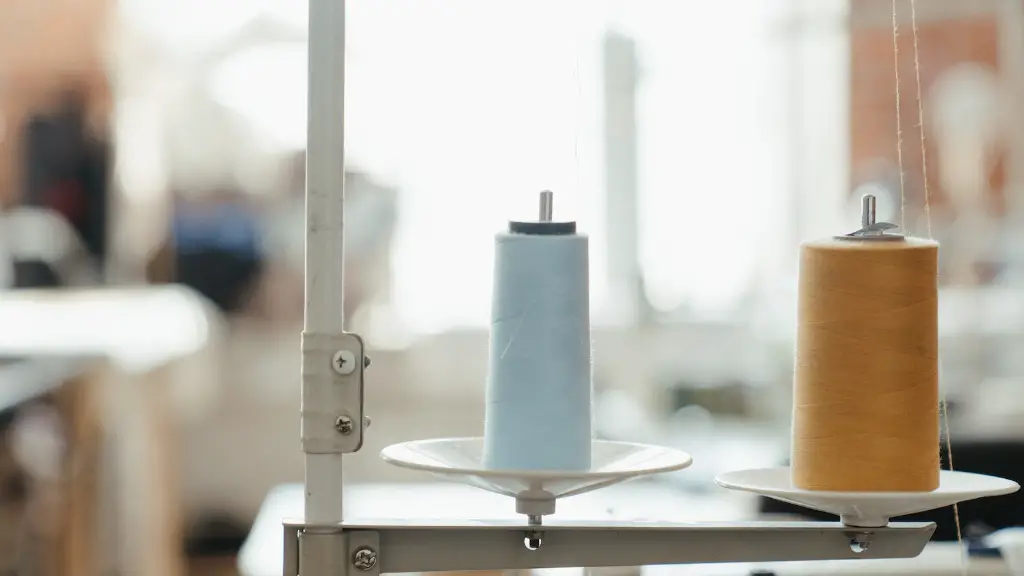
Now that the preparations have been made, it is time to thread the sewing machine. Before you begin, make sure to read the instruction manual that came with your machine. This will help you understand the process better and avoid making any mistakes. To thread the machine correctly, you will need to wind the bobbin and thread the needle. To ensure that the finished product looks neat, you should use a high quality thread. This will also make sure that the lettering does not come off easily.
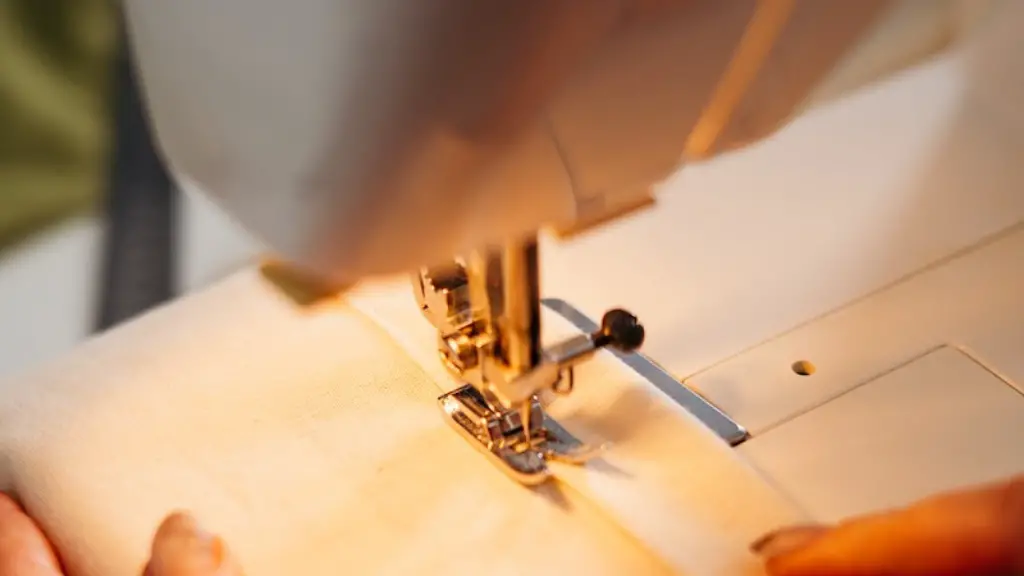
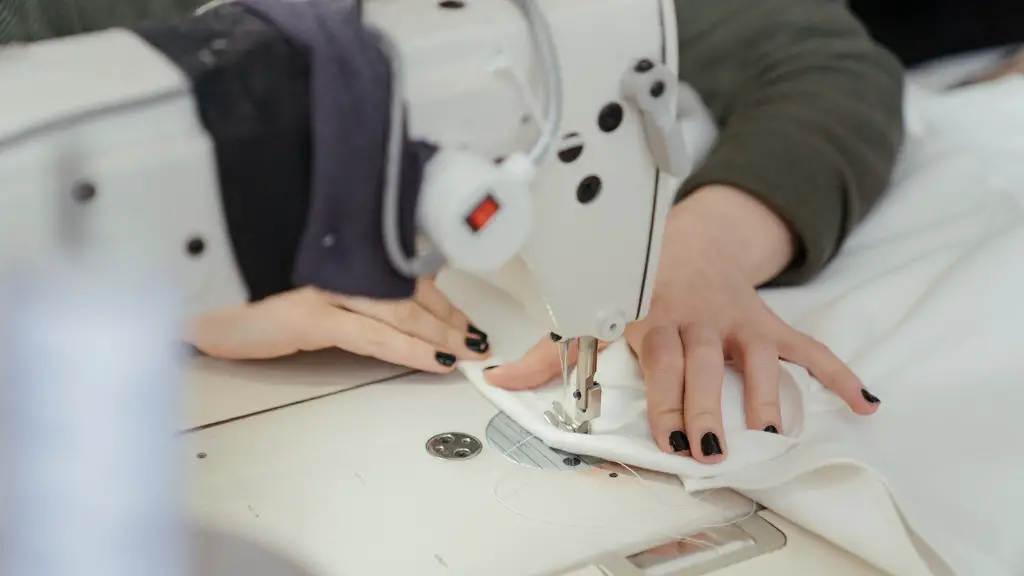
Once the machine is threaded, you can begin sewing letters on the fabric. To make sure the stitches are straight and even, use a ruler and mark a starting point. Make sure that you adjust the presser foot accordingly so that the fabric moves easily under the needle. It is important to remember to backstitch at the beginning and the end of each letter to ensure the lettering does not come off the fabric.
Moving the Pattern
If you are using a pattern, it is important to know how to move the pattern properly. To do this, use a marker to trace the pattern onto a piece of paper or cloth. Then use this as a template and trace the pattern onto the fabric. You should also make sure to adjust the sewing machine tension to the lowest setting so that the pattern does not move by itself.
When you are finished tracing the pattern, it is time to start sewing. Begin with the smallest letters first and move on to larger letters as your confidence grows. Use the needle to start each letter and then stop and backstitch at the end. This will make sure that the lettering stays on properly.
Finishing the Lettering
Once you have finished sewing all the letters, you need to make sure that the lettering looks neat and professional. You should use a pair of scissors to trim away any excess thread or fabric and an iron to press the lettering firmly into place. If you are using a pattern, make sure to remove it before pressing as it can leave an imprint on the fabric. After the lettering is done, add a few details such as buttons or rhinestones to give it a more customized look.
It is also important to take care of the fabric after you have finished sewing the letters. This includes washing it properly and allowing it to air dry. Take special care to avoid shrinking or fading the fabric as the lettering can get damaged due to this.
Ways to Incorporate Letters into Design
Once you have mastered the art of sewing letters on fabric, it is time to move on to more advanced techniques. One of the most common ways to incorporate lettering into designs is to use embroidery. You can use different embroidery stitches to create different patterns and effects. If you are looking for something unique, you can also use paints or fabric markers to draw and design the letters before sewing them onto the fabric. This is an effective way to create personalized products such as t-shirts and bags.
You can also use letters to add a message or quote to a fabric piece. To do this, you can either embroider the text onto the fabric or use heat transfer vinyl. Heat transfer vinyl is a great option as it is easy to apply and can be removed at any time if you decide to change the design. It is also an inexpensive option if you are planning to make multiple projects.
Creating Machine-sewn Appliqués
Once you have mastered the basics of sewing letters onto fabric, you can move on to creating machine-sewn appliqués. This is a fun way of combining fabrics and textiles to create a unique design. The process is similar to sewing letters, except you are adding a whole fabric shape down on top of another fabric. This is a great technique to use if you want to add some extra detail to a fabric project.
To make the process easier, it is important to use the right fabrics and supplies. You should make sure the fabrics you choose are the same weight and thickness so that the stitches hold. You should also use a stabilizer when sewing appliqués, as this will help keep the fabric in place. You should also use a thicker thread when sewing appliqués as this will ensure that the fabric stays on the background material.
Incorporating Letters and Appliqués into Quilting
If you are a quilter, you can combine letters and appliqués with quilting to create beautiful projects. This is a great way to add personalization to quilts and make them even more special. To do this, you will need to draw out a pattern for the quilt, including the locations for the letters and appliqués. Then use this as a guide when you begin sewing the pieces together.
When incorporating letters and appliqués into quilting, it is important to make sure the fabric pieces are firmly secured. This is one area where sewing machines are very useful, as they can help you stitch together pieces quickly and without any errors. When choosing the thread, make sure to go for a thicker option as this will ensure the stitches stay in place. When you are finished quilting, follow the instructions on how to care for the quilt properly.
Embellishing Letters and Appliqués
Once you have mastered the basics of sewing letters and appliqués on fabric, you can move on to adding embellishments. This is a great way of making your fabric pieces look even more special. You can use a variety of materials to embellish letters and appliqués including beads, ribbons, sequins and buttons. When adding embellishments, make sure to stitch them securely so that they do not come off easily.
You can also use different embroidery stitches to add even more dimension to the fabric. There are a variety of stitches available and it is important to select the right ones depending on the effect you are trying to create. When stitching the embellishments, make sure to use a thick thread and backstitch at the beginning and end of each stitch.
Final Notes and Tips
Sewing letters and appliqués onto fabric is a fun and creative way to customize a project. To make sure your pieces look professional and tidy, it is important to use the right supplies and tools. Invest in high quality materials such as fabric, thread, and needles as this will ensure a more durable finish. Also make sure to practice a few times before beginning the project to get comfortable with the technique.
When creating intricate patterns, it is a good idea to use a stabilizer to keep the fabric in place. This will make sure your stitches look neat and even. Finally, make sure you read the machine instruction manual carefully before threading the machine to ensure everything is working correctly. Taking the time to do these steps properly will ensure you create beautiful and unique fabric pieces.
