How to Do an Invisible Stitch on a Sewing Machine
Invisible stitches can be an important tool for a seamstress or tailoring hobbyist. Not only can these stitches be used on fabric to create a nearly invisible seam, but also to attach appliques or to make jewelry. The invisible stitch has become increasingly popular, primarily because of its neat appearance. Generally, invisible stitches are used for lightweight fabrics such as silk, chiffon and satin, but can also be used with heavier fabrics. It should be noted that the use of an invisible stitch may require special types of threads or fabric glues.
The process of sewing an invisible stitch on a sewing machine is relatively straightforward. However, if you’re new to sewing it’s always a good idea to ask advice from an experienced seamstress, or to look up tutorials both online and in books. Before you start, make sure to have a few bobbins of regular sewing thread and a few bobbins of matching invisible thread. It’s always a good idea to start with one sample stitch until you’re used to using your machine, as it’s easy to make mistakes.
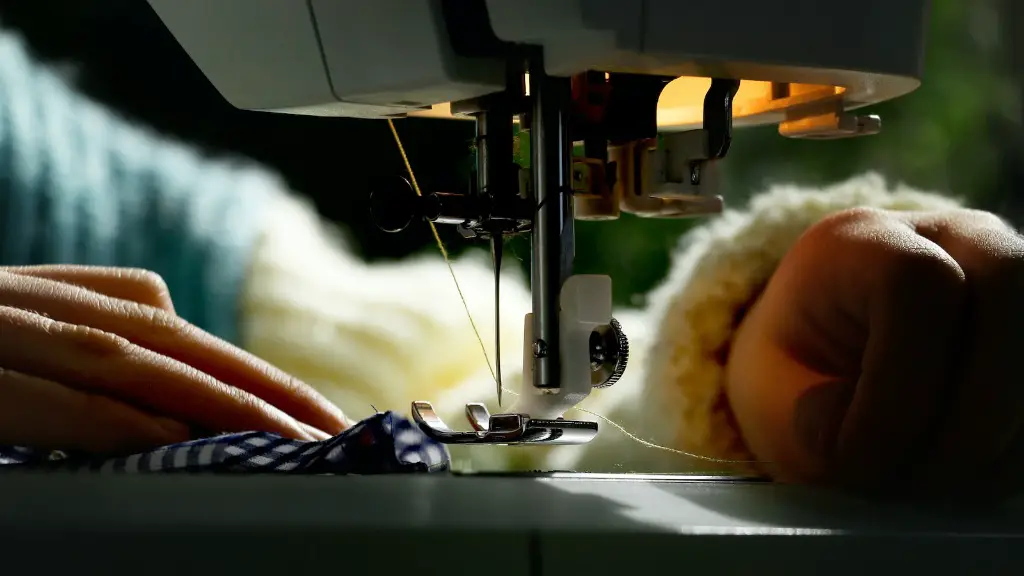
The first step is preparing the machine for stitching. Most sewing machines should be set to the longest straight stitch possible, as a longer stitch will go through the fabric more evenly. After this, the stitch width should be reduced to create the invisibility of the stitch. You may even want to reduce the width of the stitch to 0, as Invisible Threads have a special feature with which they become invisible – as they are so thin!
When you’ve set up the machine, you are ready to start. Place one piece of fabric on the machine, and sew a few stitches over each seam, making sure to keep the stitch small. This can take some practice, as the fabric may slide or bunch up. Once the fabric is secure, thread the invisible thread onto the bobbin case of the machine and thread it through the needle. You should also check to make sure the thread is secured properly, and will not unravel.
Now it’s time to start stitching! You should begin by matching up the edges of the two pieces of fabric and then sew the first row of stitches. It is important to sew close to the edge of the fabric, as this will help ensure the invisibility of the stitch. Remember to make sure the stitch is not too long, as this may make the stitch visible. As you sew the rows of stitches, make sure to keep the tension of the thread even.
Once you’ve finished stitching, it’s time to remove the fabric from the machine. The best way to ensure the invisibility of the stitch is to cut the thread close to the fabric, but not too close. The cut thread should be secure, with the right tension in order to ensure the invisibility of the stitch.
It’s important to remember that an invisible stitch does require some practice to get it just right, but with some patience, you should be able to master it in no time. You might, of course, take few test-runs on some fabric scraps before starting a project.
Types of Invisible Threads
Invisible threads come in a variety of sizes and types, from cotton-wrapped polyester to microfiber. While cotton-wrapped polyester is good for heavier fabrics and projects that need a lot of strength, microfiber is great for lightweight fabrics such as silk. It is also important to note that special care must be taken with invisible threads, as they can easily break if not handled correctly.
For best results, use the finest invisible thread available, and use a sharp needle. It is also important to use the proper 5-10 weight thread (the higher the number, the thinner the thread) to prevent fraying or irritation to the fabric. Finally, use a steel needle rather than titanium, as a titanium needle will damage the thread.
Tips for an Easier Invisible Stitch
To make the invisible stitch easier, use a few tips and tricks. Keep the seam allowance narrow so the stitches won’t be visible, and use a sharp needle to make sure the thread will penetrate the fabric easily. Additionally, make sure the invisible thread is kept tight and even at all times, as this will help to create a cleaner and more invisible seam.
You may also want to use a stitch guide to get the stitch width exactly right, or mark a line on the fabric to make sure the stitches will stay in place. A walking foot or edged foot attachment for the sewing machine can also be helpful in making sure the stitches stay in place without bunching up.
Types of Invisible Stitch
Invisible stitches can be done using a variety of threads, fabrics, and techniques. There are three main types of invisible stitches: the loop stitch, the thread-through stitch, and the wrapped stitch. Each of these types has its own benefits depending on the fabric and the desired outcome.
The loop stitch is best used on sheer fabrics like chiffon, organza, and georgette. With this stitch, the thread goes in and out of the fabric several times, creating a loop effect on one side of the seam. The thread-through stitch is used for slightly thicker fabrics and employs the same technique as the loop stitch, but with two threads which get interlocked for a secure stitch.
Finally, the wrapped stitch is used for heavier fabrics and is especially protective for a seam. The thread is wrapped around the edge of the fabric several times, ensuring that the fabric won’t fray. Whichever stitch you choose, it’s important to remember that an invisible stitch should be done neatly and precisely, as this will make all the difference in the finished product.
Reinforcing the Invisibility of the Stitch
Once the invisible stitch is completed, you can opt to further reinforce the invisibility. This can be done by using invisible fabric glues, which can be applied over the stitch and the fabric for extra security. These glues come in a variety of types, from a light-duty washable glue to a heavy-duty permanent glue.
It should be noted that some glues may create a visible residue on the fabric, so it’s important to test a small piece of fabric beforehand. Additionally, another way to further secure the invisible stitch is by using a special thread sealant, which helps to lock the threads in place. This can be especially helpful if the fabric is prone to fraying.
Pressing the Invisible Stitch
Once the invisible stitch is completed, you’ll want to press it to ensure it lies flat. Different fabrics may require different pressing techniques, so it’s best to consult with a seamstress or tailor to get the best results. A light steam can be used on lightweight fabrics, while a light pressing with a tailor’s ham can be used for heavier fabrics.
When pressing, be sure to place a damp cloth over the seam before pressing, to avoid over-pressing the fabric. Additionally, if you’re working with a delicate fabric, such as chiffon, it’s best to use the lowest setting possible. Finally, the goal of pressing should be to flatten the seam, not to press it into the fabric – which can create visible bumps in the fabric.
Tips for Troubleshooting
If at any point during the invisible stitch process you encounter any problems, there are a few things you can do to troubleshoot. First, check the thread tension on the bobbin case and make sure it isn’t too tight or too loose. Second, check that the thread has been securely sewn throughout the fabric, as this will help ensure the invisibility of the stitch. Finally, if the stitch is still not invisible, it’s a good idea to use a different thread or fabric glue.
If you’re still having trouble, it might be a good idea to enlist the help of an experienced seamstress or tailor. They can help you understand the process better, as well as provide tips and advice to make the invisible stitch look its best.
