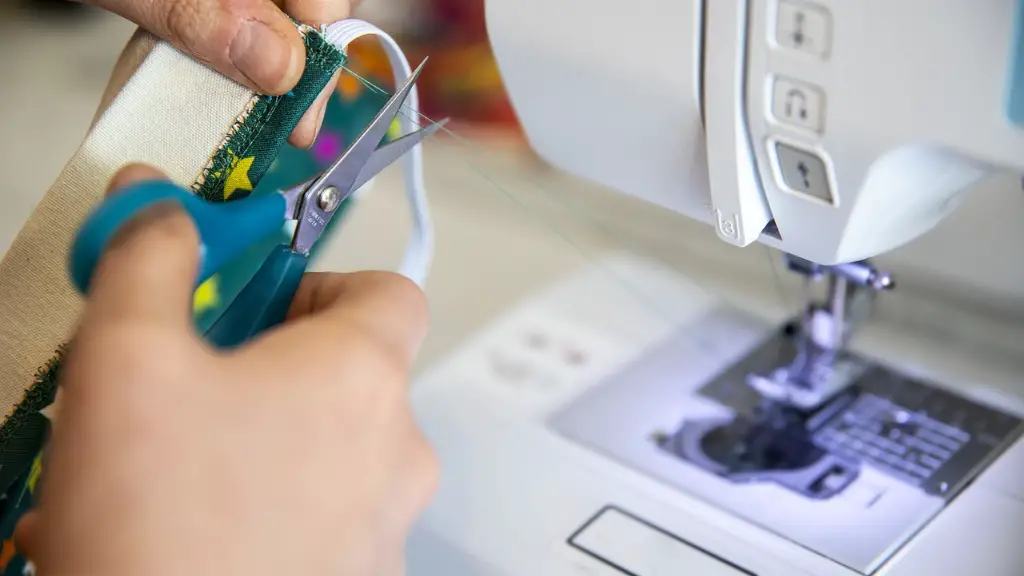
If you’ve been wanting to learn how to sew on a sewing machine, but have been feeling overwhelmed, you’re not alone. Even for the craftiest of us, the thought of maneuvering the complex series of levers and knobs just to sew a simple stitch can be intimidating. But, with some patience and understanding of the basics, it’s easy to become comfortable sewing on a sewing machine.
To begin, it’s important to choose a good quality sewing machine. Many experts agree that machines with a range of settings, such as tension and stitch length, are best for learning. The machine’s owner manual should provide an explanation of each of the settings and how to adjust them, but as a general rule, it’s best to start off at a lower tension and longer stitch length while learning. This will give you a better understanding of how the settings affect the finished stitch.
Once you have your machine, the next step is to learn the basic stitches. Since most fabrics require different stitches, it is a good idea to practice on some scrap fabric first. While the basic set-up is the same, making a straight stitch and a zigzag stitch, there are variations that you will learn over time. To begin, start by selecting a stitch pattern, changing the tension and length as desired, threading the machine, and locking the thread to the fabric using the back stitch lever.
The next important step is to learn how to sew a seam. Start by matching the two pieces of fabric that you wish to join together, with the wrong sides facing each other. Place the fabric on the machine, and use pins to hold the pieces together. Begin by sewing with a back stitch, and then sew down the fabric using the same stitch you selected earlier. Once you have finished sewing, check if the stitches are even and consistent.
It is also important to learn how to stop and start your stitches. The key is to make sure that your fabric feeds evenly through the machine, and that the needle is entering and exiting the fabric in the same place. To stop sewing, press the reverse button and move the fabric away from the needle, making sure that the last few stitches have been secured. To start sewing again, place the fabric back under the needle and press the reverse button again.
Once you have the basic stitches and seams down, you can begin to tackle more advanced projects. While sewing can be intimidating, with some patience, practice and understanding of the basics, you will be able to sew garments, accessories and all kinds of beautiful things. Good luck!
Learn Advanced Sewing Tips and Techniques
Once you have a solid understanding of the basics of sewing on a sewing machine, you can begin to tackle more advanced projects. Learning how to use different fabrics, as well as various decorative and functional stitches will help to elevate your sewing skills.
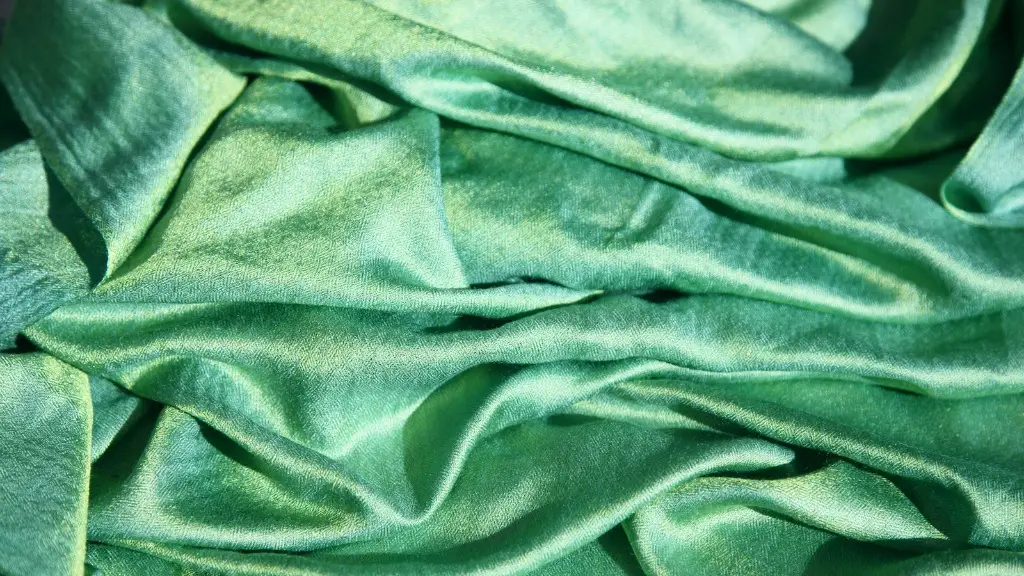
When it comes to using different types of fabrics, opting for natural fabrics such as silk and cotton will provide you with the most sewing success. It is worth noting, however, that many synthetic fabrics are more durable than natural fabrics and may be a wise choice depending on the garment or accessory you are creating.
When surrounded by the dizzying array of decorative and functional stitches your sewing machine has to offer, start by experimenting with a couple of stitch variations that you are comfortable with. Be sure to use stabilizing stitches, such as a triple stitch, when tackling more challenging projects or seams that need extra strength. You can also master elastic and knit stitches, which are essential for sewing stretch fabrics.
Top-stitching is also an essential technique used to finish edges and seams on garments, but also can be used for decorative purposes. Top-stitching can be done with a single- or double-line of stitches, depending on the look you are going for.
Once you have gotten the hang of sewing on a sewing machine, the creative possibilities are endless. Sewing is one of those crafts that allows you to combine practicality and creativity. Becoming comfortable with the basics will give you the tools to create something truly unique.
Types of Fabric Needles
One of the most important things to consider when you’re learning to sew on a sewing machine is the type of needle that you’ll be using. While there are many different types of needles available, the two most common are universal needles and ballpoint needles. Universal needles are designed for woven fabrics and can be used for most fabrics. Ballpoint needles, on the other hand, are designed for knit fabrics and should not be used on woven fabrics, as it could cause damage to the sheen of the fabric.
When selecting a needle for a sewing project, it’s important to choose the right size. Generally, a size 10 or 11 needle is recommended for most fabrics. Thicker fabrics such as denim or leather will require a larger needle, while delicate fabrics such as silk or chiffon will require a smaller needle.
Finally, it’s a good idea to buy extra needles in order to avoid having to switch needles in the middle of a project. It’s also recommended to replace your needle after around 10 hours of sewing time. Doing so will help to maintain the quality of the stitches, as well as reduce the risk of breaking the needle while sewing.
Organizing Supplies
One of the most important parts of learning to sew is organizing your supplies. Having your supplies organized will make it easier to complete projects and save you time, which is key when you’re learning to sew.
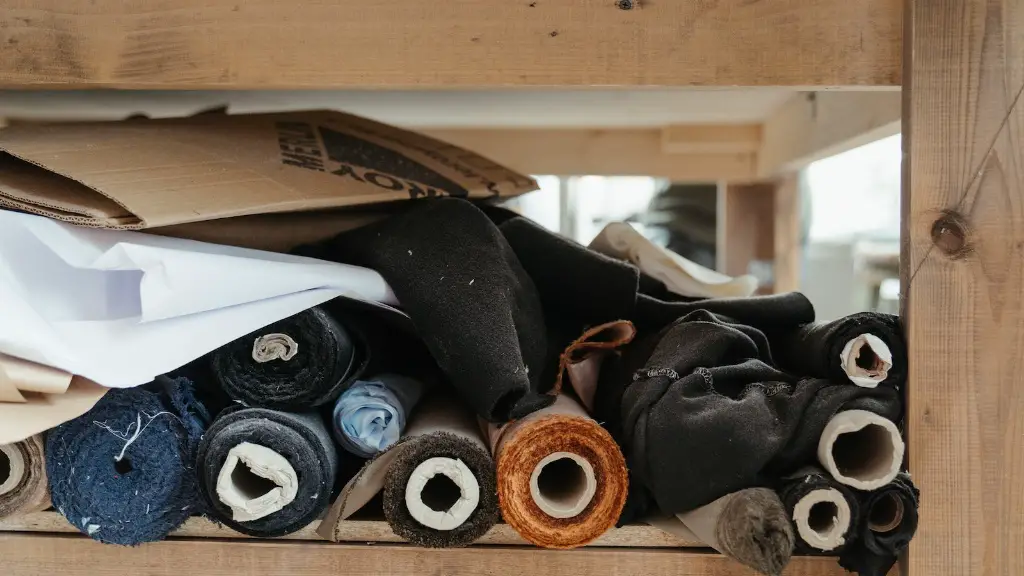
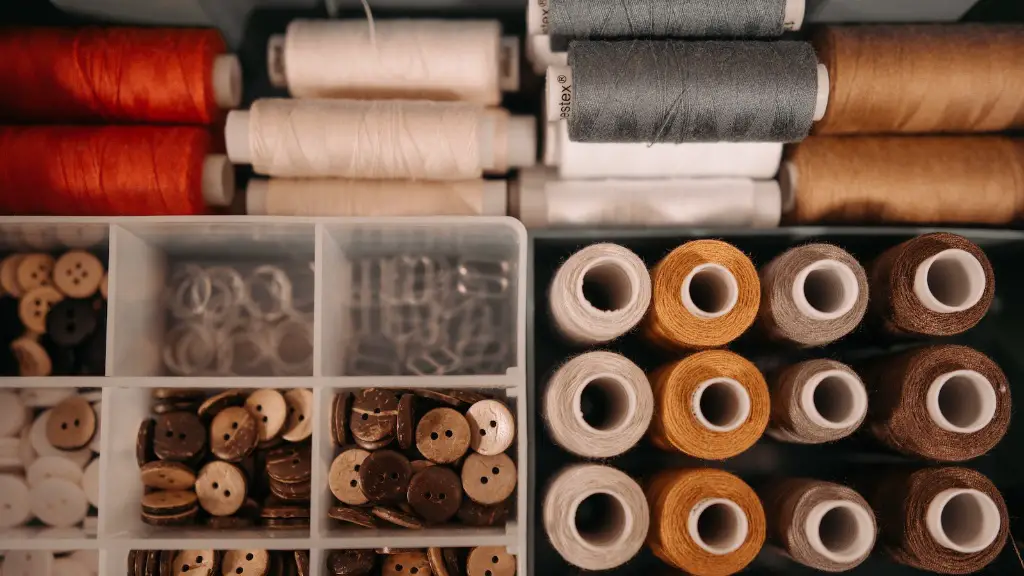
When organizing your supplies, start by setting up your sewing area in a way that is comfortable and easily accessible. Make sure that you have easy access to all the supplies you need, such as scissors, needles and thread. You should also take some time to organize your fabric. This can be done by categorizing them according to color, weight and use.
If you’re looking for creative ways to store your materials, try using bins, jars or a pegboard system. Doing so will help keep your supplies neat and organized. You can also keep a record of your sewing projects and supplies by photographing and documenting them in notebooks or online.
Make Your Projects Shine
Once you have mastered the basics of sewing on a sewing machine, you can begin to bring your projects to the next level. This can be done by adding special details and techniques, such as embellishments, zippers and piping.
To make your projects shine, consider peeking and finishing techniques such as French seams and bias binding. French seams are a common technique and produces a neat, clean finish on enclosed seams. Bias binding is a great way to add a fun pop of color or a decorative edge to a project.
Adding embellishments is also a great way to add a touch of personal flair to any project. Buttons, ribbons, and beads are all great ways to add extra detail. Bigger projects might require professional-looking topstitching to add strength, structure and a touch of polish to your garment.
Many of these techniques, such as zippers and piping, require more advanced skills. To help you master more complex techniques, such as topstitching and inserting zippers, consider taking a sewing class or watching YouTube tutorials. The more practice you have, the better your projects will look.
