Introduction
Sewing machines are invaluable tools for creating beautiful garments, curtains, and cushion covers, and other sewing projects. Learning how to sew on a sewing machine is not as difficult as it may seem for those new to the craft. Sewing with a machine can be a creative, rewarding experience, and knowing the basics can help anyone get started.
Gather the Necessary Sewing Machine Supplies
Begin by collecting the items needed to sew on a sewing machine. A sewing machine will be needed, as well as needles, thread, fabrics and any other supplies, like an iron and pattern pieces. Make sure the area where the machine will be used is well-lit, and there is enough space to spread out supplies.
Threading the Machine
Before beginning to sew, it is necessary to thread the machine. Threading involves feeding the thread through several components of the machine, including the needle and tension discs. The thread should be placed on the spool pin, wound around the tension disc, threaded around the outside of the shuttle race and wound through the needle. Machines come with instructional manuals that can help with the threading process.
Setting Stitch Patterns and Tension
To change the stitch pattern, consult the manual to learn the procedure for the specific machine. Stitch patterns are typically changed by adjusting a dial, selector, or buttons. For most projects, the tension should be set at the middle level. If the stitches look too loose, increase the tension by slightly turning the tension knob. If the stitches are too tight, decrease the tension.
Positioning the Fabric
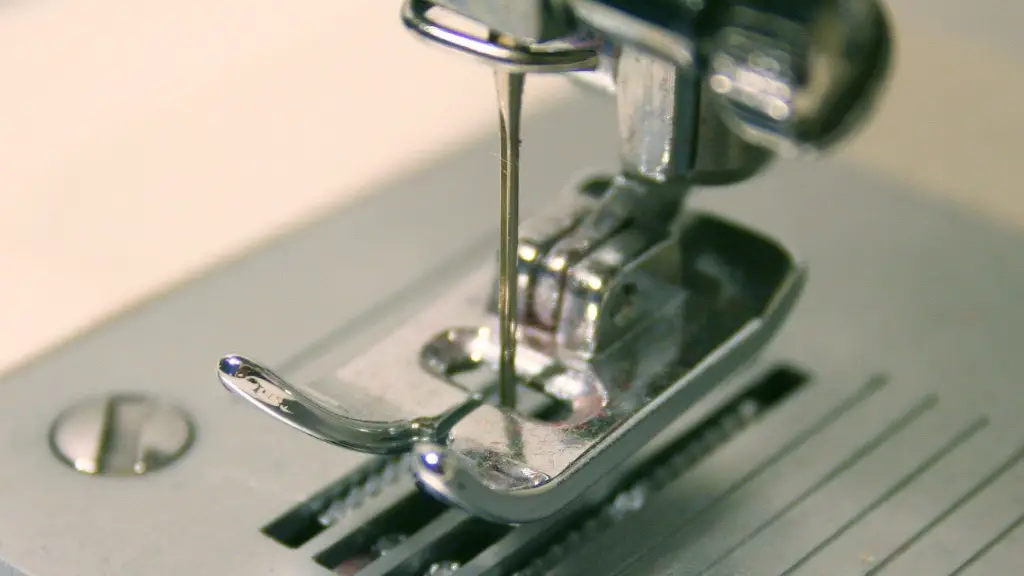
Before sewing a project, it is important to make sure the fabric is correctly positioned under the presser foot. Turn the hand wheel or press a button or lever to lift the presser foot, then place the fabric under the foot. Lower the foot to begin sewing. It is important to keep the fabric flat and guide it evenly as the machine feeds it through.
Finishing the Seam
At the end of the seam, stop with the needle in the fabric. Hold the threads on both sides of the seam and cut them at the same time with scissors. Zig-zag stitch to anchor the thread and prevent it from unraveling. Trim the excess thread strands.
How To Select the Right Fabric
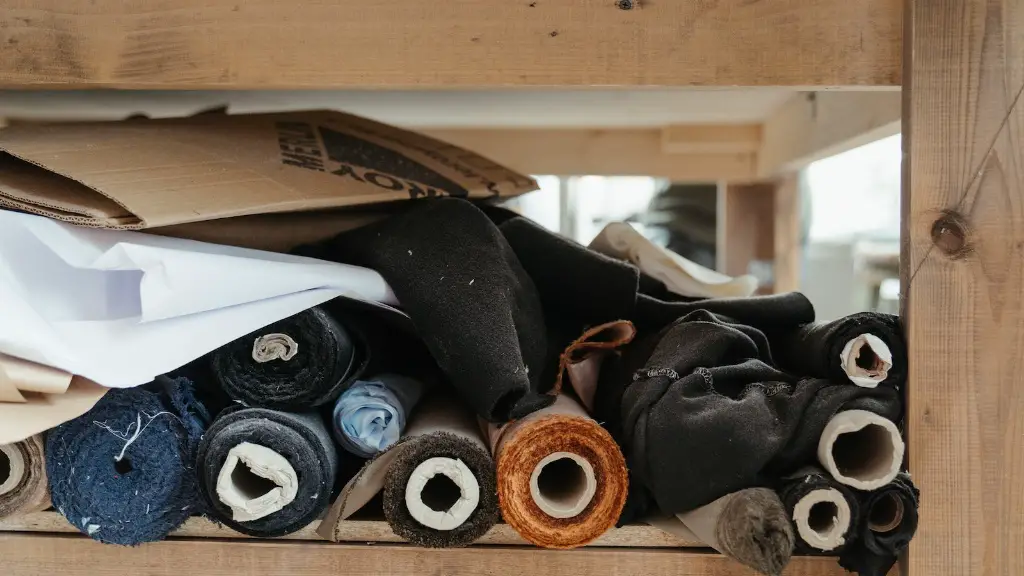
When selecting a fabric for a project, pay attention to the quality, texture and weight of the fabric. Look for fabric with a soft and durable texture. Fabrics made with synthetic fibers such as polyester and nylon are ideal. Fabrics made with natural fibers, such as cotton and linen, can be a good choice as well. Heavier fabrics require a stronger thread, so it is important to factor in the thickness of the fabric when selecting thread for the project.
Tips for Ironing Fabric
Ironing is an important step in the sewing process. It is important to select the appropriate temperature setting for the fabric being ironed. Before turning on the iron, test the heat on a scrap of the fabric being used for the project. Always use a pressing cloth between the iron and the fabric to prevent scorching or damaging the fabric. Ironing seams will help ensure the fabric pieces sit flush against one another.
Maintenance Tips
It is important to regularly clean the sewing machine, and oil it once or twice a year following the manufacturer’s instructions. Be sure to regularly check the tension and the needle, which should be replaced if it becomes bent or dull. Make sure all moving parts are lubricated properly, and inspect the cords and plugs for any wear or deterioration
How to Make a Welt Pocket
A welt pocket is a type of pocket created by cutting a slit or opening in the fabric, folding the fabric, stitching around the perimeter of the opening, and topstitching the finished pocket in place. To make a welt pocket, begin by marking the pocket shape and size on the fabric, using chalk or fabric marker. Cut out the pocket, leaving a 1 cm margin outside the marked pocket edge. Set the machine for a straight stitch and sew the pocket in place. To finish the pocket, stitch along the perimeter of the pocket, and topstitch where indicated.
How to Select the Right Thread
When selecting a thread for a project, it is important to take the fabric, seam type, and needle size into account. Threads come in a variety of sizes and materials, and choosing the right one will ensure smooth sewing and good results. For example, a coarser thread usually works best with heavier fabrics, while finer threads are better suited for lightweight fabrics.
How to Make a Buttonhole
Buttonholes are an important part of many sewing projects and making them requires special instructions and settings on the machine. Begin by marking the placement and size of the buttonhole with chalk or a fabric marker. Place the fabric under the presser foot and lower the needle at the beginning of the marked buttonhole line. Engage the buttonhole feature and set the machine to the appropriate setting for the fabric being used. Guide the fabric with your hands as the machine stitches. When the buttonhole is complete, raise the presser foot, cut the threads and finish the buttonhole opening with a special tool.
How to Sew a Seam
Begin by threading the machine and setting the stitch pattern and tension as desired. Place the fabric under the presser foot, lower the needle, and begin sewing. It is important to guide the fabric evenly with both hands and adjust the thread tension as needed. To end the seam, stop with the needle in the fabric, hold the threads on both sides, cut them and finish the seam.
How to Make French Seams
French seams are a type of seam finish that produces a neat, professional look. It involves stitching the raw edges of the fabric together, flipping the fabric over, and stitching again. Start by setting the machine to a straight stitch, and sewing the raw edges together, with the wrong sides of the fabric facing each other. Trim the seam allowance to 1/8 inch and press the seam open. Flip the fabric over so that the right sides of the fabric are facing each other. Stitch a second seam, and press again. The finished seam should be flat and neat.
Considerations for Working With Stretchy Fabrics
When working with fabrics that stretch, it is important to adjust the settings accordingly. Use a shorter stitch length of 2-2.5 mm, and use a universal machine needle, which are designed to cut through even the thinnest fabrics. A stretch stitch, such as the zig-zag stitch, can also be used, and will offer extra flexibility. For hemming stretchy fabrics, a narrow hemmer foot can help to prevent rippling and puckering.
Techniques for Sewing Curved Seams
Sewing curved seams can be tricky, but there are techniques that can make the process easier. When positioning the fabric, it is important to keep the curve smooth and even, as this will ensure a good result. A walking foot can help to manage curved seams more easily, as it helps keep both layers of the fabric secure. To help reduce bulk, trim the seam allowance on curved seams to about 1/4 inch.
