Understanding the Sewing Machine
A sewing machine is a machine used to sew fabric and other materials together with thread. The main components of a sewing machine are a controlling unit, a motor, a needle and arm, a bobbin and a bobbin case, and a feeder. A sewing machine can be used for both stitching and hemming, depending on the functions of the machine. Depending on the type of sewing machine and its make, the settings may be different. All sewing machines come with a manual that explains all the settings, which should be read first in order to get an understanding of the machine. Sewing machines can be bought from local fabric stores, or from online retailers, and range from basic manual models to elaborate computerized models.
Setting Up the Machine
To use a sewing machine, first it has to be assembled. Most machines are shipped in parts and take some time to put together. Begin by reading the instructions in the manual, as this will provide all the steps needed to assemble the machine. It is important to understand the different parts and their functions before setting up the machine, to avoid any damage. Once it has been set up, it is important to make sure all the moving parts are fully instructed and that the thread is in good condition.
Threading the Machine
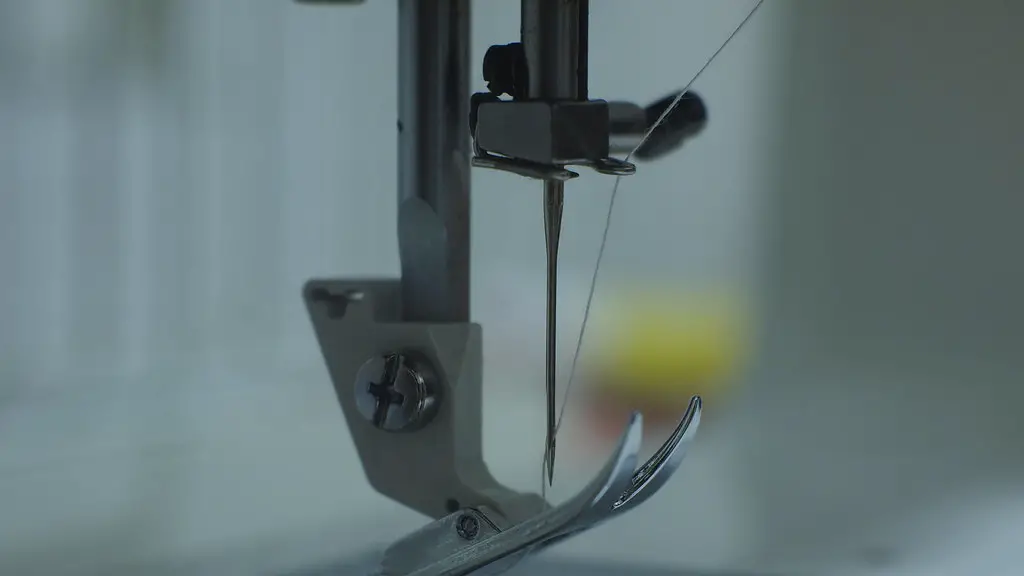
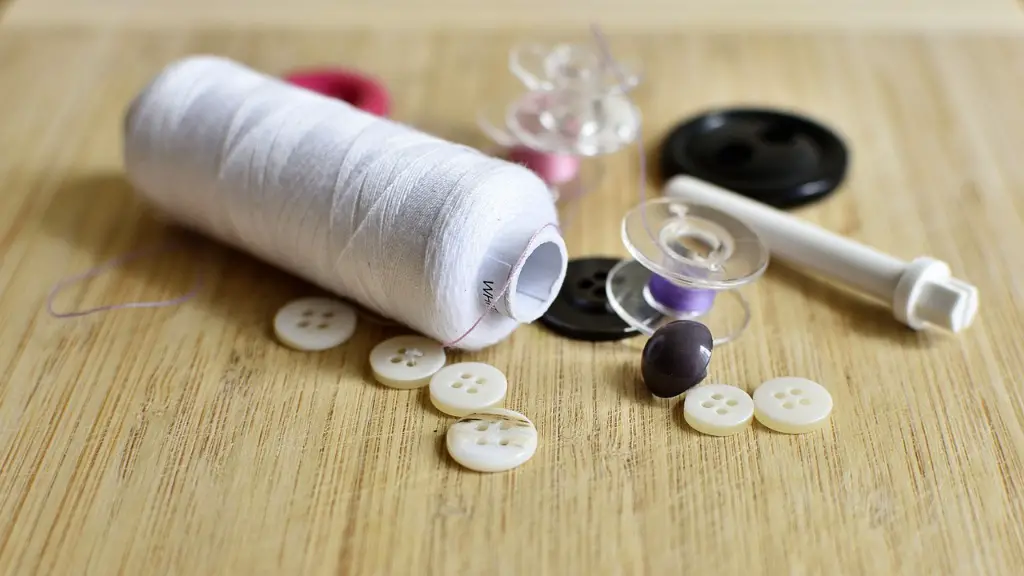
Once the machine is set up and in good condition, the next step is threading the machine. This process can be daunting for those who have never used a sewing machine before, but it is not as complicated as it seems. Begin by threading the top thread, which is done by pulling the thread through the tension disc, thread guide, needle and take up lever. The next step is threading the bobbin which requires the bobbin to be inserted into the bobbin case, then pulling thread from the spool and winding it around the bobbin.
Selecting the Mode and Stitches
Once the thread is in place, the machine is ready to be used. First, select the mode and type of stitch that is desired. The mode determines the speed at which the machine will sew and how the machine will react to different types of fabrics. The mode and type of stitch should be selected before starting the machine, and the settings can be changed while sewing if desired.
The Needle and Fabric
To begin sewing, the needle must be inserted into the machine and the machine turned on. It is important to ensure the needle is in the correct position and is suitable for the type of fabric that is being used. Thick and thin fabrics require different types of needles, so it is important to ensure the correct type of needle is used. Once the needle and fabric are in place, the next step is to adjust the stitches, which can be done by using the tension dial and threaded guides on the machine.
Beginning to Sew
Once all the settings are adjusted, it is time to start sewing. To begin sewing, the fabric must be placed under the foot of the machine and the foot must be lowered. The fabric should be held firmly against the plate, and the foot should be guided along the fabric to create the desired stitch. Different types of stitches may require different techniques, but it is important to remember to go slow and steady while sewing.
Using Different Features
Most sewing machines come with various features that can be used to enhance the sewing experience. Some machines may have needle threaders, automated thread cutting, and an array of decorative stitches. It is important to read the manual and understand how to use these features properly to get the most out of the machine.
Maintaining the Machine
Finally, it is important to know that proper maintenance is essential to keep a sewing machine in good condition. Regularly cleaning the machine, oiling the components, and changing the needle will help ensure that it functions properly. Additionally, it is important to regular adjust and monitor the tension of the thread, as this will help prevent unwanted and unsewn stitches, which can lead to frustrated sewing experiences.
Practice, Practice, Practice
After setting up the machine, threading it, adjusting the setting and understanding the features, it is now time to sew. Sewing is not easy, and it will take some time to get used to the rhythm of the sewing machine and the commands that need to be carried out in order to get the desired outcome. So, practice as much as possible, and have fun exploring the different possibilities of the machine.
Finishing Touches
Once the sewing is done, the last step is to finish the seam. This is done by trimming the excess thread and fabric, and then pressing to achieve a professional look. Depending on the fabric that has been used, it may be necessary to use an interfacing material to strengthen the seam, and to give it the desired look.
Storing the Machine
When the sewing is done and the fabric is ready to be put away, it is important to store the machine properly. Most machines come with a cover to be used when storing the machine, and this should be used to reduce the amount of dust and lint that gets inside the machine. The machine should also be oiled and checked for any malfunctions before being stored, as this will ensure that it is in working condition when it is needed next.
Conclusion
Sewing machines are powerful tools that have a multitude of uses. They can be used to create clothes and home decor pieces, and even to repair garments. However, before the machine can be used, it is important to understand its individual parts, the settings, and how to thread the machine. With the right knowledge and practice, anyone can master the art of sewing and make beautiful garments with ease.


