Stability of the Machine
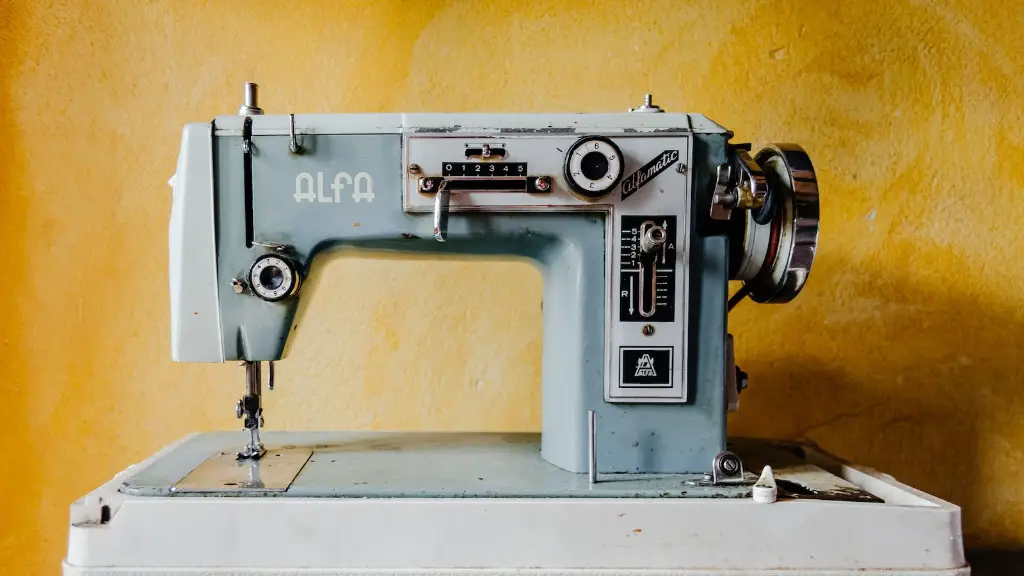
Stitch sewing machines are an integral part of sewing projects, and it’s important to make sure they are properly set up and stable before starting your project. To ensure stability, you must make sure the machine is placed on a flat, stable surface and is secured with the provided attachments and bolts. Make sure that when you move the machine, it is placed and secured securely in the new location and that the area where the machine is located is free from any objects or obstructions.
Threading the Machine
Threading a stitch sewing machine is a necessary part of setting up the machine for a sewing project. You will need to thread the top thread, bottom thread, and needle. First, you must select the correct thread for your project and thread it from the spool to the thread guide. Then, thread the lower or bobbin thread by following the available instructions on the machine or in the user’s manual. Once both the top and bottom threads are in place, thread the needle, ensuring that it’s secure.
Correcting Tensions
It is also important to correctly adjust the tensions on the stitch sewing machine before starting your project. The tension ensures that the top and bobbin threads remain in place while sewing and prevents them from becoming too loose or too tight. Generally, there are two separate tension dials located on the top and side of the machine, which can be adjusted to the appropriate tensions for the project. Regularly double check that the tensions remain correct throughout the sewing project.
Selecting the Stitch Length
The stitch length setting on the stitch sewing machine will determine the number of stitches per inch and the length of each individual stitch. Typically, the stitch length should be set according to the type of fabric being used for the project. Generally, longer stitches are used for fabrics such as canvas or denim, while shorter stitches are used for fabrics such as poplin or satin.
Presser Foot Selection
Once the stitch length is set, you should select the correct presser foot for the project. The presser foot is the standard sewing presser foot, which presses the fabric against the feed dogs that move the fabric through the machine. Different presser feet are designed for different fabrics, stitches, and techniques. For instance, a zig-zag foot is usually used for decorative stitches, whereas a universal presser foot is suitable for general stitching.
Safety Tips for Operating the Machine
Before beginning to sew on the machine, it is important to remember a few safety tips. It is advisable to disconnect the machine from any power source when making adjustments or replacing parts. Also, do not sew items with metal parts, such as zippers or embellishments, as they can damage the machine. Finally, keep your fingers away from the needle while it is in motion and be sure to wear protective equipment at all times.
Threading Needles
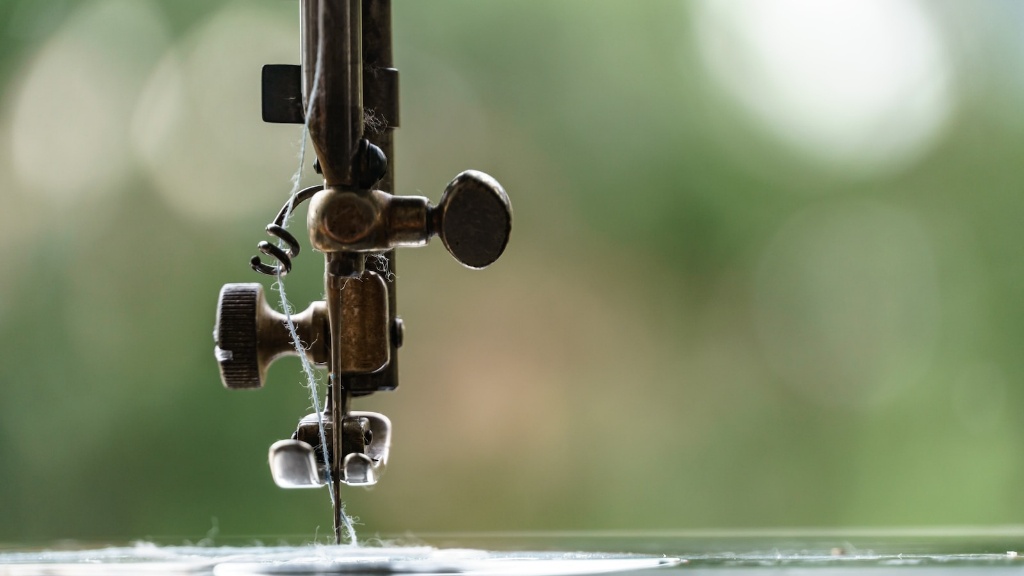
When sewing, the needle often needs to be changed or threaded. This is a simple process, however it is important to ensure that it is done correctly. Begin by turning off the power to the machine and disconnecting the power cord. Then, remove the needle and remove any lint or dust that may have accumulated in the area. Check the needle size and type requirements for the project and insert the new needle into the machine, tightening it securely in place.
Testing the Machine
Once the machine is set up and in place you will want to test it. This can be done by sewing on a scrap piece of fabric. The fabric should lay flat against the feed dogs and move freely through the machine. Be sure to check the tension, stitch length, and pressure foot setting before beginning to sew. Once the test is completed, you can be sure the machine is ready for your project.
Needle Plate
It is also important to ensure that the needle plate, which holds the needle in place, is properly lined up. This ensures that the needle will be in line with the stitch length setting, the presser foot, and the feed dog position. Ideally, the needle should be lined up with the center of the plate, allowing for even stitching through the fabric. To properly adjust the needle plate, consult the user’s manual or the machine’s instruction manual.
Oil the Machine
To ensure the longevity of the sewing machine, it is important to oil the machine on a regular basis. The recommended oiling schedule will vary depending on the type and model of the machine. The user manual will typically provide details on the recommended oiling schedule. Generally, oil should be applied to the parts of the machine that move, such as gears, cams, and linkages.
Clean the Machine
In addition to oiling, it is important to keep the machine clean. This prevents the buildup of lint and dust, which can cause the machine to malfunction. A clean machine also reduces friction and helps ensure that it produces the best results. For cleaning, use a soft cloth and machine oil.Do not use water or solvents, as this can damage the machine.
Troubleshooting
If the stitch sewing machine experiences any problems, it is important to identify and address them before continuing with the project. Regularly check the machine for any skipped stitches or loose threads, and make any necessary corrections. If the problem persists, consult the user manual or the machine’s instruction manual for troubleshooting tips and advice.
Adjusting Tensions
In order to achieve the desired stitching results, it is important to adjust the tensions correctly. The tensions should be adjusted until the upper and lower threads are balanced and not too tight or too loose. Generally, the tensions should be adjusted individually so that the looseness or tightness of the threads is even. Experiment with different tension settings until the desired results are achieved.
Learn Basic Sewing Techniques
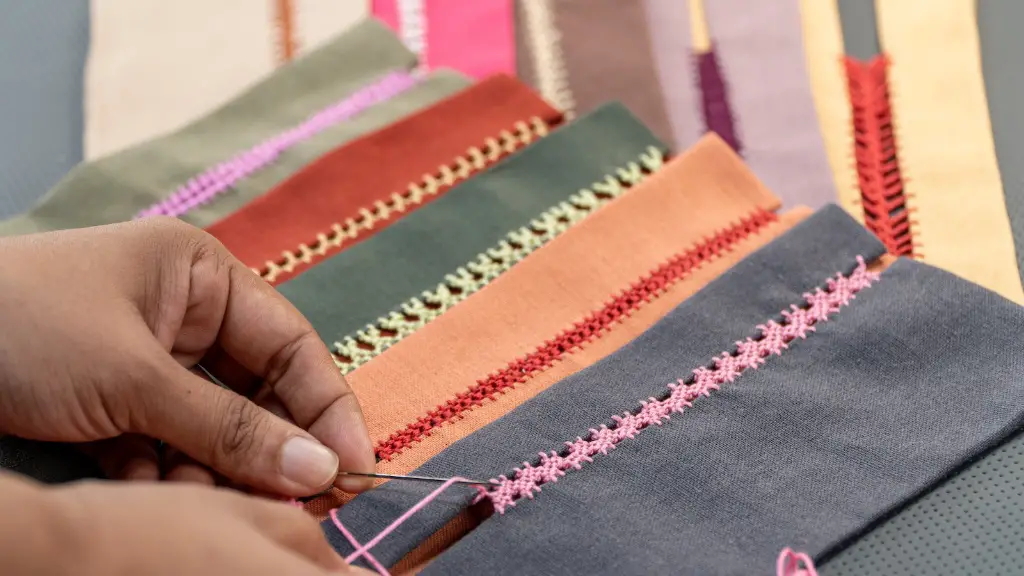
Having a basic knowledge of the different sewing techniques will help to ensure the best results. It is important to familiarize yourself with the different stitches, seams, and hems that are possible with a stitch sewing machine. Research different sewing techniques, and practice each one on a scrap piece of fabric before beginning a project.
Inspection and Repairs
It is important to regularly inspect the stitch sewing machine for any worn or loose parts. If any damaged parts are identified, it is important to receive appropriate repairs and replacements in order to maintain the health of the machine. Additionally, make sure to clean and oil the machine on a monthly basis in order to extend its life and performance.
Choosing the Right Needles
In order to achieve the best results, it is important to choose the right needles. Different fabric and threads require different types of needles. Generally, the needle should match the weight of the thread, and be appropriate for the type of fabric being used. Additionally, the eye of the needle must be large enough to allow the thread to pass through without any resistance.
Using Templates
Using templates or a pattern is a great way to make sure that your stitching is precise and accurate. Templates help to create lines and curves that are perfectly aligned, giving the desired result. Additionally, they help to ensure that the pieces are of uniform size and shape, allowing for accurate construction of the finished product.
Storage and Transportation
It is important to securely store and transport your stitch sewing machine. When transporting, be sure to secure the machine in an appropriate sized box, or other protective container. Additionally, machines should be stored in a cool, dry, and protected place when not in use. Additionally, always remember to store the machine cords wrapped up and away from any objects that may accidentally activate the machine.
