Introduction
Changing a needle is an important part of maintaining the life span of a sewing machine. Needles dull over time, so it is important to replace them as soon as they become ineffective. Furthermore, if needles are used over a long period of time, they can cause damage to the fabric and the sewing machine itself. This article provides helpful tips on how to replace a needle in a sewing machine.
Prepare the Sewing Machine
The first step before replacing a needle is to make sure the sewing machine is unplugged and properly prepared. It is important to thoroughly clean the sewing machine in order to avoid any particles interfering with the needle replacement. Also, make sure the needle clamp is empty and secure, as this is what will hold the needle in place.
Remove the Old Needle
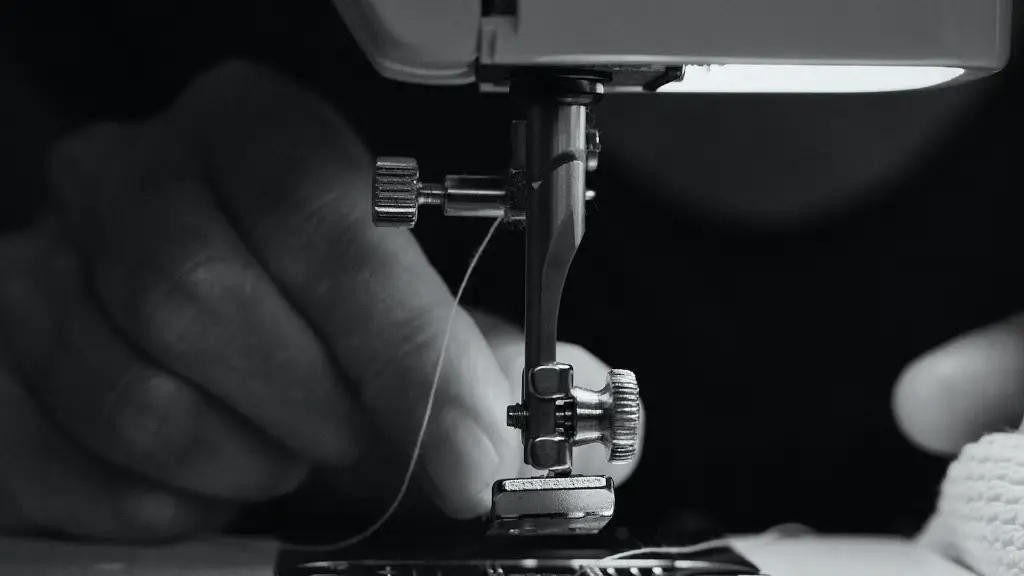
The old needle must be removed from the sewing machine before the new one can be put in place. This can be done by pressing down on the needle clamp, twisting the needle gently and then lifting it out. Once the old needle is removed, inspect it to ensure it should indeed be replaced. This will also help you determine which replacement needle will be effective.
Select the Right Needle Size and Type
Needles come in different sizes and are made of different materials, so it is important to select the right needle for the type of fabric and the project being worked on. Experts recommend sharp needle points for woven fabrics, while ballpoint needles are best for knits. Proper sizing of the needle is also important to ensure the fabric will not be damaged and the needle will not be bent or stretched.
Insert the Needle Properly
Once the correct needle is identified, it must be inserted properly into the sewing machine. Insert the needle from front to back with the flat portion facing the back. Also, make sure the needle is securely inserted into the needle clamp. Some machines require the needle to be tightened with a screw, while others require the needle to be seated properly in the needle clamp before securing it in place.
Check the Position of the Needle
Once the needle is secured in the needle clamp, it is important to check its position. The needle should be straight and should be positioned in the middle of the needle clamp. If it is not properly positioned, adjustments can be made by gently moving the needle to the correct position.
Test the Sewing Machine
Before beginning to sew with the new needle, it is important to test the machine to make sure it is working properly. Test the sewing machine by sewing small decorative stitches on a scrap of fabric. This will help ensure the settings are correct and the machine is working properly.
Conclusion
Changing a needle in a sewing machine is an important part of maintaining its effectiveness. Knowing how to properly prepare the machine, select the right needle, insert it correctly and test the machine will help ensure all sewing projects are done right. By following these steps, anyone can replace a needle in a sewing machine with confidence.


