Step 1: Gather Materials
Threading a sewing machine is less intimidating than it looks, especially on Brother sewing machines, which are intuitively designed with helpful features. Before beginning the threading process, you’ll need to gather a few materials. You’ll need thread, a spool holder, scissors, and a bobbin. Optional materials include a lint brush, a threader, and a seam ripper in case of mistakes.
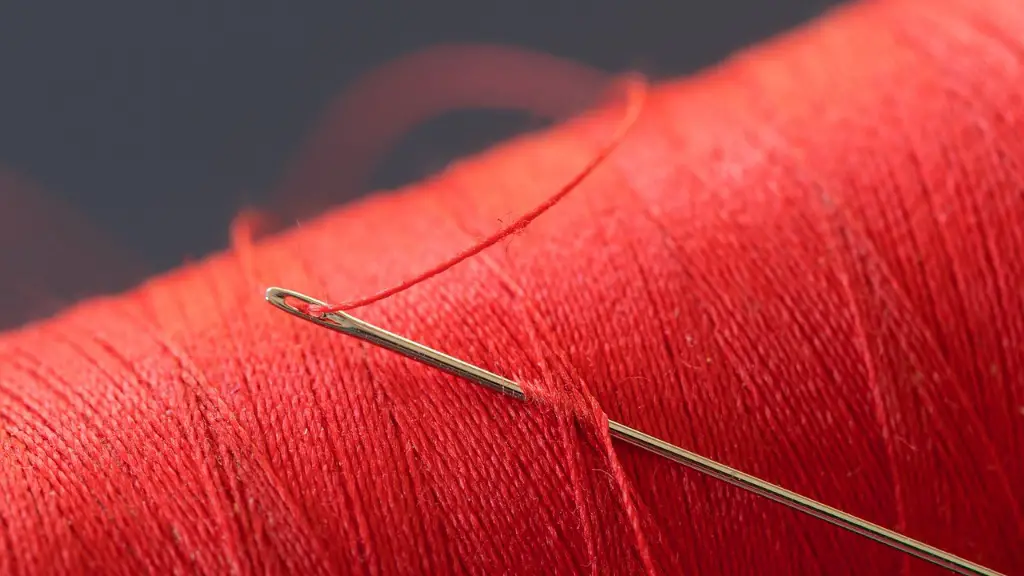
The thread must match the weight and texture of your fabric. Be sure to avoid using any thread that contains harsh chemicals, as these can damage the machine, fabric, or both. Match the color of the thread to your fabric for a neat, finished look.
Additionally, remember to pull a few inches of thread from the spool before you begin.
Step 2: Prepare the Bobbin
Once you’ve gathered the necessary supplies and materials, it’s time to prepare the bobbin. Start by winding the thread around the bobbin. For Brother sewing machines, the bobbin will turn off after the thread has evenly distributed.
If the thread begins to form a bird’s nest, it’s likely too tight; if it’s too loose, it won’t be able to wind up as it should. If you’re having trouble, try another spool or adjusting the tension to reduce the risk of tangling.
Once the bobbin is wound, trim the excess thread with scissors and cut from the top. Hold down the bobbin to secure it and make sure it’s turned in the correct direction; the thread should travel the opposite way of the winding.
Step 3: Place the Bobbin in the Machine
Once the bobbin is ready, open the side cover of the machine and locate the bobbin case. For Brother sewing machines, the bobbin case is typically a gray square or rectangle with the bobbin loaded in the center.
Hold the bobbin case by the finger grip and place the bobbin in with the thread winding in the correct direction. Place the bobbin back in the case, then slide the case back into the machine.
For rear-loading Brother sewing machines, remove the bobbin cover plate, then insert the bobbin clockwise before returning the bobbin cover plate.
Step 4: Thread the Upper Part of the Machine
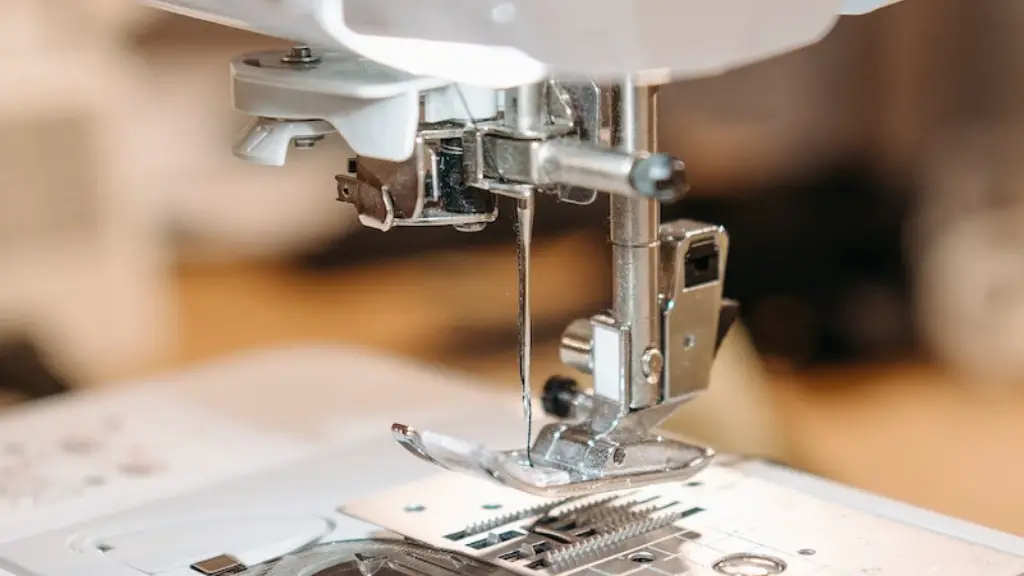
To thread the top part of the machine, start by raising the needle and presser foot lever. This allows access to the thread guides.
The thread’s guide path varies slightly between models; for Brother sewing machines, the thread path starts by going down, then up, then looping around the tension disc. Afterward, guide the thread through the take-up lever and back down to the needle and presser foot.
Be sure to pull the thread taut and be aware of the automatic thread cutter; Brother sewing machines are typically equipped with a built-in device that aids the user by automatically cutting the thread when the presser foot lever is lowered.
Step 5: Thread the Bobbin
To thread the bobbin, hold the spool with one hand and the thread in the other. Push the needle down, passing the thread around the left side, then loop it around the tension disc. Guide the thread up, past the take-up lever, and through the slit in the bobbin.
Once you’ve threaded the bobbin, pull the thread taut and lower the needle and presser foot lever. To adjust the bobbin’s tension, press down on the bracket and adjust the screw accordingly.
Step 6: Secure the Thread and Test the Machine
Once all of the threads are secured, you’re nearly done! Your Brother sewing machine is now ready to use. Before testing your machine, check that the bobbin is seated properly inside the bobbin case.
To test your machine, try a few stitches on scrap fabric and adjust the tension if needed before moving onto your project.
Additional Tips and Troubleshooting
Before you follow the steps to thread your sewing machine, it’s helpful to familiarize yourself with the basic components. All Brother sewing machines have a needle, bobbin, presser foot, thread guides, take-up lever, tension disc, and stitch selector.
Though Brother sewing machines are designed for ease of use, the thread may become tangled from time to time. If this happens, try adjusting the tension first. A threader can also help to get the needle through the eye. If the issue persists, most Brother sewing machines offer troubleshooting assistance.
Using Threads of Different Colors
Changing the thread color to suit the fabric of your project adds an extra layer of customizability and detail to your work. Switching between thread colors is simple and doesn’t require any extra steps.
When changing thread colors, remember to cut off the old thread and hold both threads when starting. To do this, hold the two threads in one hand while pushing the needle down with the other.
Each thread color should also have its own bobbin. When you’re finished with a project, your sewing machine will have multiple bobbins, each with a different thread color.
Additional Threading Tips
Though the threading process for Brother sewing machines is generally the same, it can vary slightly between models. For this reason, it’s always a good idea to check the threading instructions that came with your machine if you’re having trouble.
A few additional tips could also prove helpful. First, don’t pull the thread with too much force; this could damage the machine or thread. Second, learn to recognize the types of knots and tangles that could occur so you know how to prevent them.
Finally, keep the area around your machine clean by using a lint brush or vacuum. Even the slightest lint can interfere with the thread, potentially causing it to jam.
The Benefits of Threading Your Sewing Machine
Threading your Brother sewing machine properly allows you to take on more complex projects as well as achieve a more professional finish. Learning how to thread a sewing machine is also a skill that can be used with any machine regardless of make or model.
How you thread your machine affects stitch quality, so it’s worth the effort to become efficient. With the help of the right tools, your sewing machine will be ready to enable you to leave your creative mark!
