How to do Embroidery with a Sewing Machine
Embroidery provides an opportunity for creative expression, ranging from simple geometric shapes to complex floral designs. With the help of a sewing machine, beautiful embroidery can be achieved quickly and easily, allowing you to spend less time working and more time enjoying the finished project! This guide will teach you the basics of embroidery with a sewing machine, as well as some tips and tricks to help you along the way.
What You Need
To begin embroidery with a sewing machine, you must first have the necessary supplies. A standard sewing machine with an embroidery attachment is required. You will also need to obtain special embroidery-specific threads, needles, fabric, and hoops. An embroidery hoop is a frame used to keep the fabric held in place during the embroidery process. It is important to ensure that all of your supplies are suitable for your machine and the fabric you will be using. Additionally, there are many specialty accessories that can be purchased to make the embroidery process easier and allow for more creativity.
Preparing Your Machine
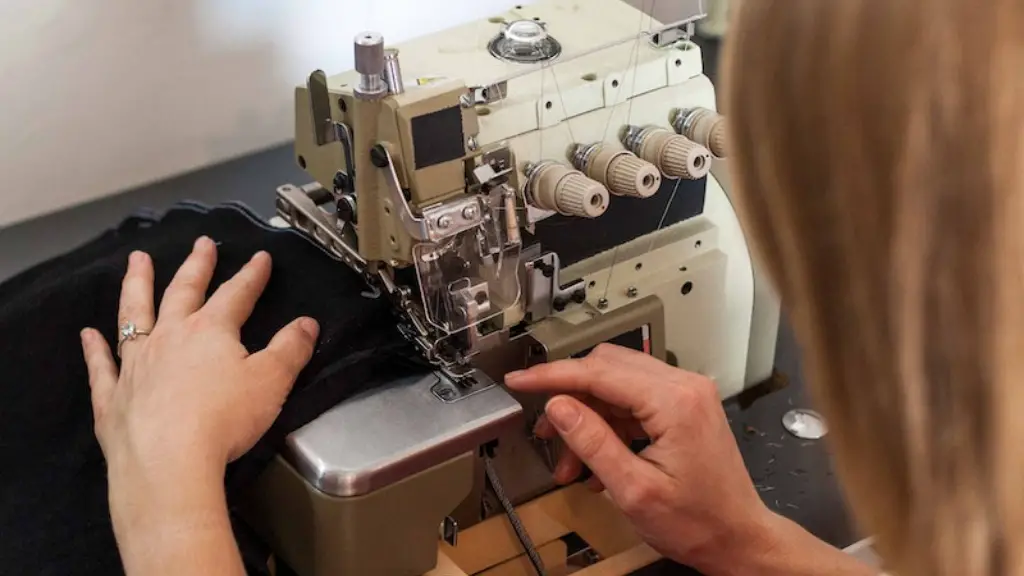
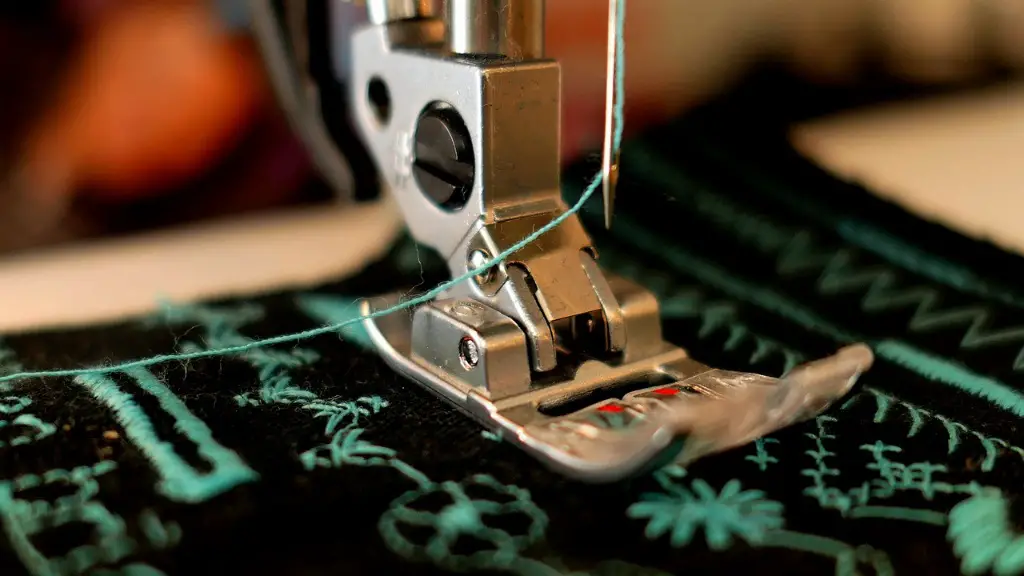
Once you have gathered your supplies, you will need to prepare your sewing machine for embroidery. This involves threading the machine and loading the bobbin. Additionally, you should replace the traditional presser foot with the embroidery foot that is designed to work specifically with embroidery fabrics. It is important to note that the embroidery foot has a rounded shape, which allows the needle to move freely over the fabric and create clean, consistent stitches.
Transferring Your Design
The next step is to transfer the design of your choice onto the fabric. You can either do this manually, tracing it onto the fabric with a water-soluble marker, or you can use an embroidery transfer method such as punching or digitizing. Punching is the process of transferring the design onto the fabric using a tool, such as a punch needle, to make the holes for the thread. Digitizing is the process of converting the design into a digital file and using a computer to transfer it onto the fabric. Both of these methods are quicker and more precise than manual tracing.
Creating Your Embroidery
Once the design has been transferred onto the fabric, the next step is to begin creating the embroidery. This involves selecting the type of stitch you want to use, as well as the thread color and stitch length. When selecting a stitch, it is important to consider the overall look of the design, as different stitches can produce different effects. Once the stitch and settings have been chosen, you can begin to embroider. It is important to ensure that your fabric is held securely in the hoop and that the needle is threaded correctly. Once you are ready to begin, you can start sewing and create your beautiful embroidery.
Tips and Tricks
Embroidering with a sewing machine can be intimidating at first, but with a few tips and tricks, you can become a pro in no time. Firstly, it is important to ensure that the fabric is held tightly in the hoop. This will help to prevent the fabric from stretching or sagging as you sew and keep your design looking professional. Secondly, practice on scrap fabric prior to beginning your project. This will help you to become familiar with the machine settings and stitching technique. Finally, always double check your thread tension before beginning the embroidery. This will ensure that your stitches are even and your design is of the highest quality.
Removing Your Embroidery
Once you have completed your embroidery, the final step is to remove it from the hoop and properly care for it. To remove the fabric from the hoop, gently pull the hoop away from the fabric. Take care to not tug or pull the fabric, as this can cause the stitches to become loose. After the fabric has been removed from the hoop, it is important to press the embroidery using a damp cloth to ensure the stitches remain intact and the fabric is flat. Additionally, you can use an extra layer of fabric to protect the finished embroidery while storing it.
Conclusion
Embroidery with a sewing machine is an enjoyable and rewarding experience that allows you to express your creativity and truly bring your design to life. With the right supplies and a few tips and tricks, you can learn to produce beautiful embroidery quickly and easily.
Additional Section 1: Planning Your Design
Creating an embroidery design is a fun and exciting process, but it can sometimes be overwhelming. Planning your design prior to beginning is essential for a successful project. Start by researching different embroidery techniques to choose a style and technique that you like. Additionally, consider the type of fabric that you will be using and the amount of time you will have to complete the project. This will help you to determine the size and complexity of the design that you can create.
Once you have gathered your supplies and planned your design, it is important to take the time to create a template for the design. A template will provide a reference for the size and shape of each element within the design, as well as the type of stitches that should be used. Additionally, the template can be used to transfer the design onto the fabric. This will help you to ensure a clean and consistent look throughout your embroidery.
Additional Section 2: Stabilizers
Stabilizers are materials used to strengthen or stabilize the fabric while embroidering, which is especially useful for fabrics that may stretch or move while stitching. Stabilizer comes in different types, such as cut-away or tear-away, and can be used to add additional support and stability to the fabric. The type of stabilizer used will depend on the type of fabric being used as well as the design being embroidered.
For delicate fabrics, such as silk, a cut-away stabilizer is generally recommended. This type of stabilizer is very durable and will remain in the fabric after the embroidery process is complete. For fabrics that are more stable, such as cotton or linen, a tear-away stabilizer can be used. This type of stabilizer can be removed from the fabric after the embroidery process is complete and will not leave any trace of its presence.
Additional Section 3: Hooping Fabric Correctly
It is important to ensure that your fabric is hooped correctly when embroidering. To do so, place the fabric in the center of the hoop and tighten the screw. If you are using a thicker fabric, it is best to use an adjustable hoop, which allows you to adjust the size of the hoop to better accommodate the fabric. Next, use a hoop tape to secure the fabric in place. Hoop tape is a special adhesive fabric that will help to hold the fabric in place and prevent it from shifting during the embroidery process.
When the fabric is secure in the hoop, double check that the design is properly centered. It is also important to ensure that the fabric is taut in the hoop, so that the design will remain centered and the stitches will look even. If the fabric is stretched too tightly, it may warp or pull. If the fabric is too loose in the hoop, it may move during stitch-out, leading to an inconsistent design.
Additional Section 4: Troubleshooting Embroidery
The embroidery process can be frustrating at times, but it is important to know how to troubleshoot any problems that may arise. If you find that the stitches are not evenly placed, the tension may need to be adjusted. Additionally, the bobbin may fill up quickly or threads may break if the needle is too large for the fabric. Another common problem is skipped stitches, which can be caused by incorrect threading of the machine or tension settings.
If the fabric is warping or puckered, it is likely not hooped tightly enough or the fabric is not strong enough to resist the tension of the stitches. Lastly, if the stitches are not forming properly or the design is distorted, it is likely that the fabric is not properly secured in the hoop. If you encounter any of these problems, take the time to troubleshoot and resolve the issue before continuing with the embroidery.


