Setting up the machine
Learning how to thread a mini sewing machine is essential for those looking to get into sewing and craft making. Every good mini sewing machine will come with an instruction manual, so be sure to read this before you thread your machine. Depending on the make and model of your machine, the set up process may vary slightly.
Start by making sure the presser foot is in the raised position. Most machines have a lever on the back of the machine to raise and lower this foot. You will also need to open up the bobbin case, which is usually located on the front of the sewing machine. Make sure the thread inside the case is clear and not twisted or tangled.
Threading the upper part of the machine
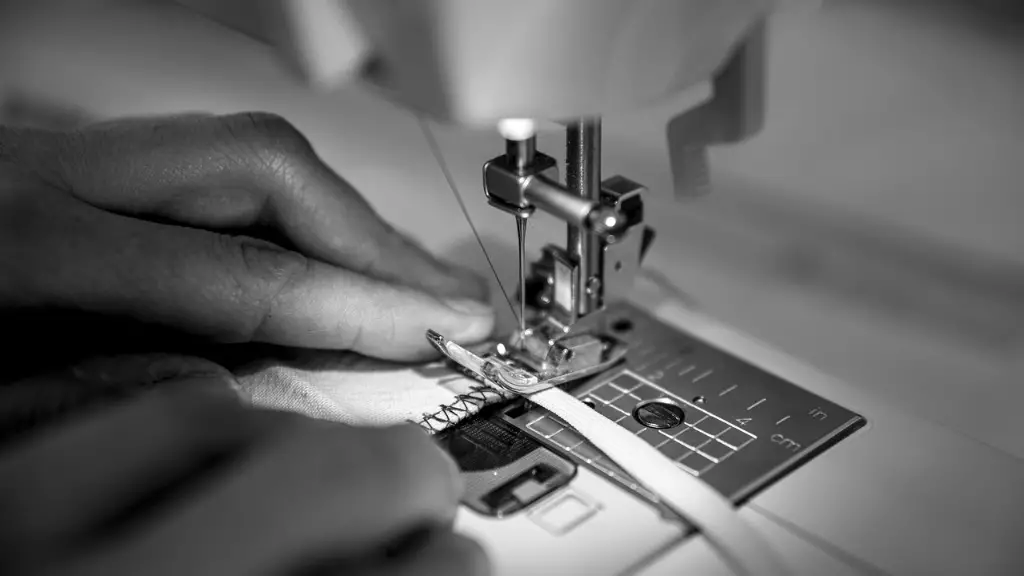
Once the presser foot and bobbin case are in the correct positions, it’s time to thread the upper part of the machine. Begin by raising the needle to its highest level. Then, locate the thread guide – often marked with a line, arrow or a threading guide. Thread the line by passing it through the thread guide. You may need to pass it through a few other guides or springs along the way.
Whilst this is slightly different depending on the model of your machine, there is usually a thread take-up lever on the right side of the machine. You will need to lift and pass the thread through this lever. Be careful to ensure that the thread is not knotted or twisted, otherwise it can cause the stitches to become weak.
Threading the bobbin
Now it’s time to thread the bobbin. Start by selecting the correct bobbin for your machine. If you don’t know which bobbin will fit your machine, consult your manual. Then, make sure the bobbin is inserted in the correct direction. The thread should wind in an anti-clockwise direction.
Next, locate the bobbin thread spool, which is usually located at the top of the machine and get your thread ready. With the thread in one hand, hold the bobbin in the other and pass the thread through the little hole at the bottom. Now carefully wind the thread onto the bobbin while making sure it remains flat as you do so. It’s also a good idea to leave a small amount of thread hanging off the bobbin so you can easily draw the thread up when you begin sewing.
Drawing the thread up
Now it’s time to draw the thread up. Push the bobbin case into the machine, making sure to keep the thread loose. Once this is done, turn the hand wheel until the needle is in its highest position and locate the needle plate. Reach in with your hand and find the little hole in the plate – this is where the bobbin thread will come up.
When the bobbin thread is through the hole, stop turning and grab the two threads with your hands. Pull the upper thread and then the lower. This will bring both threads up to the top of the machine. Pull the two and place them both into the take-up lever that you threaded earlier. This will pull the thread down further into the machine.
Testing the threads
Once you have finished threading your mini sewing machine, it is important to carry out a test with the threads before you begin sewing. Set the machine to its straight stitch mode, and begin stitching. As you do this, check that the thread is not too tight or too loose. It should be nice and even – not too knotty or wrinkled.
Also, check to see that the bobbin thread is coming up nicely. This can be done by stitching in reverse – the bobbin thread should appear on the top. If all looks good, then you’re ready to start sewing!
Additional Machine Features
Mini sewing machines come with a number of additional features that can be used to make your sewing easier, faster and more accurate. Some machines come with a built-in needle threader, while others have a foot control so you can adjust the speed. Be sure to read your manual and to familiarise yourself with all the features of your machine before getting started.
The right tools and attachments can also make all the difference in your sewing. Most machines come with a range of presser feet, needles, spools and bobbins. Knowing how to use these tools and how to thread them accordingly is essential for successful sewing.
Understanding Stitch Types
It’s also important to understand the different types of stitches available on your machine. The most basic stitch is the straight stitch, which is used for garment construction and hemming. Whilst this is ideal for most projects, mini sewing machines can also produce zigzag, scallop and border stitches. Each of these offer different effects and textures, so take some time to experiment and see which stitches you prefer.
The blind hem stitch is also great for creating a neat, professional finish on fabric. This type of stitch is usually used on the edges of bed linens and curtains, to ensure that the hemline is neat and even. Be sure to practice this stitch on a test sample before applying it to any finished item.
Looking After the Machine
Just like any machinery or tool, a mini sewing machine will need to be properly maintained in order to stay in good condition. After each project, be sure to clean and oil the machine, as this will help to keep it running smoothly and will reduce the amount of wear and tear over time.
It is also a good idea to cover the machine with a dust cover when it is not in use. This will help to keep the interior free of dust and dirt, which can cause the machine to become clogged and could potentially lead to breakages. Additionally, this will help to maintain the overall condition of the machine and extend its life.
Getting Help
For those just starting out on their sewing journey, it can be helpful to join a sewing community online or to find a local sewing class. This is a great way to learn more about how to use and maintain a mini sewing machine and to share tips and advice with other sewers.
Sewing is an enjoyable activity and learning how to thread a mini sewing machine is an essential part of the process. With practice and patience, you’ll soon be creating masterpieces with your own little machine. Best of luck on your sewing journey!
