Introduction to Sewing Machines
Sewing machines are a great way to add a personal touch to any wardrobe or home decor. Sewing machines allow you to customize clothing and fabric projects quickly, easily and with great results. Whether you’re an advanced sewist or a beginner just starting out, knowing how to start a sewing machine is an essential skill. In this article we’ll cover the basics of how to start a sewing machine, including how to thread a machine, how to fill a bobbin and how to select stitches.
Setup and Threading the Machine
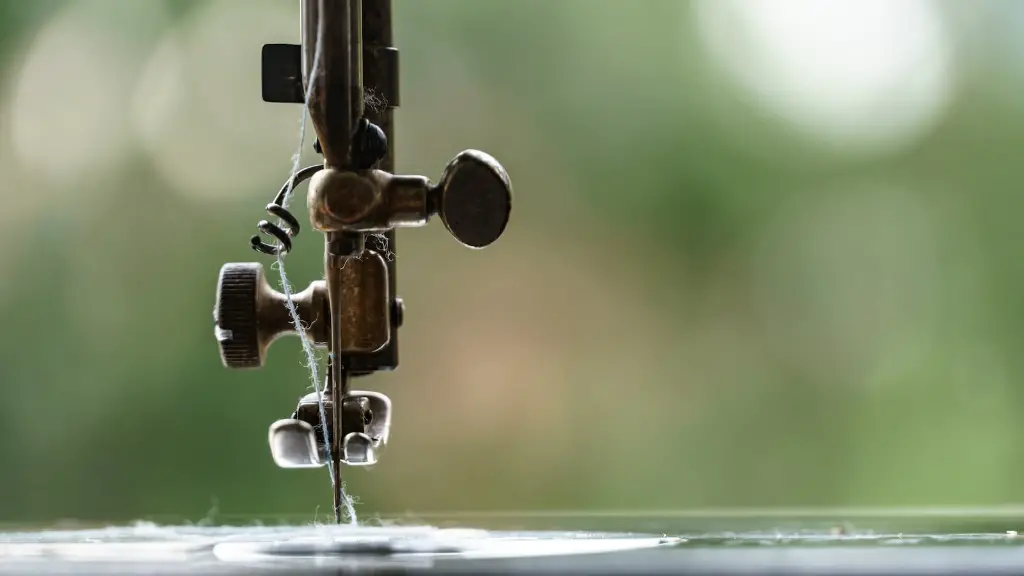
The first step to starting any sewing project is to set up your machine. Depending on the type of machine you’re working with, this may involve attaching the presser foot and other attachments, as well as threading the machine. To thread the machine, start by guiding the thread through the tension discs at the back of the machine. Then guide the thread through the upper thread guide, the take-up lever, the needle thread guide, and finally the needle. Secure the thread to the bobbin thread, and you’re ready to begin sewing.
Winding the Bobbin
Once you’ve threaded the machine, you need to fill the bobbin. To do this, start by threading the bobbin thread through the bobbin winder. Place the bobbin on the bobbin winder in the same orientation as the threaded needle. You can then turn the handle on the bobbin winder to start winding the bobbin. When the bobbin is full, release the handle and cut the thread. You can then attach the bobbin to the machine and you’re ready to begin sewing.
Machines for Different Projects
When selecting a sewing machine for a specific project, it’s important to choose one that meets your needs and is suitable for the type of fabric you’ll be working with. Different machines have different stitch types and capabilities. For example, if you’re sewing quilting fabric, you may want to choose a machine with a free-motion quilting foot. If you’re looking for a machine that can handle more delicate fabrics, you may want to choose a machine with a blind hem foot.
Setting the Stitch and Foot Pressure
Before beginning any sewing project, it’s important to adjust the machine’s settings for the stitch you’ll be using and the type of fabric you’ll be working with. Most machines have knobs or buttons that allow you to select the stitch, set the stitch length, and set the stitch width. Adjust the foot pressure setting to the weight of the fabric you’re working with and you’re all set to begin sewing.
Preparing the Fabric
Before you begin sewing, it’s important to prepare the fabric. Depending on the type of project you’re working on, this may involve pre-washing the fabric, pressing it or cutting it to the desired size. Make sure to use sharp scissors and pins to keep the fabric from shifting while you’re sewing.
Starting the Sewing Machine
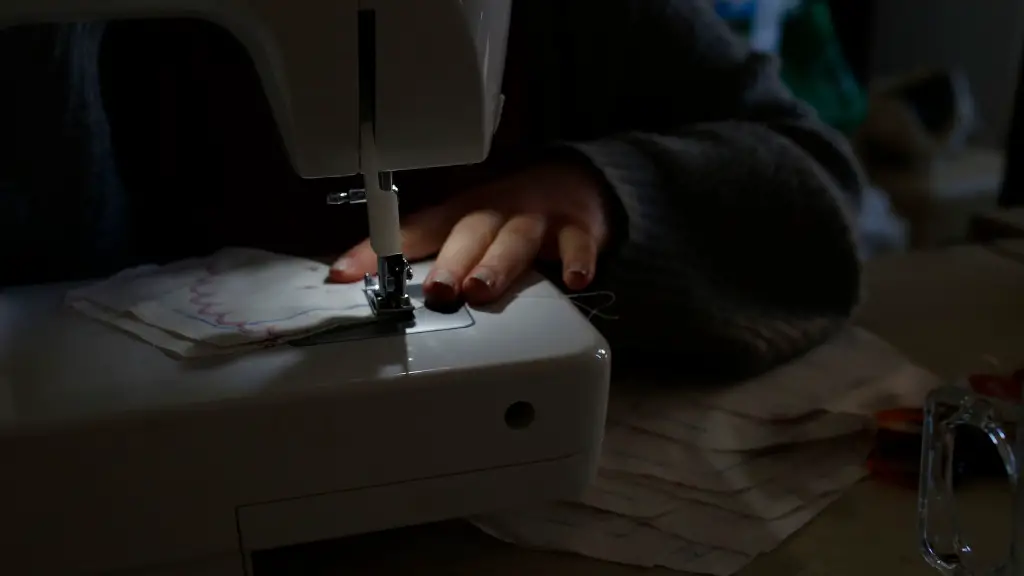
To begin sewing, start by pressing the foot pedal. This will cause the machine to start running and the needle to move up and down. When the needle has stopped, guide the fabric under the presser foot and begin sewing. You can also adjust the speed of the machine by pressing the foot pedal harder or softer.
Different Stitches
When selecting a stitch, it’s important to consider the type of fabric you’re working with and the type of project you’re sewing. Straight stitches are great for piecing fabric while zigzag stitches are good for finishing the edges of fabric. Stretch stitches are ideal for working with stretchy fabrics, while decorative stitches are great for adding a personal touch to a project.
Free Motion Quilting
For more advanced projects such as quilting, free motion quilting is a great way to add a personal touch to any project. To do this, start by selecting a free-motion quilting foot and setting your machine to a stitch-length of 0. Attach the foot to the machine and lower the feed dogs. You can then adjust the speed of the machine to your preferred speed and begin stitching.
Finishing Your Project
When your project is finished, press the foot pedal to stop the machine and cut the thread. Take the fabric from the machine and press it with an iron, if needed. To finish the project, use a seam ripper to remove any excess threads, and you’re done!
Seam Finishes
To make sure your project is finished off properly, it’s important to use the right seam finish. For example, a straight stitch can be finished with a zigzag stitch or a serged edge. A French seam is a great way to finish seams on sheer fabrics, while a bias tape finish is perfect for finishing curved edges.
Sergers
Sergers are a great way to finish off edges and add a professional touch to any project. Sergers are used to overlock the edges of fabric, and are great for creating a clean and professional finish. Sergers also come in a variety of stitch types, so you can use them to customize the look of a project.
Safety
When using a sewing machine, it’s important to remember to practice safety at all times and be aware of your surroundings. When sewing, make sure that the machine is in an area that is well- ventilated and away from excess heat and direct sunlight. Additionally, always use the appropriate presser foot and foot pressure for the type of fabric you’re working with and make sure the needle is in good condition before beginning a project.
Storage and Maintenance
It’s important to store your machine away from moisture and dust. Be sure to keep the machine covered when not in use and avoid exposing it to extreme temperatures. Additionally, it’s important to perform regular maintenance on your machine to keep it in good working order. Finally, be sure to read the manual of your machine to ensure that you’re using it correctly and safely.


