Mr. Singer and His Invention
For decades, Singer sewing machines have been undoubtedly one of the most revolutionary inventions of its time. In 1851, American inventor Issac Merrit Singer founded the Singer Sewing Machine Company. His invention allowed for garments to be sewn much faster and more professionally than the standard hand seaming. The Singer Company has gone on to become the world’s largest manufacturer and distributor of sewing machines, with models ranging from tiny domestic machines to powerful and complex industrial models.
For amateur or professional sewers alike, threading a Singer Sewing Machine is a cinch. Threading the machine is the first step in setting up the machine so that it can mint embroidery, do repairs, and create stylish garments. Let’s take a look at a few steps in threading a Singer sewing machine and how to get started with the basics.
Threading the Looper
First, let’s cover the basics on threading the looper component. The looper component is what will control the tension of the thread and how tight the stitches are in your fabric. To thread the looper component, start by removing the needle from its compartment. Hold the thread spool between your thumb and index finger and draw the thread up to the top of the machine and over the outer tension spring. Turn the balance wheel located at the side of the machine towards you so that the needle is in its highest position. Place the thread beneath the presser foot, and draw it back and around the thread guard. Pull it left of the looper component and pull it back through the hook on the inside.
Threading the Needle
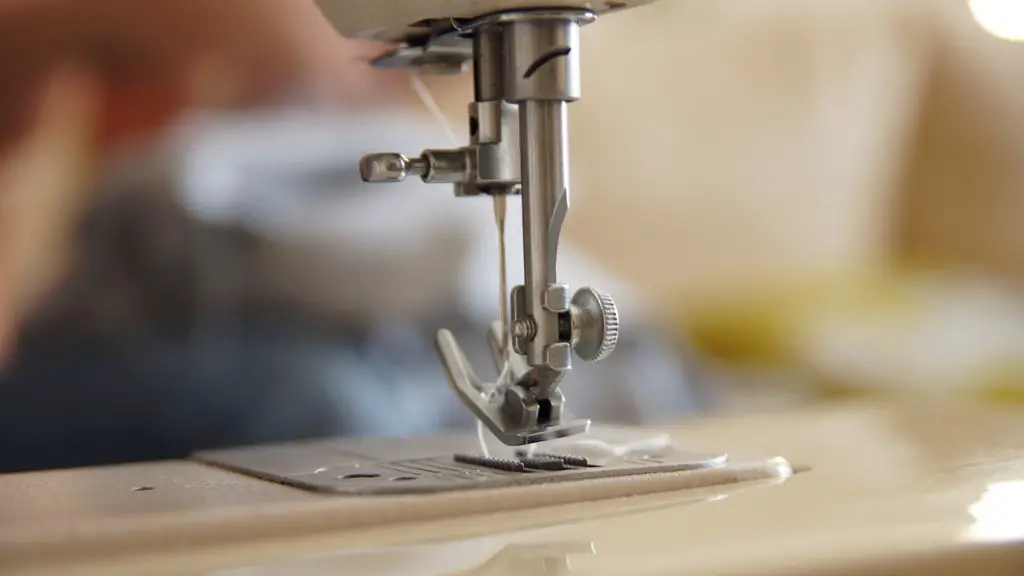
Now, let’s take a look at how to thread the needle of your Singer Sewing Machine. This step is very important in getting the needle to be able to feed in the thread at the right speed. Start by turning the balance wheel towards you to raise the needle to its highest position. Drop the spool of thread onto the spool pin and use your fingers to keep the thread over the top of the needle plate. This will make sure the thread is arranged correctly for passage through the loopers and into the needle. Draw the thread up and to the upper left side of the machine and loop it between the metal finger and the metal hook. Pass the thread back down through the needle bar guide, and finally through the needle’s eye.
Tensioning the Treadle
Now let’s turn our attention to tensioning the treadle. This is an important part of threading the machine as it controls the tightness of the stitches. To adjust the tension on the treadle, loosen the small screw located on the side of the machine. There is a small ball bearing located in the tension spring, and this should be adjusted up or down depending on the thickness of the material being used.
Checking the tension
Before using your Singer Sewing Machine, it’s important to check the tension and make sure everything is correct. One way to do this is to sew a few stitches sewn onto a scrap piece of fabric. If the thread is too loose, the stitches will not be tight, and if the thread is too tight the stitches may be likely to break as soon as the fabric is pulled.
Testing You Machine
Before tackling any major sewing project it’s important to test the machine out by following a few simple steps. The first step is to place a scrap piece of fabric under the presser foot and pull the thread under the foot. Make sure the thread is in the slotted thread guide located on the side of the presser foot. Next, turn the balance wheel to the right to feed the needle up and down. Push down on the foot pedal and gently start to sew a few stitches onto the fabric. After a few stitches, raise the presser foot and examine the seams carefully. Check to make sure the right tension has been used and the stitches look even and neat.
Cleaning the Machine
It’s important to keep your Singer Sewing Machine in good condition in order for it to perform optimally. To do this, a good practice is to clean the machine regularly. Begin by raising the presser foot and taking out the bobbin. Clean around the bobbin housing and the rim of the needle plate to remove any lint or threads. Next, take a damp cloth and clean down the body of the machine. Make sure to check for any rips or tears in the belt or wear and tear in the needles. Finally, make sure to oil the machine regularly by applying a few drops of oil onto a soft cloth and wiping down the moving parts.
Storing Your Machine
When storing your Singer Sewing Machine make sure it is in a cool, dry place. Ensure the tension of the treadle is loosened when storing as this will help to avoid any tension in the bobbin thread. Make sure to cover the machine when not in use, and clean the lint away from the machine regularly.
Safety Tips
When operating a Singer Sewing Machine, it is essential to practice safety guidelines. It’s important to always use the correct size and type of needle for the fabric you are working with. Also, always keep your eyes on the needle and fingers away from the needle opening at all times. It’s important to be aware that the needle can break, so it is essential to start at a slow pace and gradually build up the speed.
Types of Singer Machines
Singer Sewing Machines come in a variety of models and, depending on the project, one will have to choose the correct machine for the job. Singer machines come in two types of models; the mechanical machine and the electronic machine. The mechanical machine is the more basic model, and the electronic machine is more technologically advanced, with the added feature of being computerized.
Accessories
To get the best results out of your Singer Sewing Machine, it’s important to use the right accessories and attachments. This includes things like bobbins and presser feet. Take a look at the Singer website to learn more about which attachments best suit which machine type.
Conclusion:
Threading a Singer Sewing Machine is easy and straightforward. With the steps explained above, you should have no problem setting up your Singer Sewing Machine and getting it ready for sewing. If you’re ever unsure about how to do something, the Singer website is an excellent source of information and advice, so make sure to check there if you need any help.


