How to Make a Serger Stitch on Sewing Machine
Does making a serger stitch on a sewing machine seem overwhelming? Producing the neat looking finish of a serger stitch on a sewing machine is a snap when you equip yourself with the right knowledge and practice. Here, we’ll show you the how-to’s on making a serger stitch on your home machine.
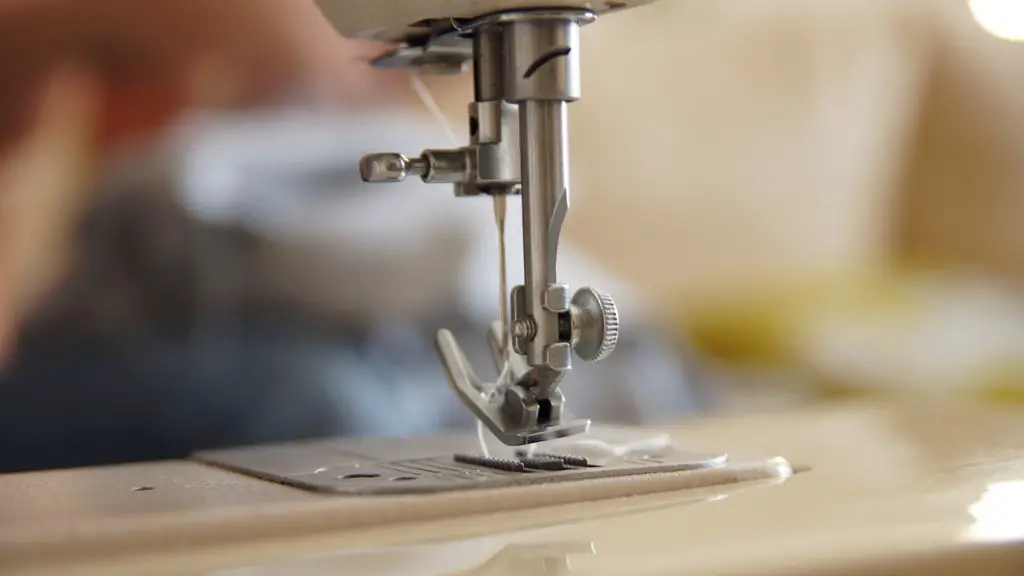
To replicate a serger stitch on a sewing machine, you’ll need to use the overcast stitch setting. The overcast stitch is designed to forge a neat finish on the edge of fabric. The stitch zig zags from the left, over to the right and then back to the left to prevent any frays or threads from sticking out. To achieve a close resemblance of a serger stitch, use the longest stitch setting and the tightest tension.
However, even with these steps taken into account, achieving a perfect serger stitch still comes down to technique. It’s important to angle the fabric away from the presser foot when providing your stretch. This is because a normal presser foot pressure combined with fabric pushed into the needle could cause the fabric to get stuck during sewing. Excessive pressure can make it difficult to sew the overcast stitch in one movement.
To prevent fabric shifting when sewing the overcast stitch, use a straight stitch in tandem with the overcast stitch. This is because when fabric shifts during sewing, the overcast stitch can’t do its job properly. By adding a straight stitch, you can help to keep the edges of fabric securely in place while the overcast stitch sews together.
When you’re ready to sew your edge, place the fabric under the presser foot – pressing your edge back to the wrong side at a 45-degree angle – ready for the overcast stitch to catch the raw edge. Start the stitching process by pressing down the backstitch lever and beginning the overcast stitch.
When making a longer seam, start from the left and stitch towards the right in one continuous movement. Each of your overcast stitches should just barely touch the last line of stitches. If the stitching turns out too scrunched, reduce the length and tension of your stitch slightly.
To finish off the overcast stitching, press the backstitch lever again. This is designed to secure the stitches and reduce the chance of slipping fabric. It’s important to practice the overcast stitch each time you plan to use it, as this is one of the few techniques that is extremely dependent on fabric weight and texture.
Using a Differential Feed
Some sewing machines come with a differential feed lever or an adjustable feed dog. The feed dog is a metal or plastic tooth-like part located beneath the presser foot. It’s sole job is to feed the fabric with a smooth and even stitch. To get an even better overcast result, use the adjustable feed dog.
To make use of the adjustable feed dog, depress the lever which allows you to make the outfeed side move faster than the needle as it sews. This action prevents any skipping or uneven stitching motion which can produce a snail-like look. Additionally, using a differential feed will reduce the elasticity of your fabric. However, when using the differential feed, you would need to make sure that the outfeed side has been adjusted the right way. Otherwise, you could be in for very puckered fabric.
Using Self-Threading Needles
To make overcasting a breeze, it’s best to switch to a self-threading needle. This is because a self-threading needle eliminates the need for pulling thread through the eye of the needle. With a self-threading needle, the process of threading becomes much simpler and faster.
To use a self-threading needle, wrap the thread around the shaft of the needle. When you’re ready to begin sewing, press the eye open and push the thread through the eye. After the thread is secured, pull free about six inches of thread to give you enough room to work with.
How to Troubleshoot Meaningful Stitches
If your overcast stitches don’t look neat and you’re having trouble producing a consistent stitch, consider increasing the length of your stitch. Increasing the stitch length also relieves tension from your needle which allows you to sew better. Additionally, avoid pulling your fabric as this can mess up your stitch spacing.
You might also have a slipping fabric scratch or a tension issue. If your thread is slipping under the fabric, the tension may be too loose. To fix this, increase the tension of your thread slightly until the bobbin thread is snug underneath the fabric.
Secure Your Threads
When you’re all done, secure your threads with a zig zag stitch. This will prevent any additional fraying and ensure that your fabric is held together firmly. To make it neater, use a matching thread colour and sew a small backstitch near the edge to make it invisible.
Fill In the Holes
If you have used a larger stitch length for the overcast stitch, your fabric can be left with holes. Unfortunately, these still need to be filled in to give the fabric a neat, professional feel. The best way to do this is to whip your seam – running thread over your seams before your knots. You may have to do this twice or so to get a neat, even look for your fabric.
Test Your Overcastting
To make sure your overcasting will fare well with wear, try a rub test. Take two fabric remnants alike and overcast one side of each. With the two pieces lying faced down, rub the overcast side together and overcasted side should remain firmly together.
Practice Makes Perfect
Even experienced sewists can have difficulty perfecting the art of overcasting. It’s a skill that takes dedication and practice. The neatness of your overcasting will come down to the technique, tension, stitch length and fabric that you’ve chosen. Depending on the fabric and other materials that you’re wielding, the method may need to be adjusted to produce the best possible results.
