Step-by-step Guide to Installing a Sewing Machine Foot
Installing a sewing machine foot is a relatively simple task that can often be completed in just a few steps. It can be helpful for those new to the craft or for experienced sewers who are unfamiliar with their new machine.
Firstly, different sewing machines may require different feet, so be sure to consult your machine’s manual to be sure you are installing the correct foot. A great way to identify the correct foot for your machine is to remove the mounting screw from the back of the machine and compare it to the feet available for purchase or online.
Once you’ve identified the appropriate foot for your machine, it’s time to get started. Begin by powering off your machine and unplugging it. This prevents any accidental activation that could cause harm.
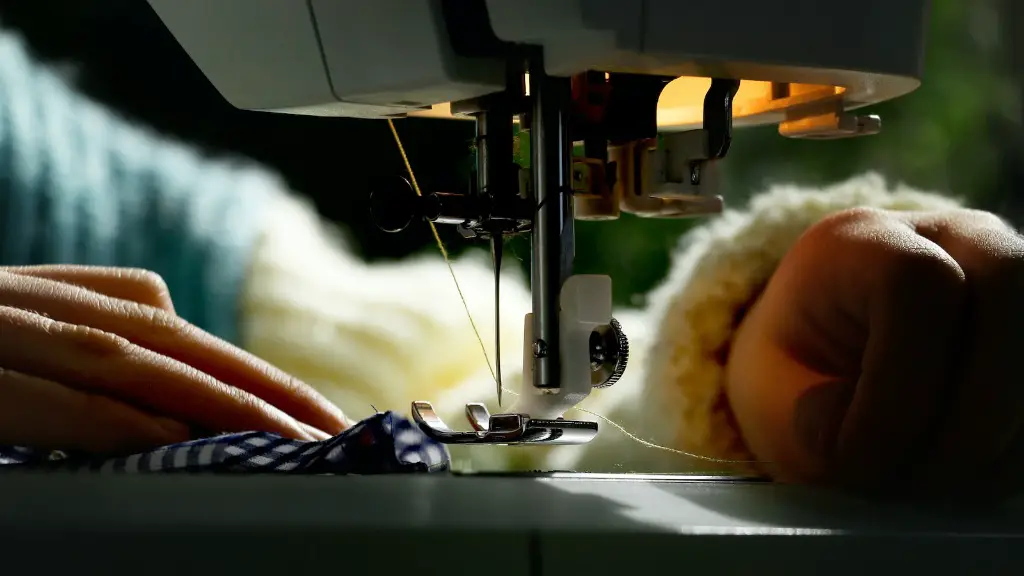
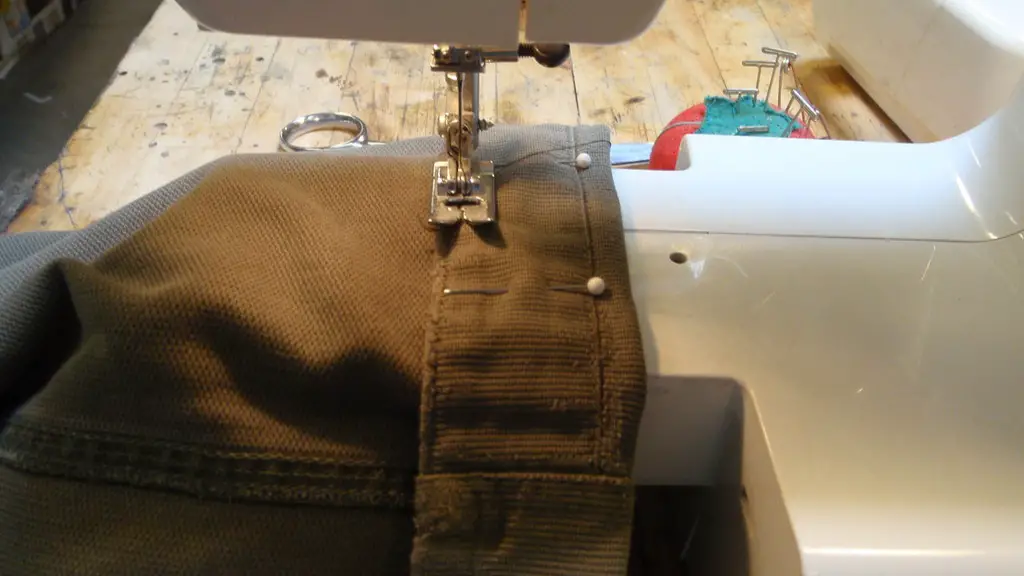
Next, located the lever on your sewing machine foot, and slide it up to unhinge. Place the foot on the machine so that the flat-endedbar slides into the slots at the end of the machine’s needle bar. Now, lower the lever back into place, making sure the foot is securely attached.
If your sewing machine foot features hooks, use these to secure the foot to the machine by hooking the prongs underneath the needle plate. If your foot does not have hooks, use the screw from the back of the machine to attach the foot securely.
Once your sewing machine foot is attached, it’s finally time for you to select the setting for your desired stitch. Look for the guidebook or online resources that came with your machine for specific information about the settings for different types of stitches.
Finally, double-check that all parts are attached securely, and that your machine is still securely unplugged before re-powering it on. Now that your machine is ready to go, you can get to work working on a range of projects with your new foot.
Understanding the Different Types of Sewing Machine Feet
There are many different types of sewing machine feet, which vary depending on the kind of task you’re hoping to accomplish. Generally, the types of feet that come with your machine will be enough for most basic jobs – but you may choose to invest in additional feet depending on your specific needs. Some of the most commonly used feet are:
A walking foot is used to keep multiple layers of fabric from slipping or shifting. This foot moves along with the top and bottom feed dogs to achieve consistent top-stitching.
A zipper foot can be used for stitching close to a zipper or along the edge of two fabrics. The foot can be adjusted to the left or right side to be close to the zipper, making it the perfect tool for these types of tasks.
A quilting foot is designed to help you stitch through four layers of fabric with ease. It can also be used for free-motion quilting – which is the practice of directly stitching onto fabric without using a pre-defined pattern – by using the drop feed feature.
A ruffler is used to create pleats or other decorative stitching. It can be used to create pleats at a desired interval, as well as different mechanical effects, such as gathers and pintucks, and is especially handy for creating decorative flounces and trims.
Roller foot is invaluable when working with slippery fabrics such as Vinyl or other plastic-based materials. This foot will help the fabric glide smoothly and easily, allowing you to sew faster and with fewer problems.
Tips for Sewing with a Machine Foot
When sewing with a machine foot installed, it’s important to be extra mindful of what fabric you’re working with and how it affects the stitching and the use of the foot. A great tip is to always test a scrap of the fabric before starting the project to make sure the stitch settings, tension and fabric all work together correctly.
Make sure to pay attention to the type of needle you are using and replace it after every 8-12 hours of use. The type of needle you use can make a huge difference in the overall performance of your machine, and using the wrong needle can lead to snagging and other issues.
If you find yourself working with more difficult fabrics, such as velvet or leather, it may be a good idea to use a different machine foot than the one that came with your machine. Each fabric type has it’s own unique needs, and a specialty foot may be just the thing to help you get the job done.
Finally, be sure to clean and lubricate your machine regularly to ensure that it is running smoothly and efficiently. This will extend the life of your machine, and make sure it’s always ready to go whenever you need it.
How to Maintain Sewing Machine Feet
A properly maintained machine foot is essential to keeping your machine running smoothly and efficiently. Over time, machine feet can begin to show signs of war and tear, especially if they are used frequently. If a machine foot becomes worn or damaged, it can cause the fabric to snag, resulting in poor stitching and poor performance.
Fortunately, maintaining a sewing machine foot is relatively simple. Start by thoroughly examining the foot for any signs of damage or wear. Be sure to check the pressing lever and the hooks for any signs of damage. If the foot is visibly damaged or worn, it’s best to replace it with a new one.
For general cleaning,soak your machine feet in warm, soapy water for about 10 minutes. Be sure to keep the foot submerged to prevent any soap from getting onto the machine. When you’re ready, use a small brush or a toothpick to remove any dirt or debris that has accumulated on the foot.
After the foot is clean, dry it off and lubricate any moving parts with sewing machine oil or other sewing machine lubricant. This will help the foot glide smoothly and prevent any further wear and tear. Finally, be sure to store your machine feet in a dry and dust-free environment to ensure they maintain their shape and performance.
Using the Right Foot for the Job
Choosing the right foot for the job is essential in achieving desired results when working with fabric. If you’re unfamiliar with the foot that came with your machine, be sure to consult online resources or the manufacturer’s manual for specific instructions on how to use the foot correctly. This can help you save time and money, and minimize frustration from re-stitching.
It’s also important to remember that some feet are only compatible with certain types of fabric. This can vary depending on the needle you are using, as well as the specific foot and fabric combination. As such, it may be worth investing in additional feet to accommodate different fabric types.
When you’re ready to start your next project, take some time to research the different types of feet and needles that are best suited to the job. This can help ensure that you get the best possible results – and the most out of your sewing machine.
Caring For Sewing Machine Feet After Use
After you’ve finished your project, it’s important to properly care for your machine feet. Start by thoroughly wiping down all the surfaces with a damp cloth to remove any dust, dirt or debris that has accumulated during use. Make sure to check for any signs of wear or damage, and replace any damaged feet with new ones.
Next, use a mild detergent and warm water to give the feet a thorough cleaning. Be sure to use a soft brush or cloth to remove any stubborn dirt and debris. When you’re finished,be sure to dry the feet off thoroughly with a clean cloth.
If the feet are still feeling slightly sticky, use machine oil or lubricant to give them a nice shine and feel. This will help ensure the hooks move smoothly and that they don’t collect dirt while in storage. Finally, store the feet in a dry and dust-free environment to ensure they stay in top shape.
Why Properly Installing a Sewing Machine Foot is Important
Properly installing a sewing machine foot is essential to ensuring the best possible performance and longevity of your machine. With the right foot installed, you can ensure that your machine runs smoothly and efficiently – while eliminating the frustration of dealing with snags and problems from worn out feet.
It’s also important to remember that when you use the wrong foot for a job, you may be compromising the quality of your work. Each foot has a unique purpose, and properly identifying and installing the right one for the job can help ensure that you get the best results possible.
Finally, having the right foot installed can also help to keep your machine safe. A correctly installed foot will ensure that all parts are working together correctly, and that there is minimal risk of damage or malfunction.
Conclusion
Attaching a sewing machine foot is a relatively simple task that can help you achieve impressive results. Understanding the different types of feet and how to properly attach them is key to ensuring the most efficient performance of your machine. Finally, properly caring for your machine feet is also essential to keeping your machine running smoothly for longer.
