Knowing the steps and techniques of how to thread a sewing machine can save you a great deal of headache and frustration. Sewing is a rewarding creative activity, which can come with a few challenges, such as learning how to thread a sewing machine. Whether you’ve been sewing for years or just starting out, threading a sewing machine is an important part of the process. Learning how to do it correctly ensures you are able to finish off your projects successfully. This article provides a step-by-step guide on how to thread a sewing machine for a wide range of machines.
To begin, tidy up your workstation and gather the necessary equipment. Before trying to thread a sewing machine, ensure your environment is clear from dust and other obstructions, as these can cause a machine jam. Make sure your spool of thread, scissors and other tools are within easy reach. It’s recommended to make sure the machine is turned off before beginning with the threading process. Once you have made sure your workstation is set up properly, it’s time to begin threading.
Start by winding your bobbin. Everyone’s machine is different but most modern machines come with an automated bobbin winding system. Different machines have their own winding processes, so it’s important to refer to the manufacturer’s manual and learn how to use the bobbin winding system properly. A bobbin is a cylindrical or spherical spool of thread that when wound together with the upper thread, creates a loop and forms the stitch. Make sure to wind the thread around the bobbin a few times so it’s sufficiently thick. Once you are done winding the bobbin, it’s time to move on to the next step.
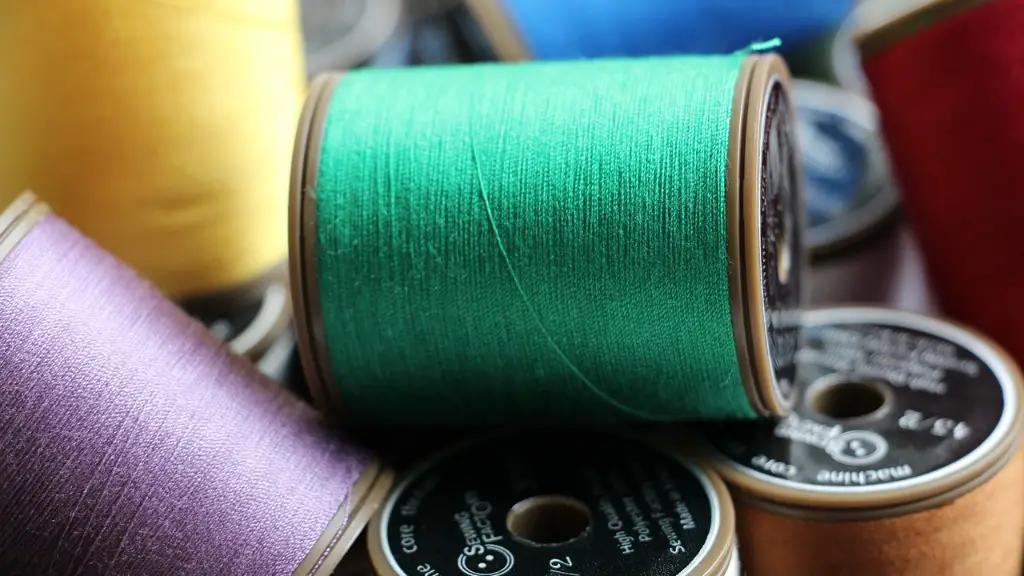
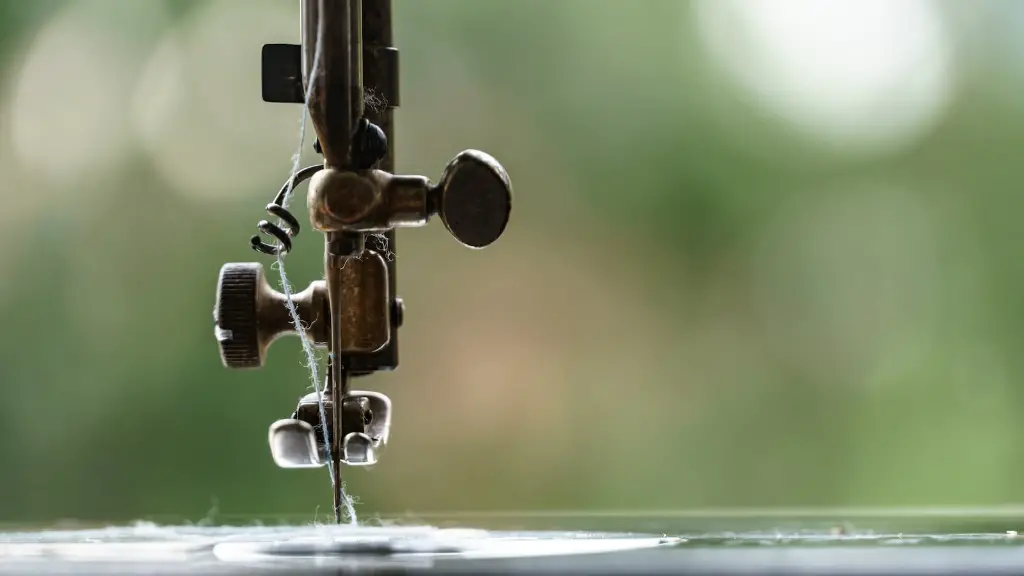
Threading the machine can be irritatingly tricky. With this in mind, take your time and follow each step carefully. First, hold the spool of thread and bring it to the upper-left side of the machine, making sure to pull the thread across the machine’s faceplate. Then, hold the thread’s tail and open up the front of the machine. Depending on the machine, you will see a variety of routing guides to take the thread around, although the process is the same for most models. Take the thread from the spool’s tail and feed it around the tension discs, then through the slit or slot on the takeup lever. Secure the thread in a loop around the thread guide located nearby and secure it onto the spool pin. Pull the thread behind the needle and clip the thread as close as you can.
If you’ve followed through the steps correctly, the upper thread should now be threaded correctly. Proceed with threading your bobbin by inserting the bobbin into the machine and pulling out the thread’s tail until it reaches the outside of the bobbin. Then take the tail and guide it past the bobbin tension plate. Secure the thread in between the tensions plate and press down the plate before you release the bobbin back into its housing.
Finally, you are all set to start sewing! Pull the upper thread to the back of the machine and lower the needle into the bobbin’s area. Pull both threads together beneath the cloth sandwich before starting to create your desired stitches.
Sewing Machine Jam Prevention
To help prevent sewing machine jams, it’s important to clean and maintain the machines regularly. A quick but thorough cleaning of the faceplate and bobbin can help prevent clogs and strengthen the movement of the needle. Ensure to use a soft cloth to ensure no surface is damaged. Many professional sewing machine repair centers recommend cleaning the machine after every stint of sewing or every 30 hours of usage.
In addition, use the right needle and thread size for your machine’s size. An incorrect needle size or thread can enter the machine in a too small or large hole on the needle plate and cause a jam. To prevent this, often refer to the manual for the recommended size for your machine. Use the right thread for the project and layer the fabric where possible and suitable for the project.
As a final precaution to prevent sewing machine jams, ensure that your machine is receiving the proper lubrication. Sewing machines require lubrication from time to time as they contain a variety of moving parts. Without proper lubrication, the machine is prone to breakage and other damages. Depending on the age and make of the machine, you may need to refer to the manufacturer’s manual to learn when, where and how to lubricate the machine.
Essential Sewing Machine Parts
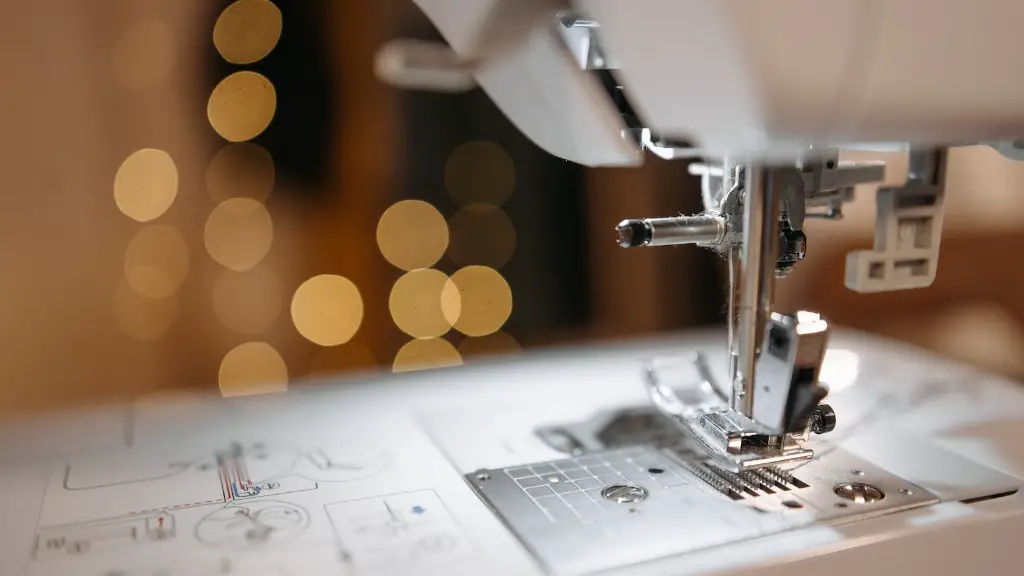
Learning the basics of a sewing machine is essential for those starting out with sewing. A sewing machine is composed of several different moving parts, working together to create the stitches. Here’s a quick overview of some of the crucial parts of the machine and their primary function:
Tension Discs: The tension discs are located on the uppermost part of the machine and are used to balance the tension between the top and bottom threads.
Presser feet: Presser feet are removable feet that you can attach to the presser bar. They are used to guide the fabric through the machine and make it easier to sew straight.
Spool Pin: The spool pin is a device that helps roll the thread spool during the threading process. It is placed on the upper part of the machine and is composed of a knob to keep the spool secure while releasing additional thread.
These are just a few of the parts that make up a sewing machine. Knowing their names and general functions are essential to become a successful sewer.
Pros of Using a Sewing Machine
Sewing machines can prove to be a useful tool in making garments and other projects, allowing sewers to be more creative and to execute complicated projects with ease. Sewing by hand does come with its own merits and is often preferred to create certain kinds of stitches, but for speed and precision, a sewing machine is the way to go. Many of the machines also come with built-in buttons to create different types of stitches or feed spools of fabric through the machine. Many of the higher-end models come with even more features and options.
Sewing machines are also a cost effective and efficient way to sew. A sewing machine saves time, and the amount of fabric you may be able to buy with the money you save (due to not having to pay for more expensive labor costs) may surprise you! A sewing machine also consumes far less electricity than a similar dryer or other machines.
A sewing machine also grants access to more creativity and control. With a machine, you can adjust and control the speed and stitch direction, as well as manage the tension in the threads. With these features, you can expand your creativity and produce more intricate garments. The ability to set precise tensions, stitch lengths and speeds allows more control over your design without having to backtrack or rip out imperfection.
Hand Sewing Vs. Machine Sewing
Before you sew good. it is important to understand the differences between hand sewing and sewing with a machine. Hand sewing is a traditional method of sewing and mending fabric. It is a precise and defined craft that entails precise stitching and is suitable for delicate fabrics that may be damaged by a larger machine. It is mainly used for creating stitches for quilting and embroidery.
Machine sewing has a different technique and purpose to hand sewing. With hand sewing, meticulous attention is required to ensure that the stitch is as perfect and precise as possible. With machine sewing, you have the tools and features to create more precise and intricate stitches – such as buttonholes, zigzags and applied mending, to name a few – without the need to focus as much on accuracy. Machine sewing is often used to create larger projects such as dresses and pants, and to save time when more complex stitches are required.
Ultimately, the decision between which method to use depends on the project and fabrics used. Both have their benefits and limitations, but learning both methods can help improve your sewing skills and expand your creative potential.
Sewing Machine Care & Maintenance
To ensure a long life of your sewing machine, it is important to follow the proper maintenance schedules and check-ups for the machine. It is recommended to regularly oil the machine in the spots outlined in the user’s manual. Important components to also clean include the hook, needle plate and feeds.
Equally as important, do not use the machine when it becomes tired or worn out. Take a break if the machine is taking too much time and effort and always follow the safety measurements the manufacturer has provided.
Keep the machine away from heat and moisture and store it in a cool and dry place. Furthermore, make sure to keep the machine away from small children, who may become injured by the rapid movements of the machine components.
Finally, when you are done sewing it is recommended to clean and unthread the machine for safekeeping. This involves unspooling the thread from the machine in the reverse order of how it was wound and cleaning the faceplate from any unwanted fabric and dirt.
