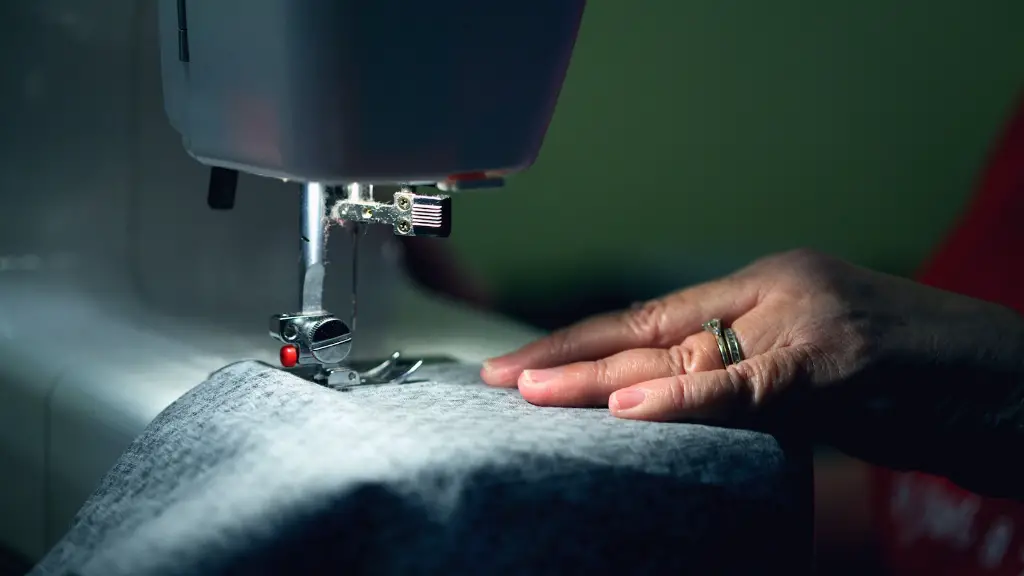
Singer M1000 is an advanced, efficient sewing machine used by both experienced and new sewers for stitching purposes. This versatile machine is suitable for crafting different types of fabrics, and provides professional-style results. An essential concept to know about the Singer M1000 is threading. By learning how to thread the Singer M1000, sewers can ensure that their stitching projects turn out perfect every single time.
Understanding the process of threading Singer M1000 is a tedious process that requires practice. However, once learned, it will become second nature and you can quickly thread the machine in the future. Here is a comprehensive guide teaching the basics of how to thread Singer M1000 sewing machine.
Remove the Spool of Thread
The first step to threading the Singer M1000 is to take off the spool of thread from the top of the machine. There should be a clamp on the top with a tension piece that will hold the thread in place. Once opened, the spool of thread should be easily removed.
When you are putting a new spool one, ensure that the thread is placed against the spool pin, and the pin should be at the inside thread of the spool. Additionally, the spool should not be too tight, but rather just snug, so the thread doesn’t slip off the pin.
Run the Thread Through the Tension Discs
The tension discs are designed to regulate tension on the thread. Before passing through the discs, thread the machine from the spool pin, passing the thread through the guides until it reaches the first tension disc. Also, ensure that the thread goes below the tension lever and to the right and then left side of the disc, and exits out the back. Then, the thread should be transferred and placed in the lever like a loop.
Thread the Take-Up Lever
After the thread has passed through the discs, it is time to thread the take-up lever. The take-up lever looks like a glossy, steel arm on the Singer M1000 sewing machine. To thread the lever, a sewer needs to pass the thread towards the lever, patting it in between the discs, right above the tension lever. Carefully pass the thread through the eye of the lever and then run it down, towards the needle.
Thread the Needle
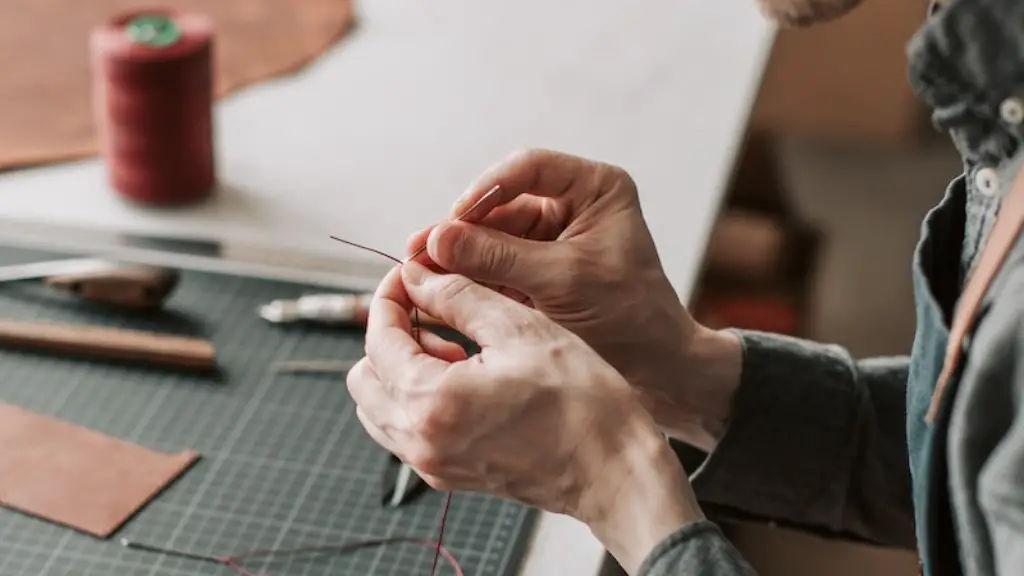
Next, carefully pass the thread through the eye of the needle. It is important to take special care while threading the needle, to ensure that the thread is going through the middle part of the eye of the needle. Once threading is complete, the thread should exits towards the back of the machine.
Pull the Thread Through the Bobbin Case
Now, the bobbin case should be open, so the thread of the top is actively pulled and winds around the bobbin. Then, close the bobbin case and locate the small tensioner. This part is designed to regulate the tension from the bobbin thread when it passes the tension discs. If a sewer notices any difficulty in threading the Singer M1000 or a lack of resistance when the top thread is pulled, it means the tension screw needs to be adjusted accordingly.
Finally, the needle should be pulled down from the highest position. This will allow the sewer to inspect the machine, checking if everything is in proper order. A good indicator that the Singer M1000 is properly threaded is when both the top and bottom thread form an X-shape in the front of the machine.
Sample Stitch Setting
Once everything is checked, it is time to start stitching. A sewers first sample stitch should be a straight line, which should be tested on a piece of scrap fabric. First, set the fabric in the machine and then lengthen the stitch to get the desired length. Start by pressing the pedal and let the machine sew a few stitches. After completion, the fabric should be pulled out and the threading should be inspected.
Experienced sewers can adjust the stitch settings accordingly, for stitch-style preferences, or desired length and texture
Practice Makes Perfect
The key to growing the skill of threading the Singer M1000 is practice-proper practice. As most sewers know, practice should be done in a slow and paced manner, so that the seamstress can observe their mistakes and successes as they are constructing more samples. With some practice, sewers will frequently be able to thread the Singer M1000 without any errors.
Key Takeaways
Threading the Singer M1000 sewing machine is a tedious process that requires practice and patience. Mostly, it is important to start the process with the right spool of thread. Initially, the sewer should pass the thread through the discs by following the guide laid out while putting the thread in the lever. Afterward, the sewing machine is ready to be used in creating a variety of stitches.
Accurate Threading Tips
From the very beginning, sewers should ensure that the spool of thread is spanned precisely no too loosely or too tightly. Prior to threading the machine, a sewer should make sure to follow the user manual of the machine, if possible. After threading is complete, sewers should observe their stitching to make sure that the Singer M1000 is working correctly.
Flexible Speed Controls
One of the crucial features of the Singer M1000 is it is adjustable speed control. This helps to produce different kinds of stitch patterns attending to the accuracy needs. By using the speed control pedal, one can go either faster or slower as they thread their Singer M1000.
Emergence of New Technologies
At present, the newest versions of Singer M1000s come with some amazing features, such as digital features and presser foot pressure, allowing the user to customize their fabric better and giving more control to their stitching. Additionally, the higher budget models come with even more features. In the end, the best thing for a seamstress to do is to ensure that the Singer M1000 is being used in the appropriate way for the desired results.
Resources to Use
A good starting point would be to consult the manual of Singer M1000 sewing machine. These manuals give plenty of useful information on threading and how to use the machine. Information on how to thread Singer M1000 can also be found in books, magazines, and other resources that cover the topics of sewing, embroidery, and quilting.
Professional Assistance
If all else fails and a sewer does not feel comfortable about their ability to thread Singer M1000, there is a wealth of professionals who can provide first-hand guidance on the matter. With a visit to their local sewing shop, the seamstress can have their sewing machine checked and have an expert show them how to thread Singer M1000.
Getting the Best Results
Learning how to thread the Singer M1000 sewing machine can be a huge benefit for experienced, as well as rookie sewers. Yet, in order to get the best results, it is important to keep in mind that it requires practice and concentration. Additionally, individuals should consult their user manual and utilize professional help, when needed. With the right attitude and resources at hand, one can become a pro at threading Singer M1000 sewing machine.
