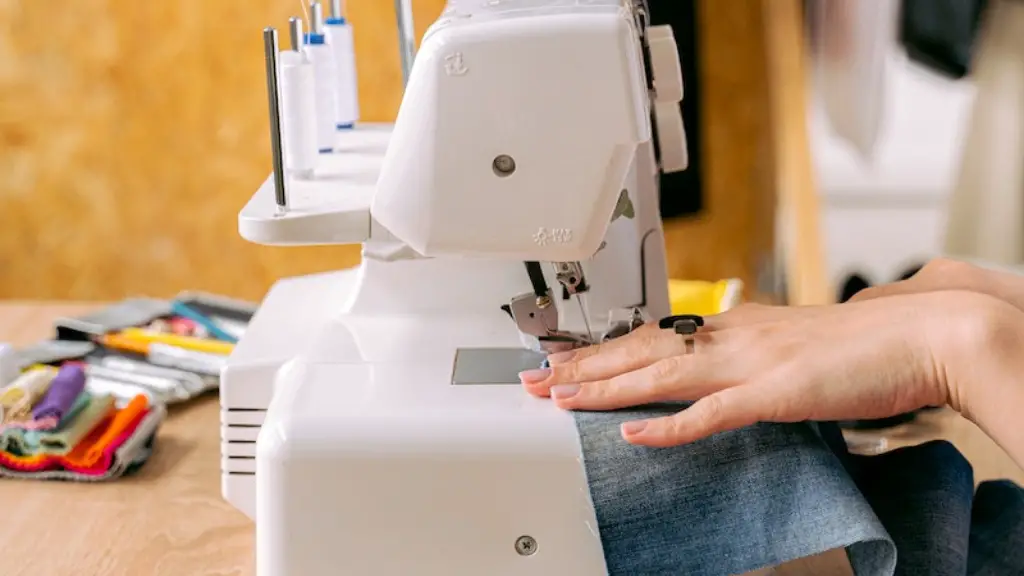
One of the oldest and most reliable tools for working with fabrics, the Singer sewing machine has been used for over a century. It is the tool of choice for experienced and novice sewers alike, and can help you take your fashion ideas from a paper pattern to a final product. Learning how to switch on a Singer sewing machine takes quite a bit of practice, but with a few simple steps, you’ll have your machine up and running in no time.
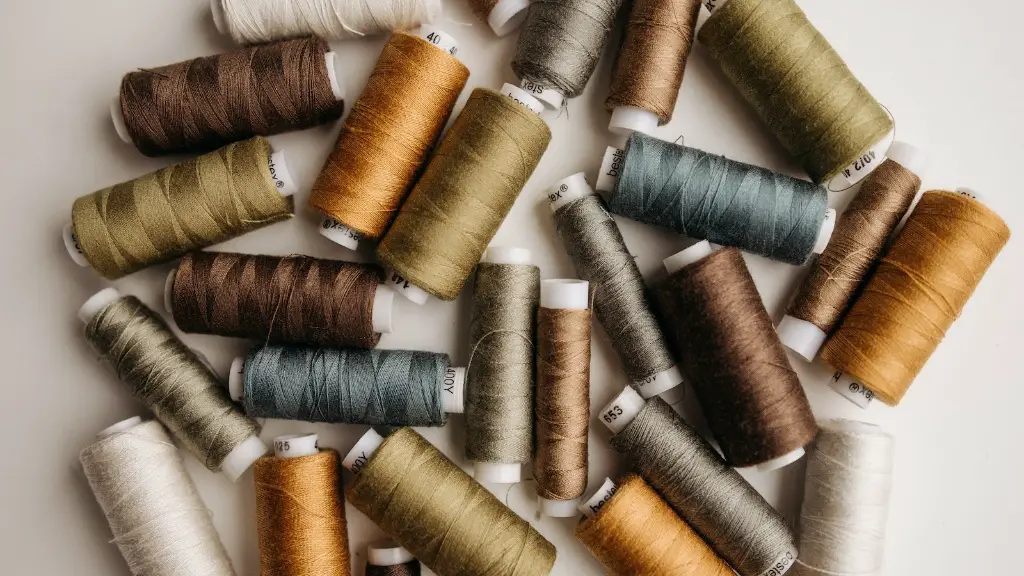
Before powering on your sewing machine, make sure you have all the necessary components and supplies ready. Generally, these include the machine itself, a needle, thread, a scissors, and fabric. Having these components ready will help ensure your sewing process is as effortless as possible. Whenever you are powering on the machine, be sure to check the machine manual to make sure you are following the correct steps and precautions to ensure that the machine is powered on correctly.
Once you have all the components and supplies ready to go, connect the sewing machine to a power source and press the “On/Off” switch. Many models of Singer sewing machines come with a master power switch on the back it is important to turn on this switch first. In addition, many Singer models come with a power indicator, which will glow green when the main power switch is in an “on” position. If you are using a newer model, you may also need to press the start/stop button. This button will turn the motor on and allow for a smooth start-up.
After the machine is powered on, you will then need to select your sewing stitch. Most Singer machines have a dial with icons that correspond to the different types of stitches available. To find the ideal stitch to create your project, refer to the stitch selector guide that came with your machine and select the correct number or icon. Then, set the needle position accordingly to match your stitching needs.
You should also adjust the tension control, which changes the tightness of the stitch. This step is important when working with different types of fabric, as each one requires a different tension setting. Refer to your machine manual to determine the tension settings for the particular project you are doing. Once the tension control is set, turn the wheel or handwheel located at the side of your machine until the needle is at its highest point in the presser foot.
Finally, it is important to make sure the needle is properly positioned. Depending on the type of Singer sewing machine you have, the needle could be located either in the left or right hand side of the machine. Make sure the needle position is at its highest point before you begin sewing. Once all of these steps are followed, your Singer sewing machine is ready to be used!
Threading the Machine
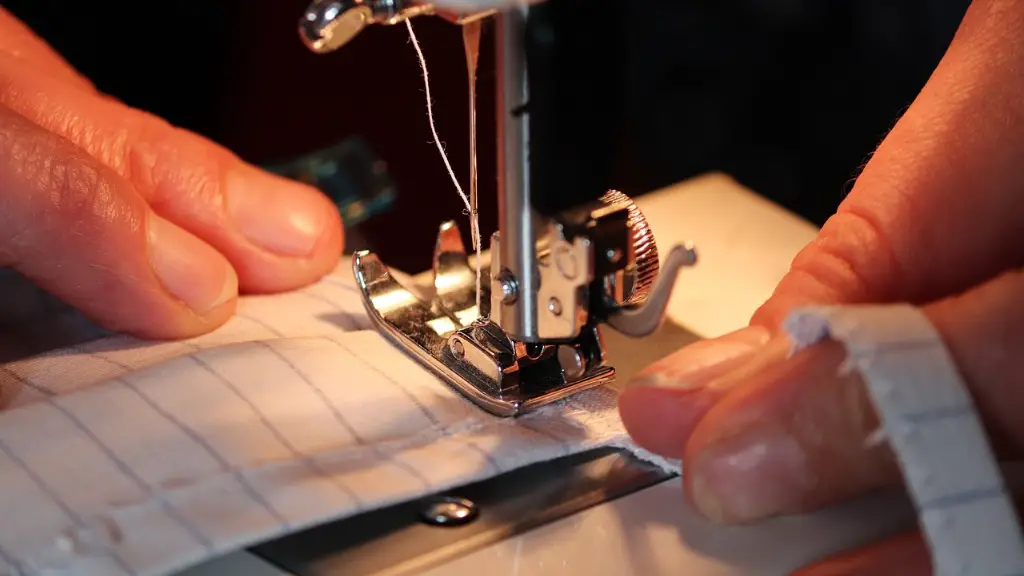
After turning on the machine, the next step is to thread the machine. Preparing the machine with the correct thread helps ensure quality stitching and reduces the chance of any tension issues. Begin threading your machine by first placing the spool of thread on the spool pin located at the top of the machine. Then, guide the thread through the thread guide. This should be done by starting at the bottom of the machine and bringing it up around the thread guide.
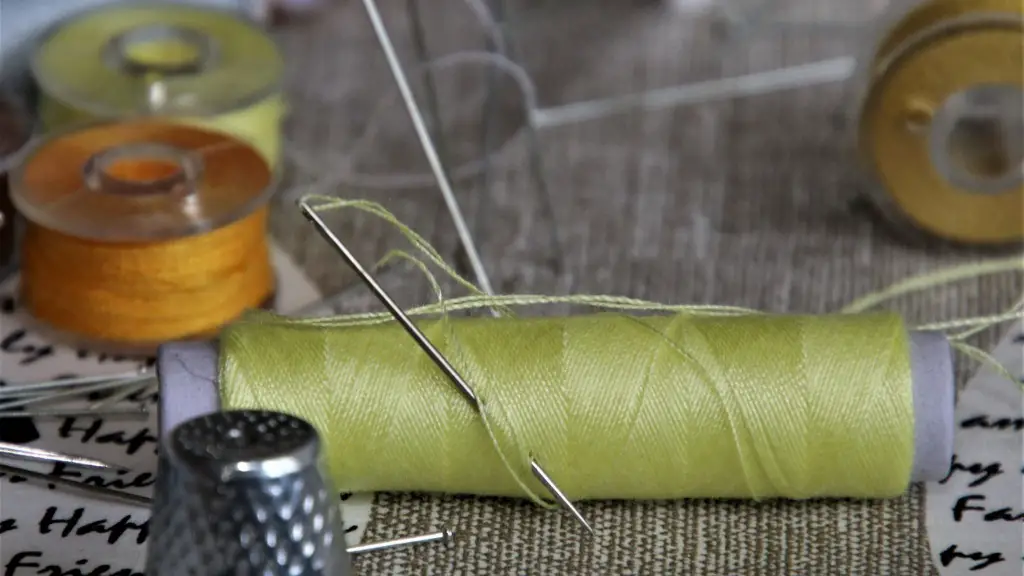
Next, place the thread behind the tension discs, which should be located just underneath the thread guide. Depending on the model of your Singer sewing machine, there could be a single tension disc or two. After this is done, run the thread through the needle’s eye. For this step, you may need a needle threader if the eye of the needle is too small for the thread.
If your machine has a stitch-length control, use it to select a stitch length in accordance with the thickness of the fabric you are sewing. Generally, you want a stitch length of 2mm for basting stitches, 3mm for regular stitching, and 4mm for topstitching. But, refer to the manual of your machine to make sure you are selecting the right stitch length.
Finally, make sure the bobbin is placed in the bobbin case. Much like the spool of thread, the bobbin needs to be in the correct position and loaded in the proper direction in order have a successful sewing experience. Refer to the bobbin bobbin case compartment diagram to figure out which way to place the bobbin and what type of bobbin your machine needs.
Using the Foot Pedal
Once the machine has been set up, you can begin your project by using the foot pedal. This controls the speed and the stitch length of the sewing machine. Before using the foot pedal, gently press on the presser foot which can be found at the back of the machine. This will help the needle secure your fabric to the plate of the machine.
Once the foot pedal is used, the needle will begin to move. But, the speed needs to be Adjusted. During this time, you should be able to adjust the speed of the needle by lightly pressing on the foot pedal, as this will help an individual to become more familiar with the machine’s movements. Slow, steady speed is important when using a Singer sewing machine and continuously apply the foot pedal. Most Singer sewing machine models also come with a reverse lever located at the side of the machine, and this can be used to sew in reverse and lock the stitching.
As a general rule of thumb, you should always try to use a foot pedal appropriate for the sewing project. Some sewing projects are quite detailed and require a foot pedal that provides greater, finer control of the needle. Depending on the model you have, there may also be a button to control the foot pedal, as this can help you maintain a steady and consistent speed as you work.
Maintaining Your Machine
When working with a Singer sewing machine, it is important to take the time to properly maintain it. This helps to ensure the machine is able to function properly and is able to produce high- quality work. Before each use, make sure to check the needle and make sure that it is free of any residue, thread, or fabric. You should also check the bobbin case after each use to make sure there are no thread snags or knots.
It is also important to oil the machine regularly. You can do this with a sewing machine oil or a sewing machine lubricant, but remember that your local sewing shop should possess the necessary product as it may vary depending on the model of your machine. If you are working with a mechanical model, it may be necessary to oil the machine during a session, as well.
In addition, it is important to clean the machine after each use. You can do this by using a soft cloth and a brush to wipe down the outer machine. Additionally, use a vacuum attachment to reach hard-to-reach areas. Do not use too much water when cleaning the machine, as this may damage some of the internal components. As an extra precaution, ensure to read and review the cleaning instructions of your particular Singer sewing machine model.
Safety Tips
Most of the time, people work with Singer sewing machines without any major problems. However, it is important to adhere to basic safety tips in order to ensure a safe and enjoyable sewing experience. To begin with, always check to make sure the needle is at its highest point before pressing the foot pedal. If the needle is not at its highest point, it can cause serious injury.
In addition, always double check what type of fabric you are working with, as some fabrics require different stitch lengths or tension settings than others. Make sure that you read the instructions of your manual for the appropriate settings for the fabric you are using. Whenever possible, try to use fabrics that are made specifically for the type of Singer machine that you have.
Finally, avoid stretching or pulling the fabric when sewing. This can cause extra stress on the machine and can lead to stitching problems such as un-even stitches, skipped stitches, fabric puckering, and poor tension. Moreover, when working with a Singer machine, make sure to use the right needle type and size, as different fabrics require different needles.
Storing Your Machine
When not in use, it is important to store your machine properly. Generally, when storing the machine, unplug the power cord, make sure all settings are turned off, and ensure no thread is left on the machine. Additionally, wrap the cord around the machine and place a dust cover over the machine for ultimate protection.
If you store your Singer sewing machine in a room that does not get a lot of foot traffic or dust, then cover the machine with a cloth dust cover or wrap it in a plastic bag. Do not use a cardboard box, as this may not provide enough protection from any dirt or dust. In addition, avoid placing the machine in a room with heavy humidity or temperature changes.
Regularly check for any loose screws or parts, and make sure the motor belt is tight and not worn out. Additionally, if you are storing the Singer machine in an area where it is not used often, it is important to turn it on at least once a month to make sure the motor is still running.
Conclusion
In conclusion, learning how to turn on a Singer sewing machine takes a bit of practice and know-how, but once you understand the basics, you are ready to start creating garments and other projects with ease! Just remember to check the machine manual for any particular instructions for powering on, threading the machine, using the foot pedal, and maintaining the machine. With a bit of preparation and attention to detail, the Singer sewing machine can be your go-to tool for all of your projects.
