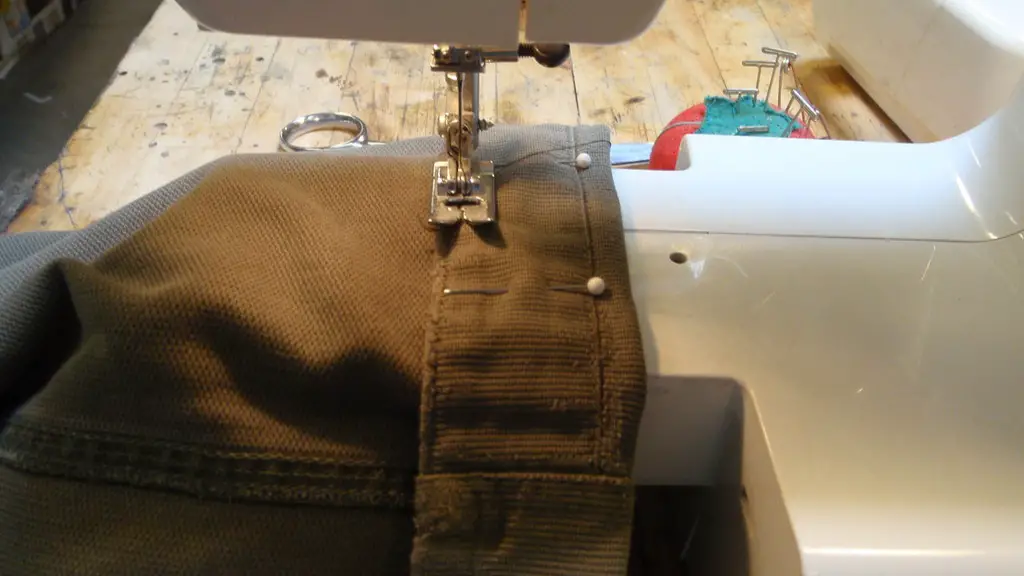
Using a commercial sewing pattern is a great way to get started sewing garments. With a few tips, you can sew a garment that looks like it was made by a professional.
Assuming you have a basic understanding of sewing and how to use a sewing machine, here are some tips on how to use a bought sewing pattern:
1. Choose the right pattern. Patterns come in different levels of difficulty, so make sure to choose a pattern that is appropriate for your skill level.
2. Choose the right fabric. The pattern will recommend a certain type of fabric, but you can usually use something similar if you can’t find the exact fabric.
3. Cut out the pattern pieces. Trace the pattern onto tracing paper or use a fabric marker to mark the fabric directly. Then cut out the fabric pieces.
4. Assemble the garment. Follow the pattern instructions to sew the garment together.
5. Try it on. Make sure the garment fits before you finish the seams.
6. Finish the garment. Sew the final seams and finish the edges of the garment.
How do you use a sewing pattern without cutting it?
Dressmaker’s carbon is a great way to transfer cutting lines from a pattern to fabric. Simply roll the tracing wheel along the pattern lines corresponding to your size, moving the carbon around as you need to. You can also use dressmaker’s carbon to transfer darts, notches and other markings.
1. Start with a t-shirt: If you want to create a pattern from a garment, it’s best to start with a t-shirt. T-shirts are easy to work with and you can use them to create a variety of different patterns.
2. Choose a fabric similar in type to the original garment: When you’re choosing a fabric to use for your pattern, it’s important to choose one that is similar in type to the fabric of the garment you’re using as a starting point. This will help ensure that your pattern turns out accurately.
3. Add lots of markings: Once you have your fabric and t-shirt, you’ll need to add a lot of markings to the t-shirt. These markings will be used to create the pattern.
4. Use a flexible ruler to duplicate curves: When you’re tracing the t-shirt onto the fabric, you’ll need to use a flexible ruler to duplicate any curves. This will help ensure that your pattern is accurate.
5. Divide your garment into two halves: Once you have the t-shirt traced onto the fabric, you’ll need to divide the garment into two halves. This will make it easier to adjust the pattern for a perfect fit.
How do you put patterns on fabric
I take a bottle of fabric paint and I prefer deco art so soft fabric acrylics. I hold it firmly with my left hand and I start to pour the paint on the fabric. I am very careful because I don’t want to make a mess. Once I am finished pouring, I set the bottle down and I start to spread the paint around with my right hand. I make sure that the paint is evenly distributed. Then I set the fabric aside to dry.
Tracing wheels are a great way to transfer patterns onto fabric. They are easy to use and give you a precise transfer. Here are a few tips for using tracing wheels:
1. Place the tracing wheel on the pattern and roll it over the lines you want to transfer.
2. Place a piece of tracing paper over the area you just rolled the tracing wheel over.
3. Use a pencil or pen to trace over the lines on the tracing paper.
4. Lift the tracing paper and you will see the lines transferred onto the fabric.
5. Repeat this process for the rest of the pattern.
Can you use a pattern without cutting?
Tracing is a great way to keep your original pattern pieces intact, especially if they are printed on delicate paper like tissue, or if they are printed in a way that the pattern pieces overlap (which is common in sewing books that include pattern sheets). This way, you can use the original pattern pieces over and over again, without having to worry about them getting damaged or lost.
There are a few things to keep in mind when cutting or tracing your sewing pattern:
1. Make sure you have a sharp pair of scissors or a new blade for your rotary cutter. This will help you get clean, straight lines when cutting out your pattern.
2. If you are tracing your pattern, use a sharp pencil and a light-colored tracing paper. This will make it easier to see your lines and make any necessary adjustments.
3. Be sure to label your pattern pieces before you cut them out or trace them. This will save you time and frustration later on.
4. Take your time and be precise. This is not a race! Rushing through the cutting or tracing process will likely result in inaccuracies that will affect the fit and look of your finished garment.
How do I copy and paste a pattern?
To copy text or an image, hit control c on your keyboard. You can then go ahead and click control v to paste the text or image elsewhere.
As a general rule, you should always respect the pattern designer and their intellectual property. This means that if you are selling finished items, you should not use the designer’s photography without permission. You should also not make any changes to the pattern without the designer’s permission.
How do you copy a pattern
When you want to paste a pattern in a certain location, you first select the pattern and then select where you want to paste it. You can then hold the pattern down and use your other hand to select the paste option.
This is a great way to transfer the design to fabric. Place the paper against the fabric and press with a hot iron, lifting the iron off of the paper before moving it to the next location. Do not iron by moving your iron back and forth along the paper, as this distorts the image.
What is the easiest way of transferring design onto the fabric?
The window method is a great way to transfer a design onto fabric for hand embroidery. All you need is a piece of paper or a screen, and a transfer tool. You can use any number of transfer tools, but the most common are pencils, pens, and markers.
Freezer paper is a great way to print on fabric! You can use it to make any kind of fabric project, from clothes to quilts. Here’s how to do it:
1. Prep your materials. Press your fabric and cut off a piece of freezer paper that’s larger than standard printer paper.
2. Iron ’em together. Press the waxy side of the freezer paper to the back of the fabric.
3. Print on the fabric! Now change your printer settings to “photo” for best results.
4. Cut out your design and peel off the freezer paper.
5. That’s it! You’re ready to sew, applique, or do whatever you want with your printed fabric.
What do you use to transfer sewing patterns
There are a few different ways that you can transfer pattern markings to your fabric. One way is to use a tracing wheel to mark a line from the pattern piece edge into the seam allowance. Another way is to use double-faced tracing paper – you’ll only need to make the marks once, and they’ll be in the same spot on both sides.
There are a few different types of paper you can use when tracing sewing patterns, each with its own purpose. Pattern or dressmaking paper is designed for making adjustments to patterns. Butcher paper is similar to Kraft paper, but it’s a little sturdier. Freezer paper is a popular kitchen supply that’s often used for tracing sewing patterns. It’s usually less expensive than other options, so it’s a good choice if you’re on a budget.
What are the 3 ways of transferring design on fabric?
There are three basic methods of transferring an embroidery design: the tracing method, the hot iron method, and the stamping method. Each has its own advantages and disadvantages, so it’s important to choose the right one for the project you’re working on.
The tracing method is the simplest way to transfer a design, and it’s perfect for small, delicate designs. Simply place the design underneath a piece of tracing paper and trace the outline with a pencil. The disadvantage of this method is that it can be time-consuming and difficult to get a precise tracing.
The hot iron method is faster and more accurate, but it requires a special transfer pencil or pen. Draw the design on the fabric with the transfer pencil, then place a piece of transfer paper over the top. Iron the paper to transfer the design onto the fabric. This method is great for larger, complex designs.
The stamping method is the quickest and easiest way to transfer a design, but it’s not always the most accurate.Simply stamp the design onto the fabric with a rubber stamp, then fill in the details with a pen or pencil. This method is great for simple designs or for transferring a design onto a larger piece of fabric.
There are several ways to preserve a sewing pattern so you can use it again in the future. One way is to trace the pattern onto a piece of tracing paper or tissue paper. You can also photocopy the pattern onto a heavier paper so it will be sturdier and last longer. Another way to preserve a sewing pattern is to scan it onto your computer and save it as a PDF. Or, you can take a photo of the pattern and save it on your computer or phone. Whichever way you choose to preserve your sewing pattern, make sure to label it so you can easily find it when you need it again!
What is the best way to trace a pattern
To trace a pattern, you will need tracing paper and a pencil. Lay your pattern on a flat surface, and then lay the tracing paper over it. Use pattern weights or tins of beans to hold the tracing paper in place. Trace the lines of the pattern that you want, using a ruler to assist if necessary.
Patterns are great for adding visual interest to an outfit, but they can also make you look larger than you are. If you’re looking to downplay your size, it’s best to avoid big, bold patterns. Stick to small, subtle patterns or solid colors instead.
Final Words
To use a bought sewing pattern, first choose the pattern you want to use. Then, trace the pattern onto tracing paper. Next, cut out the traced pattern pieces. Once the pattern pieces are cut out, you will need to transfer the pattern markings onto the fabric. To do this, use a tracing wheel and tracing paper. Once the pattern markings are on the fabric, cut out the fabric pieces. Then, you can sew the fabric pieces together according to the pattern instructions.
Once you have decided on a sewing pattern, you will need to purchase the corresponding fabrics and notions. To cut the fabric, lay the pattern pieces on top of the folded fabric and cut around the edge of each pattern piece, taking care to not cut the wrong size. Once the fabric is cut, you will need to sew it together using a sewing machine or by hand. Finally, you will need to finish the garment by attaching any buttons, hooks, or zippers.
