Basics of Sewing
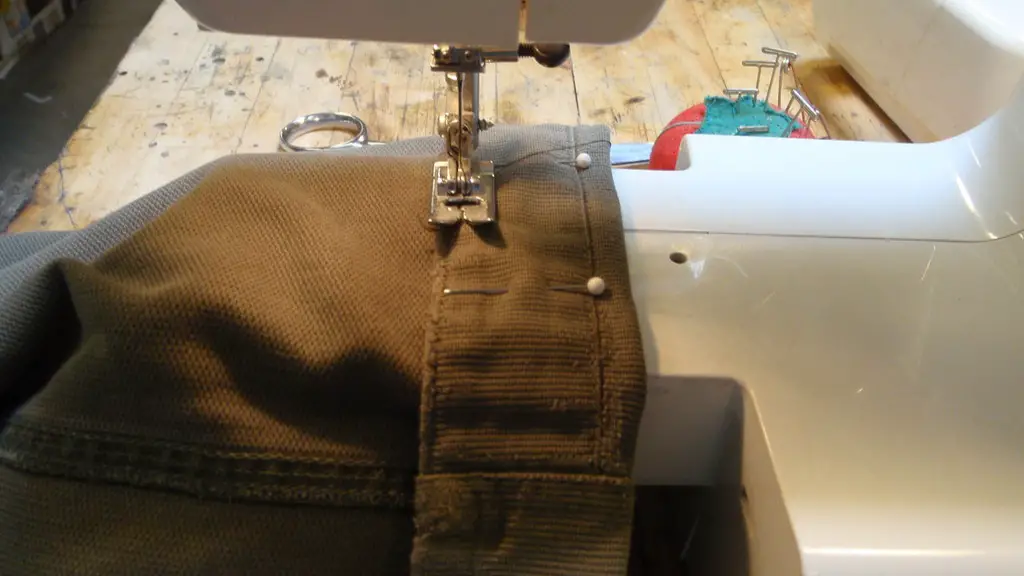
Sewing is an easy, but often intimidating hobby for beginners to take up. With a little bit of effort, and the right equipment, anyone can learn how to use a sewing machine. To get started on your sewing journey, you’ll need a few tools. Collect a sewing machine, thread, fabric, scissors, and pins. Additionally, an iron and a seam ripper are also helpful tools. Most machines come with instructional videos, so make sure to watch them. If you’re looking for more help, classes at your local fabric store or community college can be a great way to learn and meet new people.
Once you have gathered the necessary tools, you may want to start by practicing on scrap fabric. Learning to thread the sewing machine and trace basic patterns out-of-an-instructions book or downloadable pattern will get you started. When getting the hang of how a sewing machine works, make sure to practice on scrap fabric rather than on your actual project because there may be mistakes and this will allow you to get the hang of sewing without making costly mistakes.
On your project, make sure to pre-wash all materials, and be sure to measure twice, cut once. As you start to get comfortable, practice straight lines and corners with scraps of fabric. Ready-to-sew kits can be a great way to get used to the sewing tools already available. Little by little, move from straight lines to learning to sew around patterns and curves. Be sure to turn fabrics as needed to get quality results.
Basic Stitches and Thread
Although sewing machines vary by type, almost all sewing machines have some basic stitches. Most machines, however, have at least a straight stitch and zigzag stitch. The zigzag stitch helps with flexible and less visible seams, while the straight stitch is perfect for lingerie or sheer fabrics. Additionally, a stitch length control helps adjust to different fabrics and seams; the fabric and the thread should usually match in weight.
The thread you use matters and comes in different sizes known as weights. The fabric you use will explain what the correct size for the thread should be, and most materials have a recommended weight printed on the packaging. Thread can be made of natural and artificial fibers, but most typically with cotton or polyester thread. For any given project, make sure to use thread specifically designed for the fabric because natural fibers breath better, while synthetics are more resistant.
Testing, Pressing and Fixing Seams
Before beginning a project, use paper and pencil and an existing pattern to test how the fabric works with the stitch and the thread; the results will help determine how a finished project would look like. A test result is also beneficial to see exactly how the chosen thread and stitch work with the fabric and how they would look in a finished project. Additionally, it is always important to check the seams after finishing a project and press them accordingly. Many fabrics require steam pressing or layering with paper.
If there are any mistakes made on some projects, it’s essential to know how to fix them. Seam rippers are the best way to correct errors. Also, knowing the types of errors that can be made when stitching, such as loose or tight stitching, will help you prevent future errors. Tight stitches can be corrected by simply sewing again over the top of the stitching. For loose stitching, use a seam ripper to remove the stitching, then start from the beginning.
Advanced Sewing Techniques
Once you have a good sense of the basics, you may be ready to try advanced sewing techniques. Depending on the type of sewing machine you have, projects can get really detailed, such as making garments or quilts. If you’re looking to make intricate projects, then make sure to practice with pieces of scrap fabric. Each project requires different skills and techniques, which you can learn with time and practice. If any techniques seem daunting, practice and make sure to take your time.
Two important techniques to learn are topstitching and finishing seams. Topstitching provides a neat, decorative finish to seams because heavier threads and decorative stitches create a nice finish. The top of the seam will look as neat and polished as the inside. Additionally, finishing seams help make projects look more professional. Closing the seam allowance prevents curling, makes the seam lay flat, and creates a neat, polished look.
Using a Serger
Sergers are a great machines to use in combination with a regular sewing machine. Sergers are especially helpful when used in creating thicker fabrics and materials, such as denim or fleece. Sergers provide a polished, finished look to seams, and are great for finishing an edge of a piece of fabric, or for finishing hemmed edges. To prevent fraying, sergers usually use several threads and trim the edges at the same time. Additionally, sergers are capable of providing a crafted split stitch, which gives more elasticity for clothing such as yoga pants or underwear.
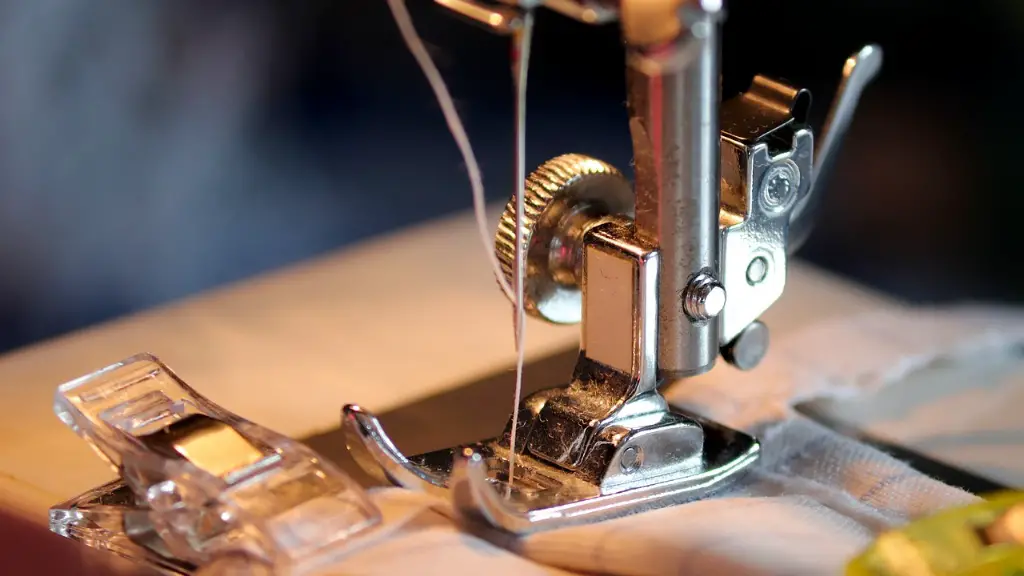
To start using a serger, practice on scrap fabric and make sure to read the instructions and tutorials. Test out different thread colors, stitching types, and pattern settings. Check to make sure stitches are even and the fabric and threads pair well. To make sure the project works consistenly, use matching threads and a matching presser foot.
Attaching Appliques and Embellishments
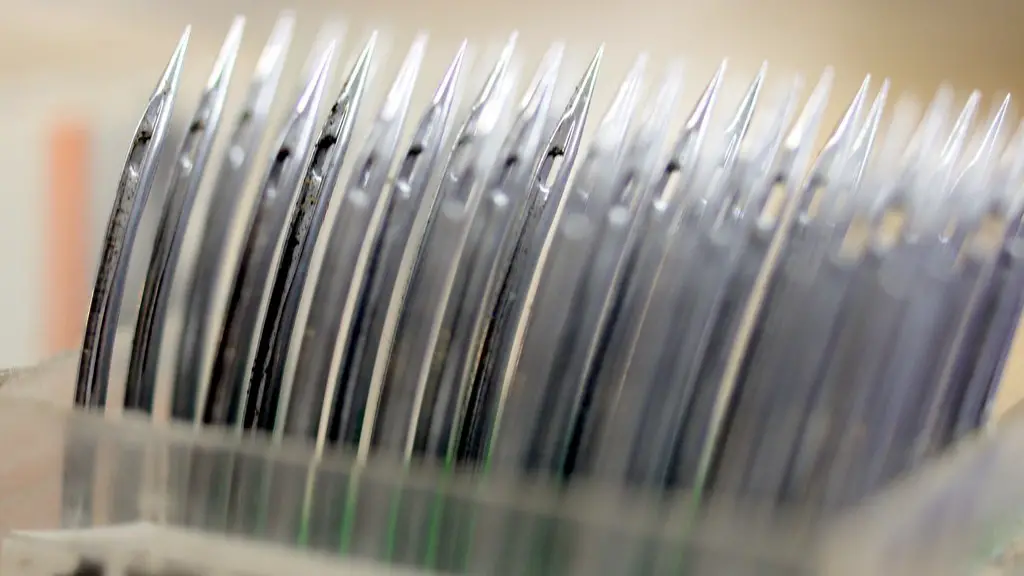
Once you understand the ways of the sewing machine and other common tools, you can begin to embellish fabrics with appliques, beads, or embroidery. To use appliques, start by choosing a fabric or a set of fabrics, and then cut out the pattern. You can use a regular presser foot or use a zigzag foot to help the fabrics stay together. If you are using beads or embroidery, make sure needles are sharp and the right thread is used, otherwise the fabric can become damaged. Additionally, make sure to test each embellishment on scrap fabric before moving to the project.
Iron-on fabric cubes are also an easy and fun way to embellish fabric. To use, you will need a fabric piece, embroidery yarn and an iron. Embellishments can be placed anywhere and allows for creativity with color and texture. You can use a variety of materials, such as ribbons, ruffles, gems, or bits of fabric. As with beads, make sure that the fabrics and threads all coordinate.
Ordering Custom Fabrics and Threads
Aside from these techniques, you can also order custom fabrics and threads for a more personal, individualized look. Custom fabric orders usually require the weight and the color of the thread to be provided. Additionally, you may need to order certain notions and tools, such as threaders, seam rippers, and sewing kits if you don’t already have them. Take the time to check out and research different fabrics and threads in order to find the perfect one for any given project.
Knowing and understanding the type of fabric that works best with a project can take some time and practice, so be sure to take notes during each project. Many tutorials, forums, and books can help, as well as talking to other sewers and visiting the local fabric store or yarn shop to ask around and get the best resources.
Finishing Touches
Once the project is finished, you may need to do some final touches. Ironing and pressing help give the fabric a neat, professional look, and can prevent fabrics from shrinking while also helping keep seams crisp. Make sure to use the right kind of iron and the correct heat settings for the fabric. Additionally, edging controls the fraying of the fabric and gives a finished look to the design.
Once the fabric is finished and cooled, the hem and edges can be overlocked. An overlocked edge provides stability to the fabric, prevents fraying, and also helps maintain the look for longer periods of time. After the edging of the fabric is provided, steaming with an iron is also a great way to finish a project. This will help give the fabric a crisp finish, and enhance the overall look.
Conclusion
With a bit of practice and patience, it is possible to master the basics of sewing. Don’t get discouraged if your first project doesn’t turn out perfect. All sewers make mistakes, so be patient and learn from them. Experiment with scrap fabric and take your time. Soon enough, you’ll be able to produce quality sewing projects with ease.
