Types of Needle Threaders
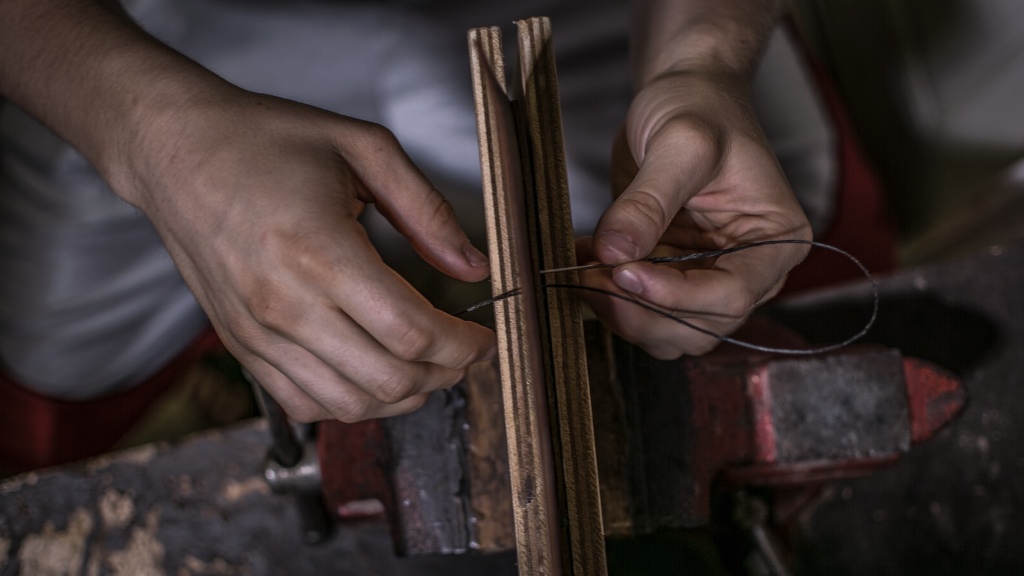
Needle threaders come in a variety of sizes and shapes, from plastic to metal. Different brands may also vary in their design, but all depend on tension, spring or self-retracting wire. They all work similarly to get the thread in the eye of the needle. It is important to select the right size and shape of needle threader so that it fits in the size of the needle eye and fabric that you are using.
Prepare the Fabric
Before threading the sewing machine needle, it is important to prepare the fabric correctly. This includes ensuring that it is clean, flat, and properly pinned. It is also important to check the tension and thread length of the fabric. This ensures that the stitches are even and the tension is maintained.
Threading the Needle
The next step is to use the needle threader to thread the needle. Start by pulling out a length of thread that is about twice the length of the needle. Thread the threader through the eye of the needle and then insert the threader into the eye of the needle. Move the wire from side to side and gently press down to get the threader through. Once the threader is through the eye of the needle, bring the wire up and put the thread on the hook. Pull the hook with the thread on it out of the eye of the needle. Discard the threader and the thread should be already threaded into the needle.
Check Thread Position
After the thread is in place, give it a slight tug to make sure that it is on securely. Check that the thread is in the right position so it won’t get caught during sewing. If needed, adjust the thread position so that the thread runs freely along the needle eye.
Thread the Bobbin
Once the needle is threaded, it is time to thread the bobbin. However, it is important to note that there will be slight variations in the bobbin threading process based on the type and model of machine you are using. It is recommended to refer to the instruction manual that came with the machine or consult an expert. When threading the bobbin, make sure that you are following the same steps as when threading the needle with the needle threader.
Tension Adjustment
The last step is to adjust the tension of both the top thread and the bobbin thread to ensure that the stitches come out evenly. It is usually recommended to set the machine on a straight stitch setting and test out the tension with scrap fabric first. If the tension is too loose, adjust it to a higher number and test it again. If the tension is too tight, adjust it to a lower number. If the tension remains incorrect, consult an expert or refer to a guidebook on how to adjust the tension correctly.
Clean and Oil the Machine
In addition to threading the needle and setting the tension, it is important to regularly clean and oil the sewing machine. Clean the machine according to the instruction manual that came with the machine.This may involve using a lint brush, vacuum attachment or a cloth to clean the lint and dirt build up in the machine tray. Oil the machine as frequently as recommended in the instruction manual or guidebook. This will ensure that the machine runs smoothly and will also increase the longevity of the machine.
Replace Needles and Thread
When the machine is not in use for a long period of time, it is important to replace the needles and thread. This is because needles and threads can wear out over time. Replacing the needle when stitching on delicate fabrics is also important as that will affect the outcome of the project. Make sure to replace the needle according to the instruction manual that came with the machine.
Organize Your Supplies
Having all the supplies organized and ready before beginning a project is key to completing a project successfully. An organized workspace will also help lessen the amount of time it takes to find the right supplies. Keep all the supplies that are needed for a project in one bag or basket and label them accordingly. This includes pressing cloth, seam ripper, pins, trimmers, scissors, bobbins, and fabric.
Keep the Workpace Organized
It is important to keep the sewing workspace tidy and organized as a clean and organized workspace can help ensure that projects come out well. Working on a cluttered and disorganized work surface can cause distractions and also increase the amount of time it takes to complete a project. Keeping the workspace organized between projects will also minimize the amount of time it takes to set up for a new project.
Learn About Different Needle Types
There are a variety of needle types that can be used for different fabrics and projects. This includes ball point needles, universal needles, and stretch needles. Learning more about these different types of needles will help you select the correct needle for the project. Refer to a guidebook or consult an expert for more information about each type of needle and their specific use.
Practice Basic Sewing Skills
Once the machine is set up and the supplies are organized, it is time to practice basic sewing skills. There are several online tutorials and video coaches available to teach the basics. It is important to take the time to practice with scrap fabric and familiarize yourself with how the machine works and the basics of sewing. This will help ensure that any project will come out well.
Create Unique Designs
Once the basics are mastered, the next step is to create unique designs. This could involve following patterns or creating something unique and artistic. Start by sketching out ideas and then make a few prototypes with scrap fabric. Then draw the final design, measure and cut the fabric, attach fasteners, sew the seams and press it, and voilà, a unique design is created.
Choose the Right Fabric
Choosing the right fabrics is vital as that will determine the outcome of the project. Different fabrics have different properties and characteristics that make them better for certain projects or garments. Consider the purpose of the project, the type of machine, and the type of needle before selecting the fabric. It is also important to ensure that the fabric is pre-shrunk and pre-washed so that the outcome remains the same after the project is finished.
Develop Project Plans
Once the fabrics and designs are decided upon, the next step is to develop a project plan. Creating a project plan can help increase efficiency and effectiveness. The plan should consist of the timeline, steps, supplies, and tasks needed to complete the project. This will ensure that the project remains on track and any adjustments or delays can be taken into account.
Calculate the Cost
The last step is to calculate the cost of the project. This includes the supplies, time, and any other costs that may be incurred, such as a sewing machine rental or travel costs. Creating a budget can help to ensure that the project is completed within the desired timeframe and that there are no unexpected costs.
