Threading the Machine
A Singer hand sewing machine is a great tool for new and experienced sewers alike. Whether you’re creating garments, quilts, home decor, upholstery, or a whole array of other projects, it can save you time and frustration by allowing you to sew quickly and with ease. But using a hand sewing machine for the first time can be a bit daunting. Here are some easy steps to threading a Singer hand sewing machine.
Before you start, you’ll need to have a few supplies on hand. These include a spool of thread, needle threader, pins, scissors, and a seam ripper. Once you have everything, you’re ready to get started.
The first step in threading a Singer hand sewing machine is to thread the bobbin. Typically, the bobbin is located underneath the presser foot. Unwind the thread from the spool and guide it through the thread guide at the top of the bobbin before winding the bobbin. You’ll need to take care to ensure the thread is wound tightly and securely onto the bobbin, as this will help prevent it from becoming tangled and will ensure it feeds correctly.
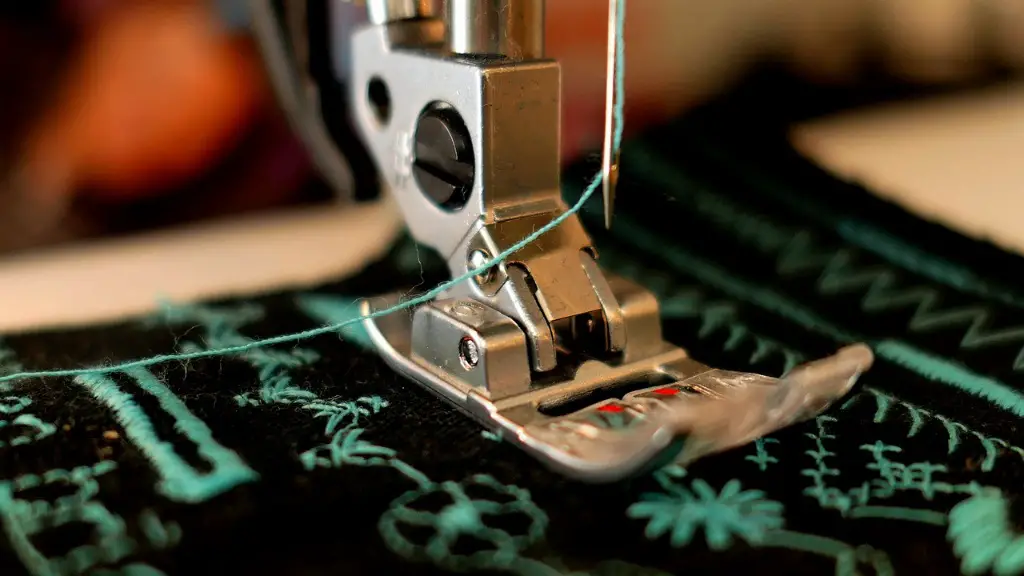
Once the bobbin is threaded, you need to thread the needle. Pull some thread from the bobbin and guide it through the thread guides at the back of the sewing machine and then through the needle. This can be tricky to do, so it’s often helpful to use a needle threader. Once the thread is in the eye of the needle, it’s ready to be inserted back into the machine.
With the bobbin in place, you can now insert the needle. Raise the presser foot and do your best to line the needle up so it is correctly inserted into the needle rod. It should fit relatively easily, with no extra pressure required to get it into place. Once the needle is correctly in the needle rod, the third step is to bring the bobbin thread up through the stitch plate.
To do this, you need to lower the presser foot and turn the handwheel very slowly in a counterclockwise direction. It should catch the bobbin thread and pull it up through the needle plate. Grab the bobbin thread, pull it up and you are almost done!
Sewing Basics
Once the Singer hand sewing machine is all threaded, you can finally start sewing. Before you begin, it’s important to make sure the thread is securely tensioned. This can be done simply by pulling lightly on the threads from the spool and needle after they’re threaded through the machine. If it appears too loose, you can tighten the top thread tension knob slightly.
Once you’re ready to sew, make sure the stitch length is set correctly. To do this, you will need to turn the handwheel half a turn in a counterclockwise direction and check the stitch length adjustment guide near the needle. When the needle is at the right height, it’s time to start sewing!
Before you start, use pins to fasten pieces of fabric together and make sure they are securely in place. This will help ensure the fabric stays in place during the sewing process, and will also help create even stitches. After this is done, you can start stitching with the Singer hand sewing machine.
To start, press the foot pedal and the needle should start to move and stitch the fabric together. Keep going until the seams are secure and your project is complete. Once finished, be sure to pull the threads to the back of the fabric to hide the ends from the finished product.
Cleaning a Singer Hand Sewing Machine
Regular cleaning and maintenance is a crucial part of using a Singer hand sewing machine. Over time, dust, thread bits, and other debris can accumulate in and around the machine. This can cause the machine to run poorly and cause the fabric to bunch or create skipped stitches.
The best way to clean the machine is to use a small brush or compressed air can to remove the debris. Pay particular attention to the lint trap, bobbin and presser foot, as these areas often accumulate lint and dust. You can also use a damp cloth to clean the body and any plastic parts of the machine.
Once the machine has been cleaned and all dust and debris has been removed, it’s time to lubricate it. Refer to the manual for oiling locations, and remember to lubricate sparingly. Too much oil can actually cause more harm than good, and can lead to build-up and excess friction.
Finally, use a small screwdriver to tighten any loose screws that may have come loose. Always ensure they are tightened properly, as loose screws can create issues with functionality and operation.
Caring for a Singer Hand Sewing Machine
It’s important to remember that a Singer hand sewing machine is an investment and needs to be taken care of if it’s going to give you many years of enjoyment. The best way to ensure your machine stays in top condition is to make sure it’s regularly cleaned, lubricated and serviced.
Most machines require servicing every few years or so. During the service, a qualified technician will clean, oil and tighten all the parts of the machine to make sure it’s running smoothly. Depending on how often you use the machine, you may need to have it serviced more often than the manufacturer recommends.
In between services, take special care when using your Singer hand sewing machine. Never force it or put it under strain, as this can cause damage to the internals of the machine. Never leave the machine open or running when it’s not in use and be sure to cover it when transporting it from place to place.
Accessorising the Singer Hand Sewing Machine
One of the most fun parts of using a Singer hand sewing machine is accessorising it with all of the attachments and add-ons available. There are a wide range of extras available, from specialty foot pedals and threading accessories to needle plates and decorative stitching options.
These attachments can help you to get the most out of your machine, and can help you complete intricate or delicate tasks with ease. It’s best to plan ahead before investing in any accessories, as some of the specialized attachments can be quite pricey. But when it comes to high-end projects, they can be a great way to get a more professional finish.
Understanding the Machine’s Functions and Settings
Lastly, it’s important to get to know the functions and settings of your Singer hand sewing machine. Most machines come with a range of special stitching functions and settings, from zigzag stitches to buttonholes and more. Depending on your project, you may need some of these features.
Refer to the machine’s manual to learn more about the functions and settings available, and practice using them until you feel confident. With enough practice, you’ll soon be able to customize stitches and settings to make your sewing projects easier and more efficient.
Choosing Good Quality Thread and Needles
When it comes to using a Singer hand sewing machine, always make sure you use good quality thread and needles. Using poor quality products can cause problems with regular skips or snags and can lead to extra tension on the machine, which can cause long-term damage.
Also, always use the correct thread and needle sizes for the job at hand. For instance, if you’re working with a heavy or thick fabric, you’ll need a larger needle and thread than if you’re working with something thin and delicate. Using the correct size needle and thread will help ensure your project is finished correctly and looking great.
When shopping for thread and needles for your Singer hand sewing machine, always look for reputable brands. This will help ensure the products are of a good quality, and that you don’t experience any problems with the machine.
Accessorising Your Work Space
Another aspect of using a Singer hand sewing machine is accessorising your workspace. If you’re serious about sewing, you’ll need to make sure all of your tools and supplies are easily accessible and organised.
This may mean investing in items such as storage boxes, extra spools of thread and even a larger work surface if needed. Additionally, updating your lighting or investing in a specialised lamp can be helpful when it comes to seeing your projects up close.
Whatever you need for your sewing projects, make sure to invest in high-quality items that will last you a long time. Remember, a well-organised workspace means easier and more efficient sewing sessions!


