Machine Setup
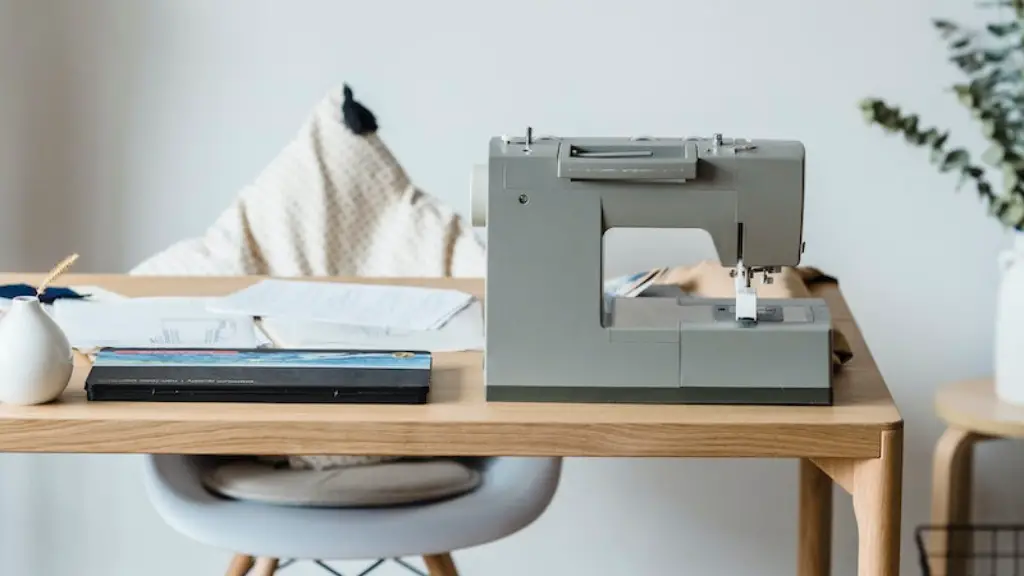
Learning how to use a Singer Simple Sewing Machine is a great way to get started on sewing projects. With just a few simple steps, you can be up and running in no time. To begin, take the machine out of the box and set it up. Unpack the machine, its power cable, the foot pedal and the manual. Place the machine near a power supply and an appropriate work surface. Make sure the machine is stable, secure and level.
Threading the Machine
The next step is to thread the machine. This involves threading the needle, winding the bobbin, and connecting the thread to the bobbin. If you’re having problems threading the machine, review the manual and watch a few tutorial videos online. Remember to always thread the machine with the power off. Once the thread is in place, it’s time to select stitches and tension settings.
Stitch and Tension Settings
Depending on the fabric and project, you may want to select a different stitch. It is important to select the stitch that best suits your fabric and the project you are tackling. A good rule of thumb is to choose a narrower stitch for light fabrics and a wider stitch for heavier fabrics. It is also important to adjust the thread tension settings. Too much tension can cause puckering and pulling while too little tension can cause skipped stitches.
Foot Control
An important element of learning how to use a Singer Simple Sewing Machine is the foot control. This is the device at the end of the power cord. This is where the user can control the speed of the sewing process. The speed of the machine is controlled by how much pressure is applied to the pedal. It is recommended that users start off slow and gradually increase the speed as they become more comfortable with the machine and the project.
Maintenance and Care
Proper maintenance is key to ensuring long-term use and enjoyment of a Singer Simple Sewing Machine. Clean the machine after each use, especially the bobbin area. To keep it in good working order, regularly check the machine for loose or broken parts and clean out dust and dirt that may accumulate on the moving parts. Carefully store the machine in a dry place and keep it away from extreme temperatures and direct sunlight.
Choosing the Right Fabric
Knowing how to choose the right fabric for a project can be difficult, particularly for beginners. When picking out fabric, consider the type of project and the end use. For example, pick a heavier weight fabric for curtains and a lighter weight fabric for shirts. Additionally, consider the fabric’s weave – for clothes, choose something slick to avoid bulk. If a certain fabric is not recommended for use on the machine, do not attempt to use it.
Practicing on Sample Pieces of Fabric
Before getting started on any project, it is important to practice on sample pieces of fabric. To get a feel for the machine, start working with easy projects such as a seam or hemming. Sew a few stitches, then place the fabric under the presser foot and see how it moves. This will help you get to know the machine and gain confidence.
Installing Accessories and Presser Feet
Installing accessories and presser feet on a Singer Simple Sewing Machine is easy. First, remove the existing presser foot. Then attach the desired accessory or presser foot. Some models come with snap-on feet, while other models require the user to screw on the foot. Screwing on the presser foot ensures a secure fit but may require a special tool.
Checking for Potential Problems Before Starting a Project
Before starting a project with a Singer Simple Sewing Machine, take some time to check for potential problems. Inspect the machine for any loose parts or frayed thread. Ensure the bobbin is wound properly and the thread tension is set correctly.Lastly, practice starting a seam and check the machine’s stitching to make sure it is even.
Troubleshooting Problems
If the Singer Simple Sewing Machine isn’t functioning properly, it is important to troubleshoot the problem.Check the bobbin and thread tension settings, as these are usually the culprit. Check the machine for dirt, dust or lint, or any other objects that may be preventing the machine from working. Review the manual and watch tutorial videos if necessary. If the problem persists, take the machine to a certified technician or authorised service centre for assistance.
Altering Patterns and Choosing Patterns
Knowing how to alter patterns and choose the right pattern is an important skill for sewers. Altering patterns can be done to customize a design and ensure a comfortable fit. When selecting a pattern, consider the type of fabric, the project and the skill level. Start with basic patterns, such as shirts and skirts, and work your way up to more challenging designs.
Picking Fabric
Choosing the right fabric for a project is also essential. Consider the purpose of the project and take into account the fabric’s weight and weave. Pick fabrics that are appropriate for the sewing machine and the project. Avoid fabrics that are too thick or too slippery. Test out small pieces of fabric to get an idea of how it looks and feels before investing in larger pieces.
Thread and Needles
In order to complete a project, sewers need to choose the right thread and needle. Thread should match the colour of the fabric, while the needle should match the fabric weight. For light fabrics, use a fine needle, while heavier fabrics require a heavier needle. Use high quality standard thread or speciality thread types, such as metallic or embroidery thread.
Using Professional Finishes
To add a professional touch to any project, use specialised techniques and finishes. These could include French seams, bound buttonholes, rolled hems, or a wide variety of decorative stitches. To ensure success, practice these techniques on a sample piece of fabric before attempting it on an actual project. Additionally, use the correct accessories and presser feet to get the best results.


