Basic Functions
A serger sewing machine is not like your traditional domestic machine, but is a professional tool used to create garments or home furnishings. It uses three or four threads to securely stitch and finish raw edges, making it ideal for curved or tight spaces that a standard machine can’t. It also has unique features, such as cutting threads and fabric while stitching, which makes it an essential tool for many garments or upholstery. If you are new to this machine or its features, here is a guide explaining the basics of a serger sewing machine.
Threading a Serger Machine
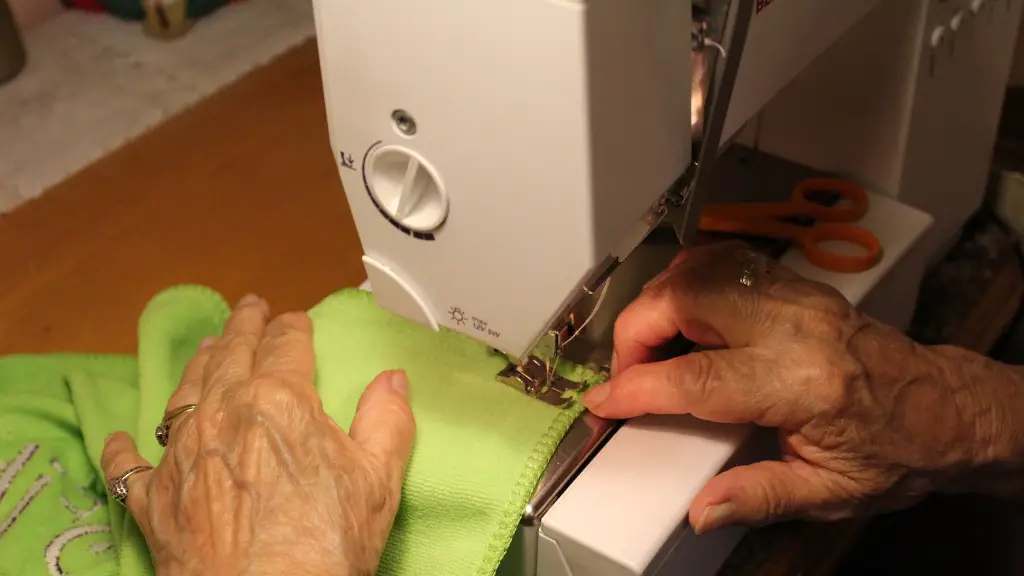
Threading a serger can be the most difficult part, but getting the process down will give you professional results every time. When setting up a serger, start by ensuring the presser foot is raised and the upper and lower loopers are correctly aligned on the machine. Then use the tension discs to adjust the tensions of threads to the desired settings. Each manufacturer prints their own tension settings, so refer to the manual for recommendations. Ensure all the threads are using the correct tension so that their loops are the same size. Finally, thread the remaining needle and then test the stitch out on a scrap of fabric before beginning.
Adjusting Tensions
The key to getting a perfect seam on any garment or fabric is setting the appropriate tension. The tension settings on a serger are adjustable, so it can handle a variety of fabrics and weights. If the tension is set too high or too low, it may create a seam that bulges or puckers, or result in loose and unsightly stitches. The manufacturer’s manual will provide setting recommendations, but test out different combinations on scrap fabric to determine the perfect tension settings for your project.
Selecting the Best Stitch Type
A serger sewing machine offers several types of stitches, and any of them will complete a basic seam. Professional results, however, require selecting the correct stitch for the project. Each of the stitches reinforces the fabric around the seam differently, based on the number of threads and stitches per inch. As a guide, use two-thread, one-needle stitches for lightweight fabrics and four-thread, two-needle stitches for heavier fabrics. If the project requires a decorative touch, choose one of the stitch variations such as a rolled hem or a ruffle stitch.
Installing Different Feet
The presser foot on a serger is one of the most versatile tools, since it can be removed and replaced with any of several optional, specialized feet. Each type of foot serves a different purpose, but they all allow the you to create a range of designs. For instance, a clear foot provides better visibility when topstitching, while a Shirring foot is ideal for shirring and gathering. Additionally, a piping foot lets you add decorative trim and piping to your projects or decorate with specialty stitches.
Finishing Seam Edges
Finishing seam edges is one of the most important elements of any project. With a serger, two types of finishing are possible: an overlock or overcast finish. An overlock stitch will trim the seam allowance in addition to stitching it to the fabric edge, while an overcast seam finishes the edge of the seam allowance without trimming. An overcast stitch is recommended for heavier fabrics, as it prevents seams from stretching out of shape.
Caring for a Serger Sewing Machine
It is essential to regularly clean the serger to ensure that it runs smoothly and produces good results. After each session, return the thread tensions to their factory settings, then use a dry cloth to remove dust and dirt from the surface. Additionally, use canned air to blow away any dust in the tension discs and loops of thread. Finally, lubricate all the moving parts of the machine, such as the needle and cutting blades, to prevent wear and ensure smoother motion.
Common Troubleshooting Tips
Common problems when using a serger range from tension issues to unwanted loops and uneven stitches. With some basic troubleshooting tips you can usually solve any issue without having to take the machine in for service. Review the manufacturer’s manual or check the internet for specific troubleshooting advice. Also, test the machine by stitching on scrap fabric to ensure the tension and stitching settings are correct.
Serging Specialty Fabrics
Sergers are often used to create garments, but there are other specialty fabrics that work best on a serger. These include intricate or lightweight fabrics such as lace, satin, and tulle. To achieve the best results, use a larger stitch size and adjust the tension settings appropriately. Test stitching on scrap fabric to find the perfect settings before beginning the project.
Serging with Different Threads Types
Most machines are set up to run with regular thread, but a serger can create professional finishes with specialty threads too. Elastic threads are great for creating shirring or gathering along with decorative threads for enhancing the look of certain fabrics. For example, polyester and metallic threads can provide a vibrant glossy finish, while embroidery threads can add a custom touch.
Using Color Combinations for Effect
Using two colors of thread on a serger can provide visual interest and help match certain fabrics. This is especially useful with dark colors, where stitching in a lighter shade will bring it to the surface and create beautiful designs. Color combinations are a great way to add a unique touch to design.


