Parts of the Machine
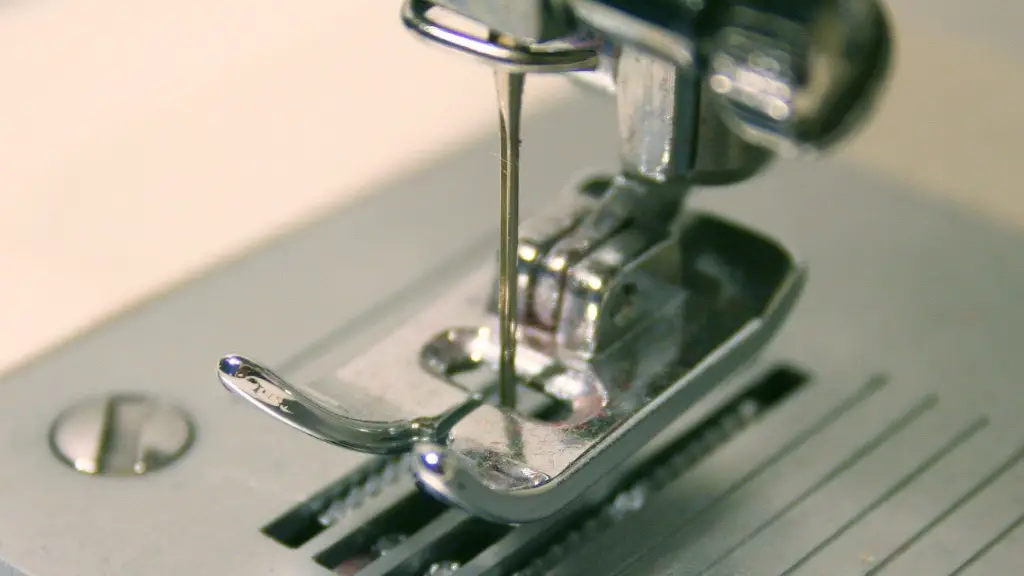
Sewing machines come in all shapes, sizes, and models, but each of them is made up of some basic parts. Knowing what these parts are and what they do is the key to understanding how to use your machine. The presser foot is the part of the machine that applies pressure to the fabric to lock the stitches in place. The bobbin, located in the bobbin case, holds the lower thread. The feed dogs control how much fabric is pulled into the machine. The needle, of course, is what creates the stitches. And the stitch selector allows the user to switch between the various stitch types, such as straight, zigzag, or a decorative stitch. Finally, the foot pedal is used to control the speed of the machine.
Threading the Machine
Once you know the parts of the machine, threading the machine is the next step. To do this, begin by attaching the presser foot to the side of the machine. Then, open the bobbin case and insert the bobbin. Next, pass the thread over and around the tension discs located on the bobbin case, and then thread the machine through the needle area. Finally, bring the thread up through the needle hole and tie a knot at the end of the thread. Now your machine is ready to be used.
Selecting the Stitch
Once the machine has been threaded, you can choose which stitch you would like to use. There are a variety of stitch types, including straight and zigzag stitches, as well as decorative stitches. Each of these stitches serves a different purpose. Straight stitches are used for most seams and hems, while zigzag stitches are great for reinforcing seams and hems. Decorative stitches add a touch of flair to your garments, and they can be used to embellish items such as quilts, bags, and dresses.
Using the Machine
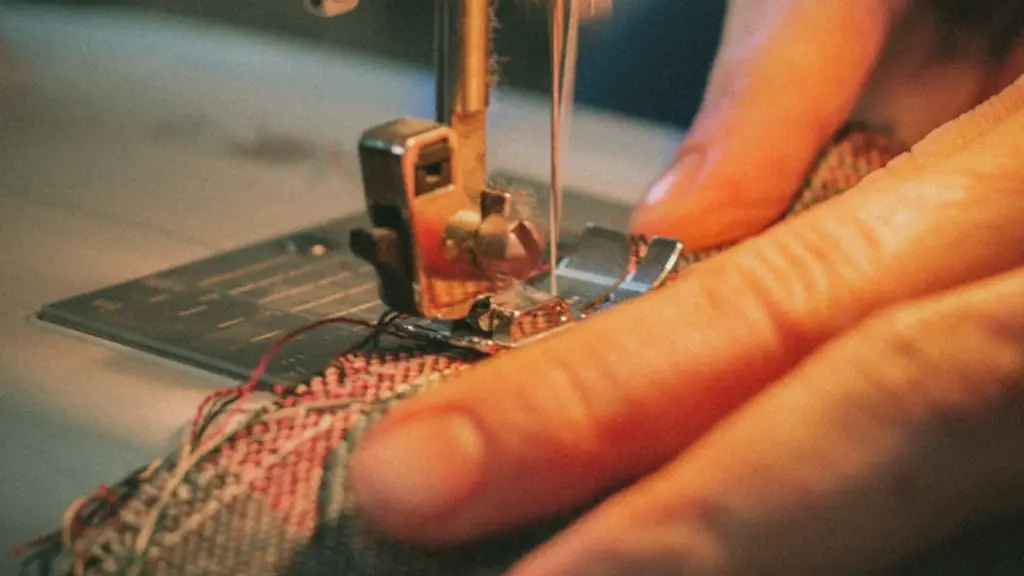
Once you have selected the desired stitch, it is time to start sewing. Before you get started, make sure to set the stitch length and width according to your pattern instructions or the type of fabric you are using. Once the settings are adjusted, you can begin sewing. Place the fabric under the presser foot and lower the presser foot using the lever located on the side of the machine. Then, guide the fabric through the machine using your hands and the foot pedal. Don’t forget to reverse the stitch at the beginning and end of each seam.
Adjusting the Tension
As you use the machine, you may notice that the tension needs to be adjusted. If the stitches are looping on the underside of the fabric, the tension needs to be tightened. And if the stitches are becoming too tight and difficult to pull through the fabric, the tension needs to be loosened. The tension can be adjusted with the dial located on the side of the machine.
Changing the Needle
Over time, the needle will become dull and may need to be changed. When it comes time to change the needle, start by raising the needle as high as possible by turning the handwheel. Then, unscrew the needle clamp screw and remove the needle. Be sure to check the size and type of the needle and replace it with a new needle that is the same size and type.
Caring for your Machine
Just as you would maintain any other machine, it is important to take care of your sewing machine. After every use, make sure you clean out the lint that has accumulated under the needle plate. Also, make sure to oil the machine on a regular basis. This will help keep the machine running smoothly and prevent it from becoming jammed.
Stabilizers
Stabilizers are materials that are used to support and stabilize fabrics while you sew. They come in different widths and thicknesses, and they are used to help prevent the fabric from stretching or shifting while you sew. Stabilizers are especially helpful when working with stretchy fabrics, such as knits, as well as sheer fabrics, such as chiffon and organza.
Tips for Beginners
If you are a beginner, sewing with a sewing machine can be overwhelming. It takes practice and patience to learn how to use the machine, so don’t be discouraged if it takes a few tries before you get it right. Start by practicing with fabric scraps on a scrap piece of fabric until you are comfortable with how the machine works. Once you feel confident, move on to a bigger project.
Pressing your Seams
Pressing your seams is an important part of the sewing process. If you don’t press your seams, your project may not turn out as well as it could. Pressing your seams not only makes them look better, it helps to make them stronger and more durable. It also helps to keep the fabric from puckered or bunching up when it is sewn.
Fitting Techniques
When it comes to fitting, it is important to make sure that the garment fits correctly. To do this, you can use a variety of fit techniques, such as muslin fitting or tissue fitting. Muslin fitting involves cutting out a piece of muslin fabric that is similar to the fabric of the garment, and sewing it together to make sure it fits correctly. Tissue fitting involves cutting out a pattern tracing of the garment and pinning it on the fabric to get an exact fit before cutting out the fabric.
Finishing Techniques
Once your garment is sewn, it is time to finish it by adding a hem and any other details you may want, such as pockets or a lining. Hems are essential to finishing the garment, as they give it a neat and professional look. For a clean and neat look, use a serger to create a rolled hem or a narrow hem. If you don’t have a serger, a zigzag stitch can be used instead. Finally, be sure to press your finished garment so that it looks professional.


