Hemming is an essential skill in sewing, as it allows you to tailor a dress or a pair of pants to fit you perfectly. It is also an important part of any garment so it can look professional, neat, and presentable. Blind Hemming is a great way to finish any seam and give a professional look to your project. Blind Hemming is a technique that involves stitching a piece of fabric onto the ride side of the garment in such a way that it isn’t visible from the outside. This can be done with a sewing machine, but it’s important to take your time to ensure it’s done correctly.
When you are ready to begin, it is important to prepare your supplies. You will need fabric scissors, a piece of thread that matches your fabric, a blind hem stitch foot for your machine, a seam ripper, and a marking pen or pencil. Start by pressing the fabric so it’s smooth. Then turn your fabric inside out and press 1 ½ of the hem allowance towards the wrong side. You can then mark a parallel line on the hem allowance with your marking pen or pencil, about a 1/4 of an inch over from the wrong side.
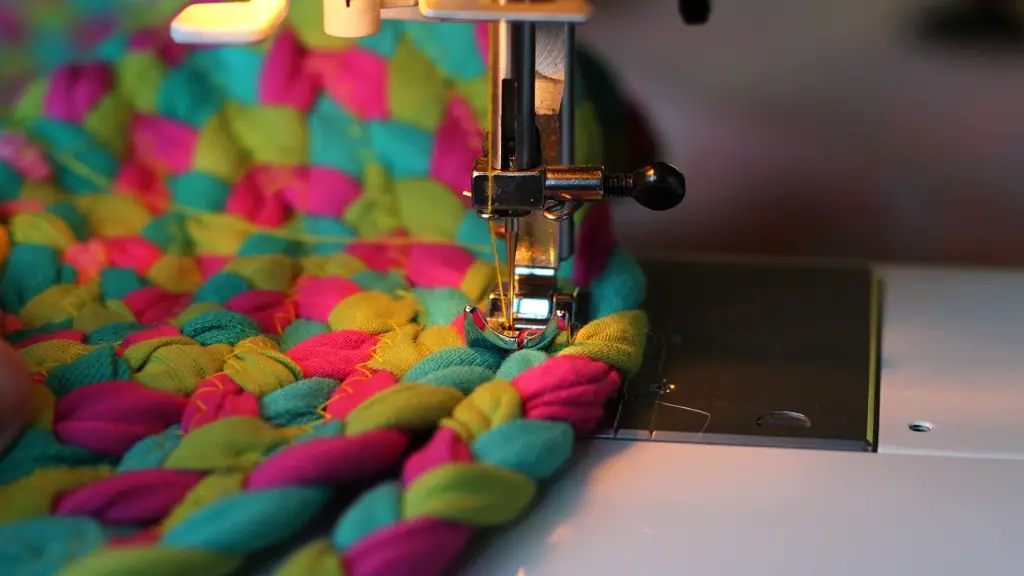
Next, attach a blind hemming foot to your sewing machine. Blind Hemming foot is specially designed to help you make precisely stitched seams and hems that stay in one place. This foot has plenty of grooves on the bottom which will be used to hold the fabric in place, making it easier to get an even hem. Once the foot is attached, adjust your stitch length to 2-3mm depending on the fabric. Then sew along the marking line with a straight stitch and check for accuracy. You may also want to use pins or basting stitches to secure the hem in place.
After you’ve sewn your initial line, use a seam ripper to create small snips along the crease line. Make sure you carefully snip the weave of the fabric and not the threads, so the fabric won’t fray. Then you’ll fold the hem allowance over the snipped line onto the right side of the fabric, and press in place. Make sure that the right side of the fabric is on the underside of the fabric, so it will be hidden when you stitch it onto the garment.
Finally, it’s time to blind stitch the hem in place. With the fabric still facing the wrong way, use a straight stitch again to sew the hem in place. You don’t need to worry about having a perfectly straight line, just make sure the stitch goes in the same direction as the presser foot’s guide groove. Don’t worry if the line isn’t perfectly straight, as this will be hidden once the hem is in place. Once you’re done, you can turn the garment back to the right side and admire your work.
Blind Hemming is a great way to finish any seam and give a professional look to your projects. With the right supplies, the right machining foot, and some practice, you can easily get great results every time.
Tips and Tricks
Blind hemming can be a bit of a tricky skill to get the hang of, so here are a few tips and tricks you can use to make it easier. First, use a marking pen or pencil that won’t smudge or bleed. This will make it easier to see the line you’re stitching along, particularly if you’re using a dark fabric. It can also be helpful to use a light-colored thread that closely matches the fabric, as this will make it even more invisible when it’s done.
In addition, be sure to use a fine needle in your machine so it can easily slide through the fabric. This will make the stitching faster and the finished product look smoother. Lastly, always do a few practice runs on a scrap piece of fabric before stitching on your garment, just to make sure you’ve got the hang of it.
Fabric Choices
When it comes to choosing a fabric for a blind hem, there are a few things you need to consider. Firstly, make sure the fabric is sturdy enough for the job. If the fabric is too thin, it’ll be hard to get an accurate result and it won’t have a neat finish. Additionally, try to choose a fabric with a loose weave so the hem won’t be too bulky when it’s done. If the weave is too tight, the stitch may be visible and the hem won’t look as neat.
It can also be helpful to choose a fabric with a matching thread. If the thread isn’t the same color as the fabric, it can be seen no matter how small the stitches are. So, if you want to guarantee an invisible hem, make sure you pick a thread that’s the same shade and even the same type of fabric.
Different Types of Hemming
If you’re looking to add a neat finish to any project, there are several types of hemming you can choose from. Blind Hem is the most common type, as it’s quick, easy, and gives a professional result. French hem is another option, as it’s a neat and durable alternative to a blind hem. Additionally, there are several decorative hems you can use to give a unique edge, including a rolled hem and a lace edge.
No matter which type of hem you choose to use, it’s important to take your time and get it right. Hemming is an important part of any project and it can add that extra touch of professionalism and uniqueness if done properly.
Tools you will Need
If you’re taking on a hemming project, there are several tools you’ll need to get the job done. The most important of these is your sewing machine and a special hemming foot. Hemming foots can be found in most sewing stores, and they come in several sizes and designs depending on the type of fabric you’re using. You’ll also need fabric scissors, a marking pen or pencil, a seam ripper, and, of course, some thread.
If you’re new to sewing, it’s important to invest in a good set of supplies. Quality tools will make the job easier and have a positive effect on the finished product. That doesn’t mean you have to break the bank, though, as there are plenty of affordable options available. Just make sure to shop around for the best deals and don’t be afraid to ask an expert for help if you’re not sure what to get.
Common Mistakes
From time to time, you may find yourself making a mistake while hemming. That’s alright, as it’s part of the process of mastering the skill. Some of the more common mistakes include stitching too tightly and having mismatched thread. If you notice these errors, don’t be afraid to unpick the stitches and start again. This can be time consuming, but it will ensure your project looks neat and professional.
Other mistakes include puckering of hem edges and uneven hems. These can easily be fixed by ironing the garment before you start stitching. Another issue you may come across is uneven tension, which can also be easily corrected by adjusting the tension on your sewing machine.
Conclusion
Blind Hemming is an easy skill to learn and a great way to give any project a professional finish. With the right tools, some practice, and a little patience, you can get great results every time. Don’t be afraid to experiment with different types and techniques, as this will help you hone your skills and become a master of hems!


