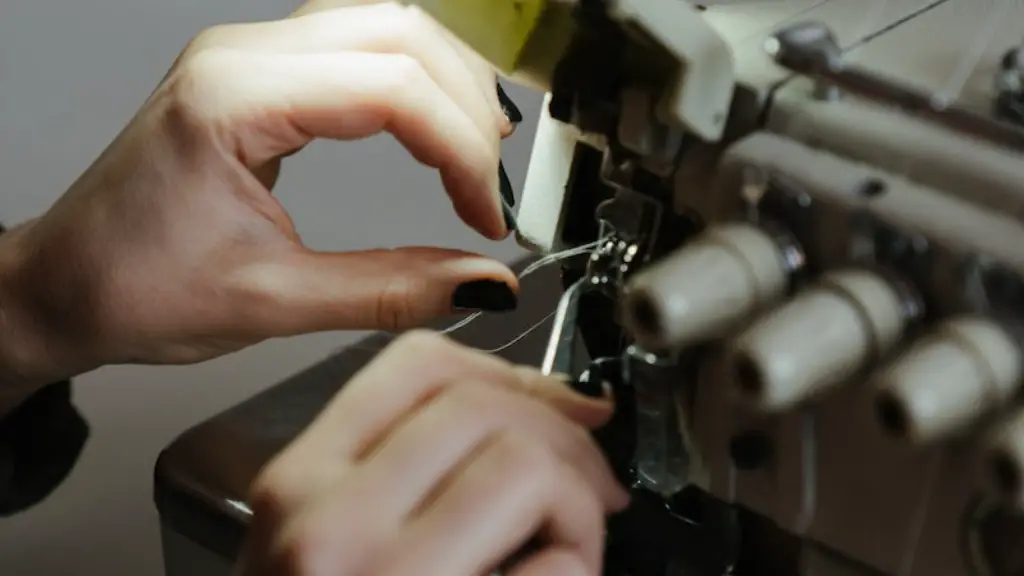
If you’re a longtime sewist like myself, you’re familiar with the basics of a sewing machine and its presser foot. For those just starting to explore the wonderful world of sewing, the presser foot can be a confusing and intimidating element. Here, I’ll break down everything you need to know about a presser foot so that you can start sewing with confidence.
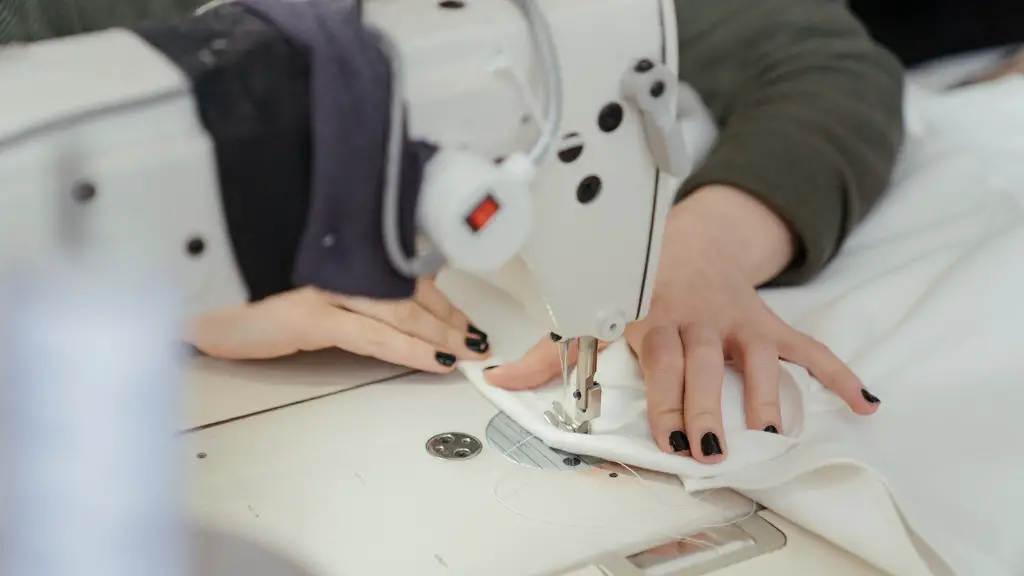
At its most basic level, the presser foot is a tool that sits atop the needle plate of a sewing machine and helps guide the fabric being sewn. It literally presses the fabric down onto the needle plate so that the needle can accurately pass through the fabric and make a good stitch. The presser foot also helps ease the flow of the fabric under the needle, allowing you to sew in straight lines.
The presser foot is a removable part, and can be swapped out with other presser feet to provide different outcomes. The classic, basic presser foot is known as the ‘all-purpose presser foot’. It’s shaped like a wide bar, and by default comes with most basic machines. It can be used for most regular sewing and quilting, and is often labeled as ‘A’.
When it comes to more specialized sewing jobs like making buttonholes, topstitching, or edging, the all-purpose presser foot just won’t cut it. In this case, it’s time to bring in some of the more specialized presser feet. For example, the zipper foot is designed for inserting zippers into your garments, and the blind hem foot will give you the perfect hem edges. Many machines also come with a walking foot, which is great for quilting layers of fabric together, or for sewing thicker, heavier fabrics without puckering.
When it comes time to change your presser foot, the process can vary depending on the type of machine you have. Many new machines come with a presser foot lever, which allows you to quickly and easily change the foot with minimal effort. Older machines may require the use of a small shift lever, which will allow you to remove the basic foot and attach another one.
Installing your presser foot is just as easy as changing it. Simply line up the shank of the foot with the shank of the machine, giving it a gentle tug to ensure it’s secure. Once you’re sure the foot is secure, engage the presser foot lever, and you’re ready to sew!
Finally, it’s important to note that many of the newer machines on the market have advanced feet that are designed to make sewing even easier. Many of these feet have been designed with convenience, safety and accuracy in mind, so be sure to check out what features your machine has in order to maximize your sewing potential.
Materials For Presser Foots
Presser feet are typically made out of metal, plastic, and sometimes silicone. The metal presser foots are the most authentic and reliable, but plastic and silicone can also be found in stores. Plastic presser feet are fairly inexpensive and easy to replace, but silicone presser feet offer superior durability and have the ability to withstand higher temperatures.
Metal presser feet are most ideal for heavier duty fabrics and multiple layers, while plastic and silicone feet are best for lighter duty fabrics. They are also incredibly lightweight, so are the most ideal for travel machines. Plastic and silicone presser feet offer a lot of flexibility, as they can be used for a variety of tasks, including quilting and applique.
Presser Foot Adaptors
Presser foot adaptors are a great and convenient option for those who do not have a standard presser foot on their machine. These adaptors can be attached to most machines and offer an easy solution to those who want to use different presser feet. They are also useful for those who have multiple machines and don’t want to have to buy multiple presser feet.
Presser foot adaptors come in two varieties: free-arm adaptors and universal adaptors. Free-arm adaptors are used to mount the new presser foot onto the arm of the machine, while universal adaptors are used to mount the foot onto the machine itself.
Presser foot adaptors give you the freedom to be able to use a variety of presser feet with your machine, offering greater flexibility and increasing the range of projects you can attempt. The adaptors also help ensure that your sewing projects are neat and professional looking.
Alignment And Maintenance
In order for your presser foot to deliver the best results, it should be properly aligned and in good condition. This is usually accomplished by adjusting the presser foot alignment screw that is usually located near the presser foot. To make sure your foot is properly aligned, move the presser foot while making sure that the needle is going into the center of the fabric. If it’s not, adjust the alignment screw until your needle is properly aligned.
Additionally, it’s also important to make sure that your presser foot is in good condition. This means making sure that there is no corrosion or other deformities. If your presser foot is in need of maintenance, you can use a simple cleaning brush and some isopropyl alcohol to clean it. This will help prevent any damage or wear and tear.
Selecting The Right Presser Foot
When selecting the right presser foot for your project, it’s important to take into account the tissues of the fabric you’re using and the details of the stitch type you plan to use. Different fabrics will often require different types of presser feet. For example, heavier fabrics like wool or denim will likely need a walking foot, whereas lightweight fabrics like silk may work better with a standard presser foot.
In addition to fabric type, the stitch type you select will also determine the presser foot. The most popular stitch types are straight stitch and zigzag, but there are other specialty stitches like one-step buttonholes and stretch stitches that require specialized presser feet. Be sure to check your machine’s user manual to get an idea of what type of presser foot is best for each stitch type.
Helpful Tips
When it comes to using your presser foot, there are a few helpful tips that can make your sewing go smoother. One tip is to set the tension on your machine when you switch presser feet. This will help to ensure that there is an even, consistent tension on all of your stitches.
Another tip is to use the correct pressure foot for the type of fabric you are working with. Different fabrics and different stitch types require different presser feet. Make sure you check your machine’s user manual to find the correct presser foot for your project.
Finally, it’s important to remember the importance of cleaning your presser feet regularly. To clean your presser feet, use a small brush and some isopropyl alcohol, and make sure to check for any wear and tear. This will help ensure that your presser foot is in top condition and will help you achieve better quality when you start your next projects.
