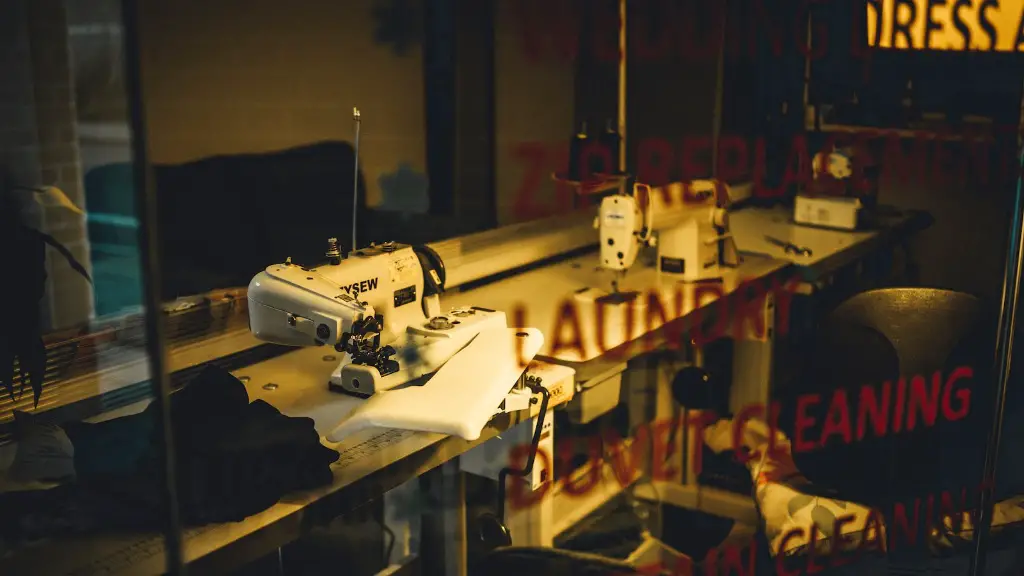
Sewing is often a therapeutic form of creativity that can provide stress-relief and one of the key components of successful sewing is to have the correct tension setting on your machine. Without the proper tension, your machine might struggle to sew through layers of fabric, and lead to an overall poor finish. Even with the most basic sewing machine, it’s important to adjust the tension for every project you work on.
Defining Tension
Tension is the amount of pressure applied by the machine to pull the thread through the fabric. This is a critical step because there needs to be enough pressure to tug the thread yet not be so much it punctures or shreds the fabric. Proper tension ensures that the fabric and thread are fused together, with neither one being tighter than the other.
How Tension Works
How tension works isn’t complicated. The sewing machine gives you the ability to control the tension of the thread by using a tension control dial. It is usually located on the needle plate and has a numbered dial, usually a numerical range from 1 to 10. With tension, the lower the number, the less tension is applied and it will be loose when you look from the underside. Alternatively, the higher number, the more tension is applied, which can be seen by thread just a bit tight on the underside.
Thread and Fabric
The tension will also vary depending on the type of fabric and thread you are using. For example, if you are using a lightweight thread in a very heavy fabric, then the tension will need to be adjusted to give the thread enough tension to create a strong stitch. On the other hand, if the fabric is very lightweight such as a batiste or muslin, then the tension will need to be tightened or the stitches might be too loose. It’s best to test the tension in a scrap piece of fabric to ensure that there is a clean, consistent stitch.
Testing Tension
It is important to note that the tension will need to be tested regularly. It is a good idea to test the tension after changing threads and even when working with a new fabric. Testing on scrap pieces of fabric might take a bit of time, but this will quickly become a habit and can help you create even stitches every time.
Effects of Incorrect Tension
Problems with tension can range from loopy stitches on the underside to gaps in the seam along the top of your project. If the tension is too tight, the stitches will be pulled too tight, resulting in puckering or even missed stitches. On the other hand, if the tension is too loose, this will cause the stitches to be weak, and they may come apart when the fabric is handled or washed.
Inspecting Machine
It is also important to inspect the sewing machine regularly to ensure everything is in good working order. Take the time to thread the machine according to the instructions, since this will help ensure the thread is being pulled evenly through the guide and tension disks. Check for any jammed pieces of fabric, dust, lint or any other debris, which can all contribute to incorrect tension when sewing.
Tension Refresher Course
Although it might seem daunting and complex, it is possible for anyone to master the tension on their sewing machines. There are several good tutorials and DVDs available that can help with understanding the basics of sewing machine tension. Many sewing and quilting stores also offer refresher courses which can help a beginner get a better grasp on the concepts of tension and stitch length.
Practice Makes Perfect
One of the best ways to become comfortable with setting the tension is through practice. Give yourself time to experiment and trial different tension settings on scrap pieces of fabric. Don’t be afraid to practice on a variety of fabrics to get a good understanding of just how different fabrics will affect the tension setting.
Additional Supplies
Having the right supplies for sewing can also make adjusting the tension easier. Invest in a pair of tweezers or a lint brush to help remove excess fuzz when threading the machine. Keep an extra spool of matching thread on hand to quickly switch out if there is an issue with tension due to an old or tattered thread.
Adjacent Tension Settings
One of the best tips for adjusting the tension on a sewing machine is to try adjacent lower and higher settings and then compare the results from the seam. This will help to hone in on the best tension for the particular project. Don’t be shy to switch it up until you get the desired results.
Using the Bobbin Tension
In some cases, the bobbin tension might need to be adjusted. This is especially true for thicker fabrics such as denim. The bobbin might need to be adjusted to a lower thread tension to ensure that it’s not too tight. Be sure to refer to the instruction manual for the proper way to move the bobbin tension as it might differ depending on the machine.
Different Needles and Thread
Another factor to consider is the type of needle and thread being used. Different needles and threads will require different tensions. If a heavier thread is used, you might need to adjust the needle tension slightly tighter to match the thread. Similarly, light or “sticky” fabrics might need to have the needle tension lowered.
Selecting the Right Presser Foot
The type of presser foot you choose can also make a difference in tension. If you swap out the standard foot for a wide or heavy duty presser foot, then you might need to adjust the tension. A presser foot with a heavy toe or sole might require that the needle tension be increased, while a foot with a light toe or sole will likely require that the tension is loosened.
Troubleshooting Issues
If you are having issues with the tension on your machine, it can be helpful to start troubleshooting from the beginning of the project. This can help to identify where the issue may be occurring, whether it’s at the bobbin, needle or somewhere else. Don’t be discouraged if you experience issues, as this is all part of the learning process.
Conclusion
Maintaining the correct tension on your sewing machine is an essential part of a successful sewing project. With some practice and the right supplies, it is possible to get the tension just right and improve your overall sewing abilities. Whenever you switch threads or fabric, be sure to check and adjust the tension for the best results.
