Step1: Introduction
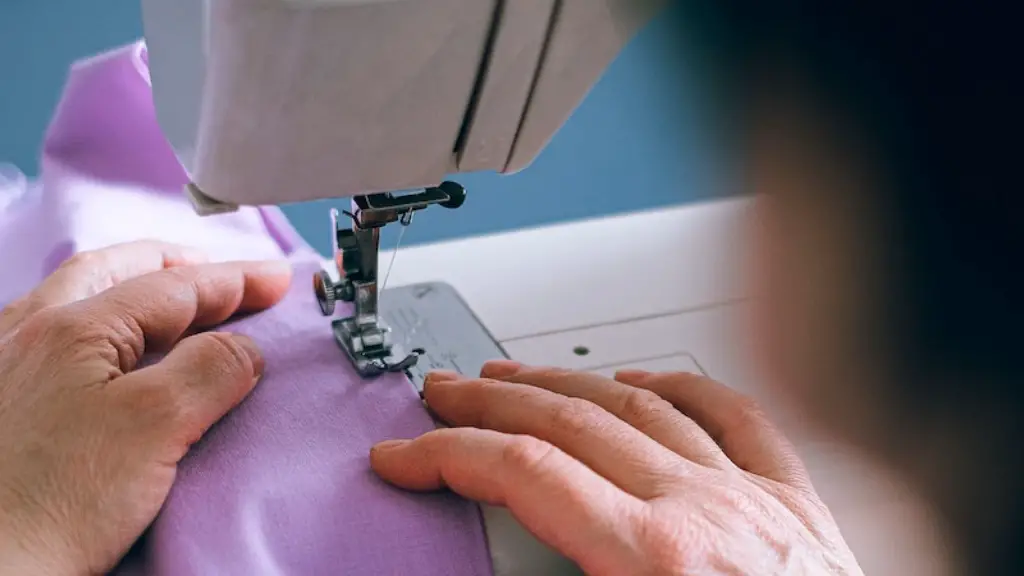
Adjusting the stitches on a sewing machine can be a tricky business. It’s essential to have the right know-how and tools to adjust the tension, length and width of your stitches and to make sure that your fabrics and projects stay looking sharp. The good news is that it’s not difficult to become a pro at adjusting stitches. In this article we’ll provide an overview of how to adjust stitches on any sewing machine.
Step 2: Adjust Tension
The most important part of adjusting stitches is adjusting the tension. The tension is what holds the stitches together, so it’s important to get it right. Generally, the tension should be adjusted so that the upper thread is slightly looser than the lower thread. This will ensure that the stitches are even and uniform. To adjust the tension, locate the tension knob and turn it clockwise to loosen and counter-clockwise to tighten.
Step 3: Adjust Length
Once the tension is set correctly, it is time to adjust the length of the stitches. This can be done by turning the stitch length dial on the side of the machine. This dial will vary slightly depending on the machine, so make sure to consult your machine’s manual for detailed instructions. Generally, the dial will range from 0 – 8, 0 being the least length and 8 the longest.
Step 4: Adjust Width
Adjusting the width of the stitches can provide a great way to customize the look of your projects. To change the width of the stitches, adjust the stitch width dial on the side of the machine. This dial will vary in range depending on the machine, so make sure to consult your machine’s manual for instructions. Generally, this dial will range from 0 – 8, 0 being the most narrow stitch and 8 the widest stitch.
Step 5: Test Your Stitches
It’s important to test your stitches once they have been adjusted. To do this, set up your machine with a scrap piece of fabric and thread and begin sewing. Once a few stitches have been made, stop and examine the stitches. If the tension, length and width are correct, the stitches should be uniform, even and neat. If the stitches look incorrect, make the necessary adjustments and test again.
Step 6: Consult Your Machine’s Manual
If you’re having difficulty adjusting the stitches on your machine, don’t fret – your machine’s manual is there to help! Most sewing machine manuals will include detailed instructions on how to adjust stitches as well as troubleshooting tips if you’re having difficulty. This guide will be invaluable in getting your sewing machine to create perfect stitches regardless of fabric and project.
Step 7: Break-in Your Machine
It can take some time for a machine to break in before the stitches look just right. So, if your stitches aren’t looking as perfect as you’d like, have patience! The more time you spend using your machine, the better it will become at producing perfect stitches.
Understanding Stitch Types
Besides adjusting the tension, length and width of stitches, it is also important to understand the different stitch types and their different uses. Your machine will likely have a few different stitch types, some of which are designed for specific types of fabrics and tasks. For example, the “zigzag” stitch is designed for added strength on a hem, while the “straight stitch” is designed for general sewing. Make sure to read up on the different stitch types and their uses before embarking on your sewing project.
Cleaning Your Machine
It’s important to keep your machine clean and maintained for perfect, snag-free stitches. To ensure that your machine is in tip-top shape, it’s important to clean the bobbin and the machine itself regularly. This will help to prevent dust, lint and other debris from getting caught in the machine and causing problems with the stitches.
Picking the Right Needles
In order to get the perfect stitches, it is essential to pick the right needles for the job. Different types of needles are designed for different fabrics and tasks, so make sure to pick the right one for the job. It’s important to remember that using the wrong type of needle can cause problems with the stitches, so make sure to consult your machine’s manual for recommendations on the best needles to use.
Troubleshooting Tips
If you’re having difficulty with your machine, don’t panic! There are many troubleshooting tips that you can use to diagnose and fix the problem. If your stitches are too loose or too tight, adjust the tension accordingly. If the thread keeps jamming or tangling, clean the bobbin and the machine itself. If the stitches look uneven or loopy, adjust the stitch length and width. In most cases, the problem can be solved with a few simple adjustments.


