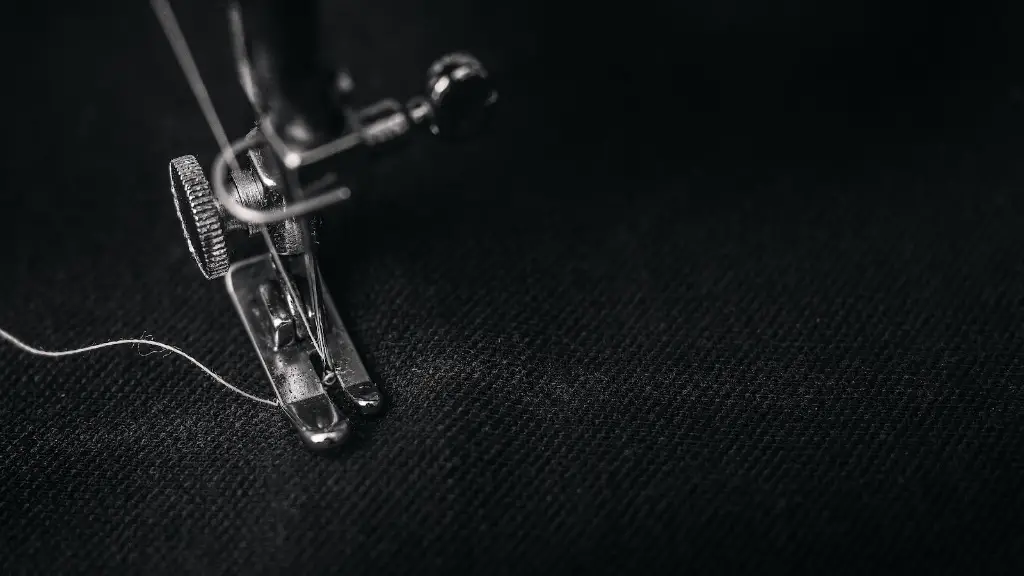
Machine quilting is a type of sewing that involves stitching pieces of fabric together to form a quilt. Often, this is done by hand, but it can also be done using a regular sewing machine. For those who are new to the art of quilting, learning to machine quilt may seem intimidating, but it can be a great way to start out because it is relatively easy and much faster than hand quilting. This article will explain the basic steps of machine quilting, as well as some tips to help make the process easier.
To machine quilt, you will need a sewing machine that is capable of handling several layers of fabric and batting. Cutting boards, rotary cutters and rulers are indispensible tools for quilting, as they allow you to accurately measure, mark and cut your fabric pieces. You will also need quilting thread, a walking presser foot and an even-feed foot. Finally, it’s a good idea to have a design plan in mind before starting so that you can be sure that everything fits together correctly. This can be a drawing, quilting ruler template, or just a plan in your head.
Once you have your materials ready to go, it’s time to start quilting. Start by pinning your quilt sandwich together to keep it from moving while you are sewing. This should include the backing, batting and top pieces. Now you can begin by stitching in the ditch or sewing along the edges of your fabric. Be sure to keep your tension even and your seam even as well. You may also want to practice on a piece of scrap fabric before getting started.
Once you have stitched in the ditch or around the edges of your quilt, you can move on to quilting the center portion. If you are using a template or design, mark the design with a wash-out marker. Then begin quilting the center of the fabric using a walking foot. Use quilting thread for a more decorative effect, or regular thread for more subtle quilting. Keep your seams even and the tension consistent in order to get a neat finished product.
When you have finished stitching, you need to remove the extra thread from the back of the quilt. To do this, use tweezers to carefully pull out the excess thread from the seams. You may also need to use a stitch remover to remove any tangled threads. Once this is done you can either hand bind your quilt or use the machine’s zigzag stitch to create a binding.
When you have finished your machine quilting, be sure to take the time to press your quilt to ensure that the seams lay flat and the fabric looks neat. This will make all the difference in the finished product!
Techniques to Achieve Perfect Seams
When it comes to machine quilting, one of the most important techniques to perfect is achieving a perfect seam. Seam allowances are typically 1/4” wide, so it is important to make sure that the stitching is consistently following the edges of the fabric at the right depth. Consistent tension and regular maintenance of the machine should help to keep the stitching on track.
Using a walking foot or an even-feed foot can help ensure that the seam allowance is consistent when sewing multiple layers of fabric. This is especially important when working with quilting batting, as it tends to slip and slide while stitching. You may even want to try a dual-feed foot, which will help to grip the multiple layers and keep them in place as you sew.
Finally, using a ¼” seam guide on the machine can help to keep the stitch perfectly even. This should be adjusted to align perfectly with the edge of the phone, and should help to keep the fabric from slipping and stretching as you stitch.
Tips for Beginners
For those who are new to machine quilting, there are a few important tips to keep in mind. First, take the time to familiarize yourself with the manual of your machine, including the stitch patterns, tension settings and special tools like the walking foot. Also, be sure to practice your stitching on scrap fabric before getting started on the quilt, as this will help you to get the hang of it before doing a full quilt.
Finally, it’s important to remember that machine quilting takes time and patience. Don’t try to rush your work or you will end up with inconsistencies in your stitching. Take your time and enjoy the process, and you will be sure to create something that you can be proud of.
Using Templates and Patterns
If you are looking to add a more complex aesthetic to your machine quilting, you may want to try using a template or three-dimensional pattern to create a more intricate design. Specialty quilting rulers, templates and specialty stitches can all be used to create a more detailed effect.
Using the templates or rulers to mark the quilt before sewing can make it easier to quilt the desired design. Once you have the template in place, begin stitching, making sure to keep your stitches even and consistent. It can also be beneficial to use a walking foot or an even-feed foot while quilting complex patterns, as these will help to keep the layers from shifting as you stitch.
Finally, stitching in the ditch once the quilting is complete can help to “lock in” your design, as well as make sure that the batting does not bunch up. This will help to ensure a neat, even finish.
Quilting Tools and Supplies
There are many tools and supplies available to make quilting easier. Quilting rulers come in many shapes and sizes, and can be used in place of a traditional measuring ruler to accurately mark and measure fabric pieces. Rulers specifically designed for rotary cutters are also available, which can help ensure precise cuts.
Rotary cutters are also essential for quilting, as they allow for precise, effortless cutting. Be sure to keep an extra sharp blade handy, as dull blades can cause the fabric to stretch and pull. You will also need sharp scissors to trim off any loose threads when you are finished quilting.
Finally, a walking foot is the perfect tool for machine quilting. This foot will help to keep all the layers of the quilt in place, as well as ensure even stitching. If you’re working with a more intricate design, you may even want to try a dual-feed foot, which can help grip multiple layers of fabric and batting.
Free Motion Quilting
Free motion quilting is a type of machine quilting in which the fabric is moved in and out in order to create the desired pattern. This type of quilting does require some practice and skill, as the fabric must be evenly moved to get the desired pattern. It is best to practice free motion quilting before attempting a full quilt, as this will help you to build the skills and confidence needed.
To set up the machine for free motion quilting, you will need to drop the feed dogs. This will allow you to move the fabric freely, as the machine will not advance the fabric while sewing. Then, adjust the tension and stitch length according to your fabric, and you are ready to go.
When free motion quilting, it is important to move the fabric consistently and smoothly. Moving the fabric too quickly or too slowly can cause skipped stitches, uneven seams, and inconsistent tension. Take your time and practice until your control improves, and you’ll be sure to create beautiful quilts!
Hand Quilting
Machine quilting can be an easy and quick way to make a quilt, but it doesn’t have to be the only option. Hand quilting is still a popular way for quilters to make beautiful quilts, and it offers a pleasure of its own.
Hand quilting requires a few basic supplies, such as quilting needles, threads, thimbles and a quilting hoop or quilt frame. Once you have all your materials, you can begin hand quilting. Hand quilting is a technique in which individual stitches are used to sew the quilt layers together. Quilters often use a particular pattern, such as the “running stitch”, to create a quilt. This gives the finished quilt a traditional and homey look.
Hand quilting may take more time than machine quilting, but it is also more intimate and personal. With practice, hand quilting can create a beautiful, handmade quilt that you can be proud of.
Finishing Touches
Once you have finished quilting your fabric pieces, the last step is binding the edges. To do this, you will need to stitch a binding strip to the edges of the quilt, and then hand sew it in place. This will secure the edges of the quilt, as well as give it a professional-looking finish.
When hand stitching the binding strip, use a small stitch, as this will be less visible on the finished quilt. Whichever stitch you choose, make sure to keep the stitches small and even so that they don’t show up on the back of the quilt. Also, be sure to tie off any loose threads to keep them from unraveling.
Finally, once the binding is complete, press your quilt one last time with an iron set to a low heat. This will help to flatten the quilt and even out its edges, as well as add that last professional finish. Now, your quilt is ready to be admired and enjoyed!
