For sewing enthusiasts, sewing machine tension is a crucial element to creating even stitches and makes the final result look professional. But, depending on the fabric, thread and tension setting, a sewing machine can be finicky. Unfortunately, each time the fabric changes, and sometimes even with the same fabric, it’s likely the sewing machine tension needs to be adjusted. This can be a little overwhelming, but following these steps will help make tension adjustments easier.
Check the Thread
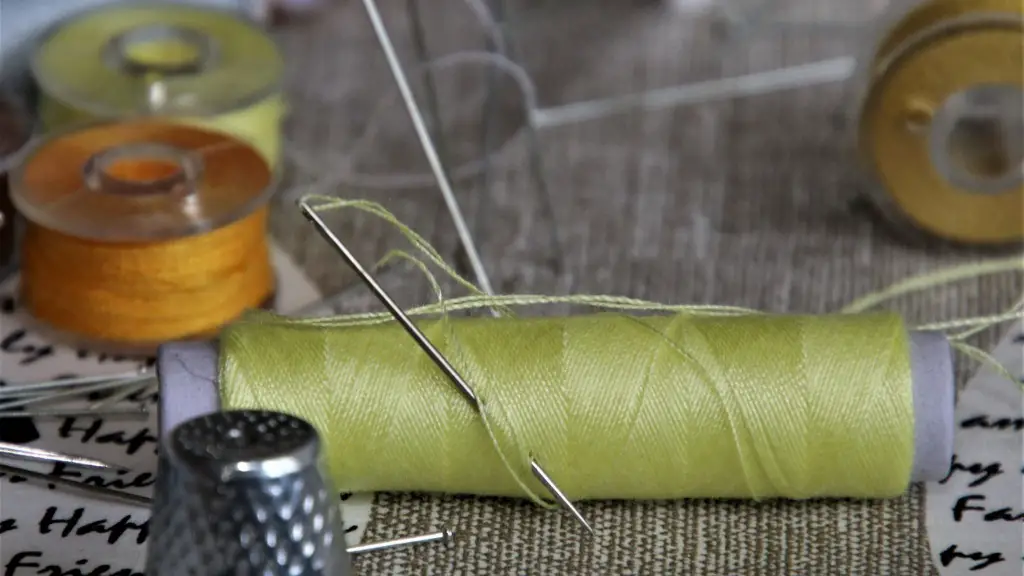
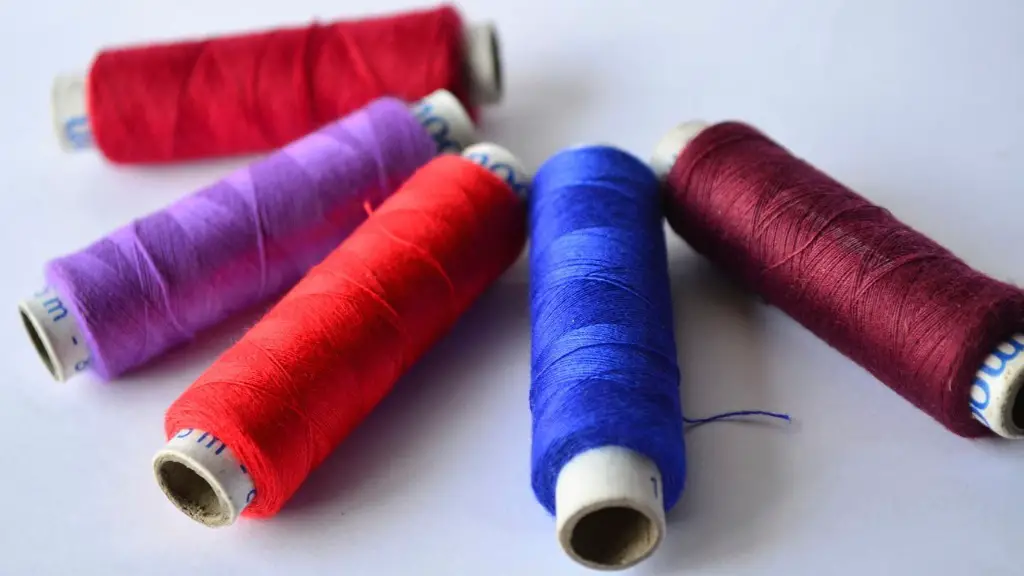
Every project starts with the thread. Some fabric and threads do not pair well and can create problems, like uneven tension and skipped stitches. A heavier thread and a thinner fabric may cause stitches to be too tight, and conversely, a lighter thread plus a heavier material can cause stitches to be too loose. Choose thread according to the weight of your fabric and it will solve a majority of the tension adjustments needed.
Start At The Hand Wheel
The hand wheel lets sewers choose how tightly the upper thread needs to be. Some people have a tendency to try and set the tension by changing the actual tension dials on the machine. Doing this can divert attention away from the actual tensioning of the thread. To get the best results, turn the hand wheel first. A good place to start is with the need number 4, take a few stitches and observe. Does the needle thread looks good on the top and bottom of the fabric? Great! With the right tension setting, the bobbin thread should slightly show on the top side of the fabric.
Check For Any Thread-Bunching or Tangles
Tension issues can cause the upper thread to tangle and bunch up. If this happens, chances are the bobbin tension is too tight. The upper thread can get caught in the bobbin area, so open the bobbin area and check for any issues. Thread that is looping under the fabric can also be caused by the needle being too far down, which isn’t an issue with the tension but needs to be fixed. If the thread is too far forward on the needle, turn the hand wheel away from you and the thread should move.
Make Adjustments as Necessary
When thread-bunching and tangles occur, it’s best to adjust the tension dials on the machine. To do this, use a screwdriver to move the needle tension dial in the desired direction. Move the upper thread tension dial to become looser. This should help the thread to loop properly and should be tested on different fabrics and threads. After making the adjustment, observe how the stitches look and adjust as needed. Sewers should start adjusting the dials by small increments until the desired tension and stitch results are achieved.
Test on Multiple Materials
Keep an assortment of threads, such as cotton, metallic and polyester, in the sewing room. Testing each new thread on scrap fabric will provide insight into which type of thread creates the best results. After the stitches look good, sew a test seam on the actual fabric. If the stitches look okay, go ahead with the project, but be mindful of any tension changes that may need to be made.
Make a Note and Move On
When the desired tension is achieved on a particular fabric, make a note of it for future use. Personal settings for each project should be written down, especially if a particular type of fabric is used often. By taking a few extra minutes to document the tension settings, these notes can be referred back to when similar projects are worked on.
Tension Troubleshooting
When adjusting the tension, remember to always double check the threading and make sure it’s properly placed in the tension discs. If the upper thread tension is too loose, loosen the bobbin screw and tighten the upper thread tension instead. If the upper thread tension is too tight, loosen it and then make a small adjustment to the bobbin screw. If fabric puckering occurs, adjust the needle tension as well as the upper thread tension.
Adjust Tension While Sewing
As sewers work on a project, they may need to make minor adjustments while they sew. If the lower stitch is too tight, turn the upper thread tension disc up a bit, and if the stitches are too loose, turn the disc down. If the feed dogs are pushing the fabric, lower the pressure for a tighter stitch, or increase the pressure for looser stitches. Overall, if the tension is off, the stitch length will be off. Adjust the tension as needed, and test the stitching to make sure it looks even.
Take Time to Clean and Maintain
Before making any adjustments, sewers should always check to make sure the machine is clean. Lint, dust and residue can build up and get stuck in the tension discs, so assess the top and bottom, the needle, presser foot and bobbin race. If there is any dirt, oil the machine and clean it out, then retest the tension to make sure it’s balanced.
Try Different Needles and Accessories
The type of needle and accessories used on a sewing machine also affect the tension. If a heavy-duty needle is required, selecting one that is too light may throw off the tension setting. For example, hemming denim with a light ball-point needle can cause some tension issues, so switch to a strong regular point needle. There are a variety of needles and accessories available, so research and find the ones that work best for the project at hand.
Interesting Textures and Heavy Fabrics
For interesting textures and heavier fabrics, the tension will need to be looser so the feed dogs can move the fabric through the machine. Softer fabrics with Lycra, for example, may require a tighter tension setting. Before starting a project, it’s best to experiment with scraps of the fabric to determine how tight or loose the tension needs to be.
Combine Tension Settings for the Best Use of a Sewing Machine
By combining the upper thread tension dial, bobbin tension dial and the hand wheel, sewers can adjust the machine’s tension to suit the fabric and thread that they’re using. With practice, sewers can get the hang of it and learn where to make the adjustments for each thread and fabric combination. It may require a few projects, but once the desired tension is achieved it should remain consistent for similar projects in the future.
Stitches Can Make or Break a Design
Stitches that are too tight or too loose can ruin any project, so the tension needs to be tested and adjusted properly before starting a project. Once the tension is balanced, follow the steps above to make sure the hand wheel is used, thread-bunching is avoided and the right needle is selected.Finally, don’t rush the steps. With a bit of patience, sewers should be able to create uniform stitches every time.
FaultyFabric Support Can Affect Tension
When making adjustments to the tension, sewers should make sure they don’t forget about the fabric. Even the best tension settings can be affected by badly supported fabric. For example, if the fabric is drooping, or sagging, the machine may struggle to pull it through, and the tension may be off. Support the fabric underneath with a flat seam or an iron before beginning a project.
FrequentAdjustments May Resolve Issue
If tension is still off even after making adjustments, try increasing the tension as much as needed. Sometimes the tension issue is due to the fabric being too thick. Be sure to also preserve the highest quality of the stitches by using the right needle point size and the right foot pressure.Try making several small adjustments and test the tension until it’s balanced.
Presser Foot Types Can Also Influences Tension
The foot pressure and the presser foot type may also affect the tension. The presser foot should be opened up as much as possible and the feed dogs correctly adjusted. If a walking foot applies more pressure to the back of the fabric it also pushes it more forward and may create tension issues. If this is the case, loosen the screw for the walking foot, or use a different presser foot.
