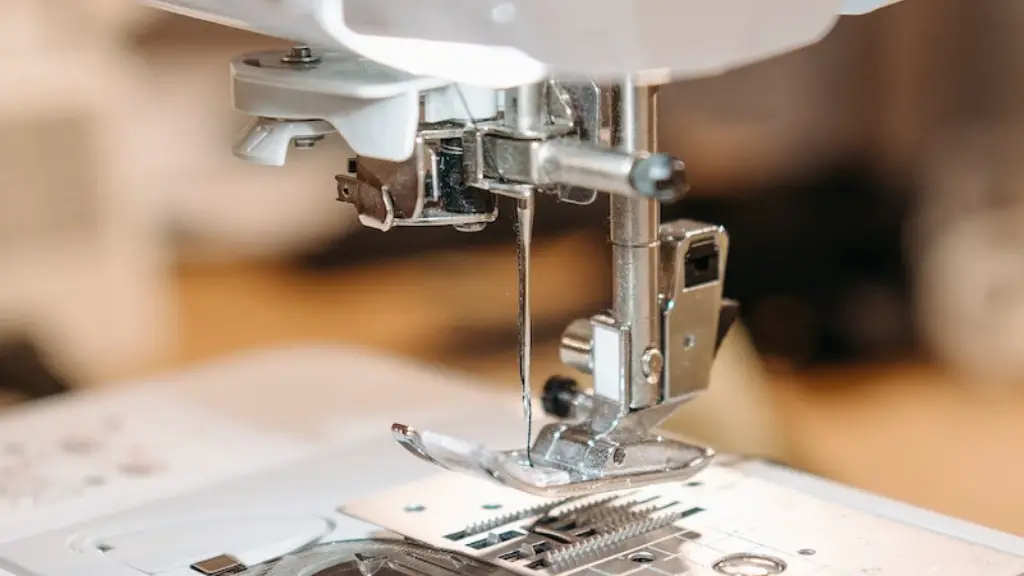
Presser feet can make all the difference when it comes to sewing garments and other fabric creations. Every Singer sewing machine comes equipped with a variety of presser feet that allow you to create a range of different sewing styles. Whether you’re hemming a dress or topstitching a denim jacket, you’ll need to know how to attach a presser foot to a Singer sewing machine.
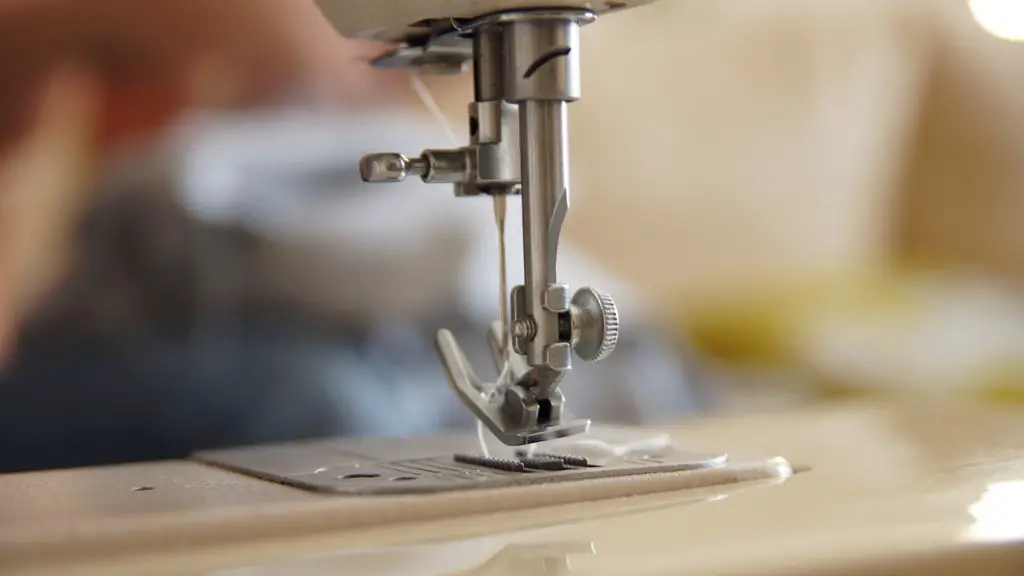
It is a relatively easy process, but there are some steps along the way that require some extra attention. Before you start, make sure you have the right Singer presser foot for the task you are looking to do. Once you have the right presser foot, remove the existing foot from the machine. The presser foot holder is the metal swoop of metal that hovers above the needle. Pull up on it, and the old presser foot will release from the holder.
Your new presser foot should have a small bar on the back of it. This connects to the presser foot holder and lifts the presser foot off the fabric when you are not stitching. If you are working on a solid surface or don’t need the extra space this bar provides, you can lower or remove it. Depending on your model, you may have a lever to help you do this. To attach the new presser foot, line the new foot up with the pin and notch on the presser foot holder. You need to make sure these match before you lock it in place. Then, press down firmly on the presser foot until it clicks into place.
Once the new presser foot is attached to the machine, you will reset each of the presser feet lifters for you to use. Raise the presser foot lifter on your sewing machine and lower it again. This will ensure that the presser foot holder does its job properly and it raises the foot from the fabric when the lever is pulled back. If you don’t do this, then the presser foot is likely to stick to the fabric when you pull the lever back.
Using Singer Presser Feet can be especially helpful when you are working on difficult materials, delicate fabrics, and viscose fabrics. You are able to use a range of presser feet to create seams, apply elastic, hem, and even gather fabric – to name a few. Once the presser foot is attached to your Singer machine, use the appropriate foot for the task. You’ll be able to achieve professional results like an accomplished fashion designer.
Importance Of Using The Correct Presser Foot
It’s important to use the correct presser foot for the task. Each foot can give you different results, so always check the manual for your machine to find out which foot to use for the job at hand. The zigzag foot is probably one of the most used presser feet. It is used for sewing, patching, mending, quilting, topstitching and the like, and it works on a range of fabrics. It should be noted, however, that some fabrics require special presser feet, so always check the manual to be sure.
Once you have the right presser foot in place, you can start creating your project. Make sure to practice a few stitches before you start on your actual fabric, so your garment has a professional finish. Also, be aware that some stitches may require you to use a specialized type of needle.
Troubleshooting Presser Foot Problems
Despite being a relatively straightforward process, sometimes issues can arise that cause the presser foot to become stuck on the machine. This can be caused by a number of things, but the easiest fix is to make sure the foot is properly aligned before clamping it into place.
It’s also important to make sure that the foot isn’t mismatched with the presser foot holder. If it is, then it won’t fit properly and it won’t be able to stay in place. If you can’t seem to get the foot to stay in place, adjust the tension until it becomes secure.
Installation Of Extra Accessories On Singer Sewing Machines
If you want to take your creations to the next level, you can install a range of useful, extra accessories directly onto your Singer sewing machine. Accessories, such as a free-arm, can allow you to work on pre-existing hems, or sleeves with ease and accuracy.
To install a free-arm, start by turning the power off, and unplugging the machine. Carefully remove the bed of the machine by lifting it up and off its mounting screws. Once it’s removed, you’ll need to attach the free-arm piece to the machine. Different machines have different methods for this, so you’ll need to consult your Singer manual for the exact instructions.
After the free-arm is attached to the machine, you’ll need to re-fit the bed of the machine, and mount it in place with the mounting screws. Then, plug in the machine and turn the power on. Now, you will be able to access the arm easily, and use it to sew a range of different sleeve styles.
Using Singer Presser Feet For Creative Projects
Another great way to use Singer presser feet is to create everything from quilts and pillows to purses and soft toys. Using the right labor-saving presser feet can help make the sewing process easier. Singer’s Walking Foot is an especially useful presser foot for working evenly with bulky materials. This foot has an extra set of feed dogs, which helps move both the top and bottom layers of fabric evenly, without bunching or slipping. Another great presser foot for quilting is the Darning Foot, which is used for sewing a loop stitch to create decorative effects.
Using the right presser feet can make all the difference in how quickly and accurately you complete a project. With the right tools, you can create professional-looking garments and accessories, with an ease and finesse that you never imagined possible.
Invest in A Singer Sewing Machine
Investing in a Singer sewing machine can give you unparalleled quality and convenience in the art of creating garments, home decorations and other fabric projects. Singer offers a range of machines, each with an array of different presser feet and tools, to help you make your creations come to life. It’s easy to learn how to attach a presser foot to a Singer machine, and the results you get can be amazing. So, if you’re in the market for a quality sewing machine, take a look at what Singer has to offer.
Singer Presser Feet An Essential Resource For Designers
For fashion designers, Singer presser feet can be an invaluable resource. Whether you’re stitching intricate designs or just trying to add texture and embroidery to a garment, having the right presser feet on hand can save you valuable time. Singer also offers a variety of specialty presser feet, such as the Beading Foot, which helps you stitch tiny glass beads and crystals onto fabric, and the Ruffler Foot, which can create beautiful ruffled edges.
Having the right resources is key when it comes to fashion and home design, and Singer presser feet are no exception. With the right foot in place, you can create beautiful and unique designs that your clients will love.
Using Singer Presser Feet For Efficiency
Finally, Singer presser feet can help you save time when you are completing a project. Many of the presser feet have automated features that sew multiple lines at once, saving you from having to sew them one at a time. They can also help you apply various methods of trimmings and bindings to fabric, without having to manually sew them by hand.
The time-saving features of Singer presser feet make them a must-have for fashion and home design projects. Not only do they save you time, but they also give you professional results that you can be proud of.
