Singer sewing machines are a favorite among many sewers for their sturdy construction, versatility, and convenience. Learning how to backstitch on a Singer sewing machine is an essential skill for any sewer who wants to make beautiful, well-stitched garments and other projects. Backstitching is an extra reinforcement that the machine adds to the beginning and end of a stitching line.
Using backstitching is a simple way to secure stitches in place and make sure that even a single seam stays secure, even if pulled on. Backstitching stabilizes and tightens stitches to prevent them from unraveling, so understanding how to backstitch on a Singer sewing machine is a useful skill for sewers who want to make sure their projects last and look great.
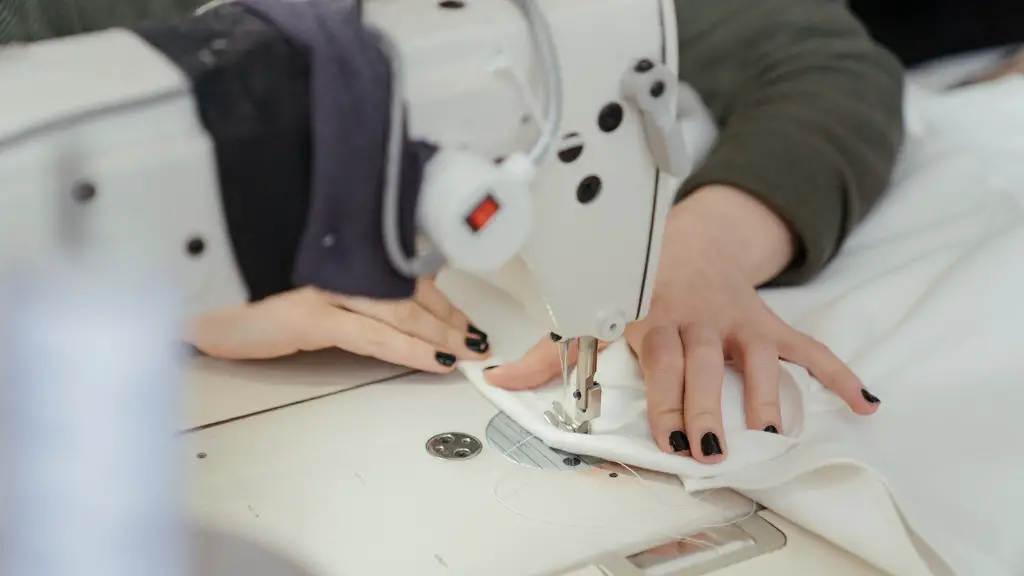
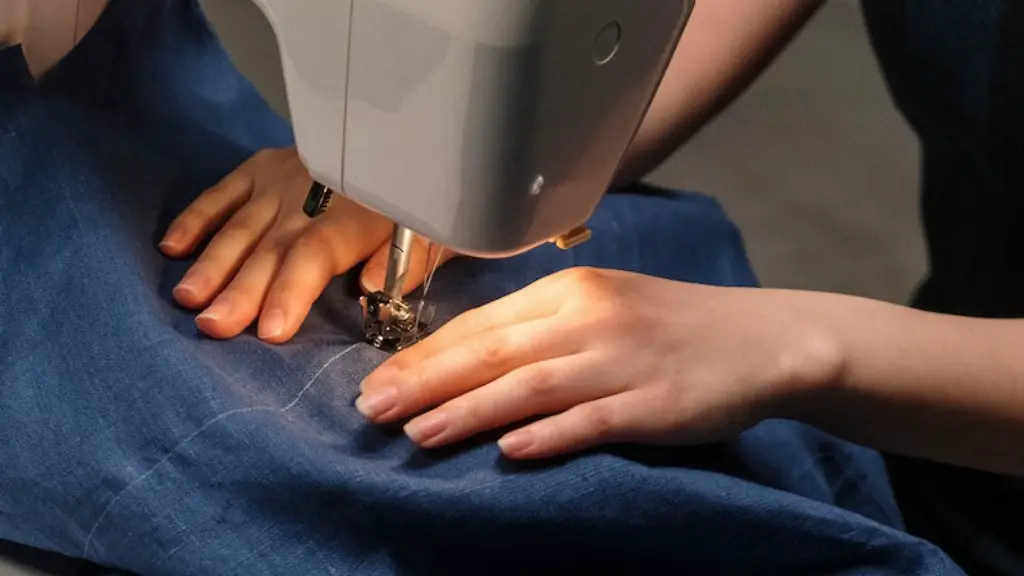
The first step to backstitching is to raise the presser foot using the lever located on the right side of the machine. This will make it easier to place your fabric under the machine. Place your fabric in the place that you want to stitch and lower the presser foot.
Now, you’re ready to backstitch. With the machine started, you want to hold the thread tails and pull them behind the needle so that the needle catches the thread. Gently pull the fabric from the needle so that there is some slack in the thread and keep hold of the thread tails. Push the reverse lever to start the backstitching.
Once the reverse lever is in place and the machine is back-stitching, slowly guide the fabric through the machine as the stitches go back and forth at the beginning of the stitching line. If your machine has a backstitch button, this is the time to use it. This will ensure the backstitching is secure. It is important to keep a firm but gentle grip on the fabric as you stitch, making sure to keep the fabric straight and even.
Once the fabric is pulled through and the backstitching is complete, release the reverse lever and press the forward button to resume stitching in the forward direction. It’s also important to remember to keep your thread tails underneath the presser foot and not above it, as this will prevent them from tangling while you stitch.
Using backstitching on a Singer sewing machine is a simple way to ensure security at the beginning and end of a seam or project. With some practice, you’ll soon become a backstitching pro, and your stitches will look neat and even.
Understanding Thread Tension
Another important part of backstitching on a Singer machine is understanding thread tension. To ensure your stitches are secure and look great, you should adjust the thread tension until it is balanced for your specific project. If the tension is too tight, the stitches may be too tight and look strained. If the tension is too loose, the stitches may look sloppy. There is usually a tension dial at the top of the machine – you’ll need to adjust this until the thread tension is balanced.
If you’re having difficulty adjusting the thread tension, a great tip is to place a piece of scrap fabric under the machine, and then adjust the tension until the stitches are sleek and even on the scrap fabric. Once you get the tension right on the scrap fabric, you’ll know it will work on your project.
Also, make sure to use the right type of thread for your project. Different fabrics require different types of thread in order to ensure the best possible result. If you’re not sure which thread to use for your project, you can refer to the Singer sewing machine instruction manual for more information.
Additional Tips
Always be sure to finish off the backstitching at the end of a seam the same way you started it, by running the stitches back and forth. This will ensure the stitch stay secure and your fabric won’t unravel at the end of the line.
Another tip is to always test a stitch before you begin a project. This allows you to get a feel for how the fabric and thread are stitching together, as this can change depending on the type and material of the fabric being used.
When using backstitching, sewers should be aware that the stitches will show on the fabric’s right side. If you want the stitches to be as inconspicuous as possible, then you should use a matching thread color that blends in with the fabric. This will help make sure your stitches look professional and not too noticeable.
As with all types of stitching, practice is the key to mastering backstitching on a Singer machine. With time and practice, you can become a master of backstitching and create beautiful, well-stitched pieces.
Using A Walking Foot
A walking foot is a great option for anyone who would like an extra layer of reinforcement when backstitching. A walking foot is an additional foot attachment that helps move the fabric evenly through the machine. This foot, which is often sold separately, hooks onto the back of the machine and helps to move the fabric along with the feed dog.
It’s important to note that not all Singer machines will be compatible with a walking foot attachment. Be sure to check with the manufacturer to see if your machine is compatible before purchasing. If you are able to use a walking foot, then you may want to consider doing so for a more even and secure backstitch.
Choose The Right Needle
Just as it’s important to choose the right thread for your project, it’s also important to choose the right needle. Different fabrics require different types of needles, and using the wrong needle can cause your fabric to stretch, pucker, or break. Again, refer to the Singer sewing machine instruction manual for more information.
Also, make sure to replace the needle with a new one before starting a project. Sewing with a dull or bent needle will not only cause problems with your stitches, but it can also damage your machine. There are many types of specialty needles available, so you may also want to consider using a specialty needle if you’re sewing a particularly thick or tricky fabric.
Test Your Project
Once you’re done backstitching, take some time to test your project. A simple way to do this is to tug gently on the stitches and make sure they’re secure. If a few stitches come loose, that’s not a problem – what you want to make sure of is that the entire seam will stay secure and won’t come apart, no matter how much it is pulled or tugged on.
You should also check if the backstitching looks neat. If it doesn’t, then you can re-stitch the seam with a stronger stitch and better fabric handling. If the backstitching looks neat and the stitches feel secure after testing, then you can move on to the next part of your project.
Creating Professional Finishes
Using backstitching on a Singer sewing machine can also help you create beautiful, professional-looking finished pieces. Instead of just ending a seam with a knot, backstitching will give the fabric a stronger and neater finish. It also helps to keep the fabric and stitches in place, so you don’t have to worry about them coming apart.
When you’re finished backstitching your project, you can give the fabric a final press to make sure all stitches are secure and in place. You can also use a seam ripper to remove any stray threads that may be sticking out. Taking these extra steps will help ensure your finished project looks neat and professional.
Secure Every Seam
Learning how to backstitch is a great way to secure every seam and make sure it stays strong and secure. With the right tools, some patience, and a bit of practice, you can become a backstitching expert and create beautiful, lasting pieces. And by using a Singer sewing machine, you can rest assured that your stitches will look neat and professional.
