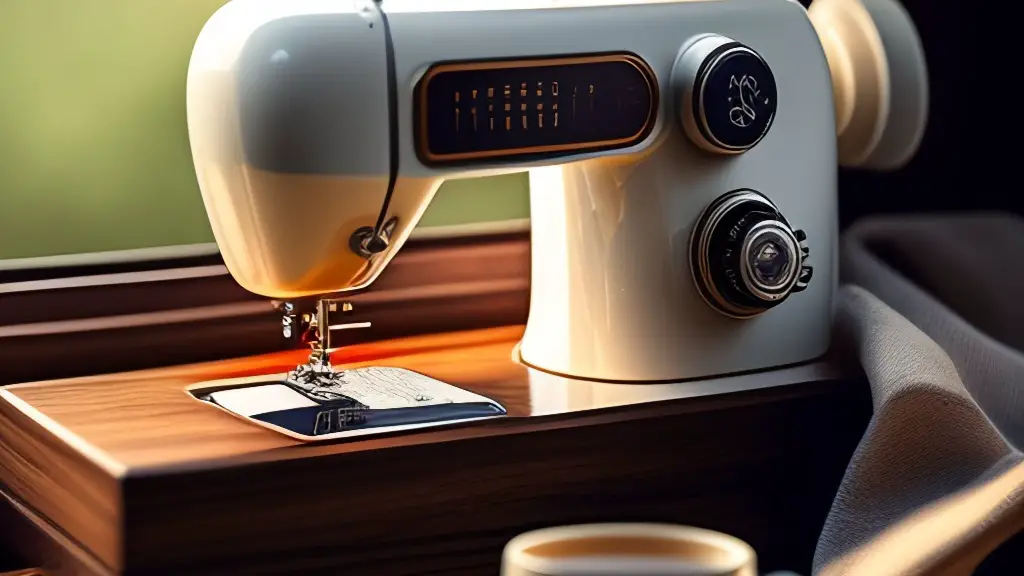
Coverstitching with a sewing machine adds a perfect, professional finish to both store-bought and homemade garments. If you’ve ever admired the knit item you purchased in the store, it likely had a coverstitch along the hem and sleeves for a clean, professional finish. Coverstitch is a more complex stitch than regular sewing and requires a serger with a coverstitch option or a special coverstitch-only machine. Unlike a serger, a coverstitch machine will stitch two rows of stitching in the same location for a more attractive finish.
Coverstitch machines come in both single and double needle versions. Single needle versions are less expensive and can do most coverstitching. The double needle version allows you to cover exclusively edge two fabrics together. The double needle version also comes with the advantage of being able to do the triple coverstitch at the same time. Triple coverstitching gives a totally professional look when used along an edge that is topstitched or edgestitched. For example, when used along the edge of a binding strip, the result looks similar to a neckline band that has been topstitched and edgestitched.
Coverstitching is used to finish off a raw edge such as a hemline, neckline, sleeve edges or waistline. It also helps to stabilize overlock seams and can be used to attach an elastic waistband, tie cords, and trims. To achieve a professional finished look, coverstitching should be done on the wrong side of the fabric with two or three rows of stitches about 3/8 inch apart. This stitch not only makes a garment look tidy and finished, but also reinforces and strengthens the seam.
When it comes to coverstitching, the right thread and needle make the difference. Coverstitch machines usually require a special thick thread, often referred to as polymer or polyester thread, as well as a special needle designed specifically for the machine. You may also need a special needle plate, depending on the type of machine you have. Make sure to always refer to your coverstitch machine manual for specific instructions.
There are some tips and tricks to coverstitch with a sewing machine that you should keep in mind. Before you start, adjust the pressure foot height and select the stitch type most suitable for your particular project. While the coverstitch goes along, try to keep the fabric flat. Also, you will want to support the fabric from the back as it passes through the needle to prevent it from getting tangled. Finally, always use a test piece before you dive in and make sure the tension of the stitches is correct.
Tips
The most important tip for creating a great coverstitch with a sewing machine is to get the tension right. It can be tricky to adjust, but it’s important that the tension is correct; otherwise, your coverstitch will not look professional. If the tension is too tight, the stitch will look like a straight line with no “give” in it. If the tension is too loose, the stitches will be too far apart and the stitch may not even form.
Start by changing the tension setting on the machine and then sew a sample piece on a scrap of fabric. Test the stitch on the sample piece, making adjustments as necessary until everything looks good. Make sure to mark your settings on the machine so that you will not have to re-adjust them every time you coverstitch.
Another important tip to keep in mind is that coverstitch machines require loopers, which are the thread loops that form the stitches. Make sure these loopers are properly threaded in order to get the perfect professional finish. Also, be sure to use a special tear-away stabilizer under the fabric if you are stitching with a lightweight fabric, such as jersey or knit fabrics. This stabilizer prevents the fabric from stretching or puckering and ensures that the stitches will be even.
Presser Foot
The presser foot you will use when coverstitching with a sewing machine is a specialized presser foot that is designed specifically for the type of stitch you are making. The most common type of presser foot is the blind hem presser foot, which is used for hems and decorative overlock stitching. Other presser feet that can be used for coverstitching are the narrow and wide double-needle presser feet, which are designed for stitching on double-knit fabrics.
When selecting a presser foot for coverstitching, it is important to choose one that is the appropriate size for the fabric you are working with. For example, a lightweight fabric may require a narrow presser foot, while a heavier fabric may require a wide presser foot. Choose the wrong presser foot and your stitches will be uneven and sloppy.
Finally, the presser foot should be utilized when stitching both straight and curved seams. For curved seams, it is best to apply pressure to the fabric with the presser foot, as this will ensure that the stitches stay in line as you sew.
Skills
Coverstitching with a sewing machine is a skilled technique that may take some practice to perfect. Depending on the complexity of the fabric, it may take some trial and error to get the stitches just right. Just remember that with some patience, practice and the right presser foot and needle, you can create beautiful and professional looking stitches with a coverstitch machine.
One of the best ways to practice coverstitching is to start with a simple project such as a t-shirt. Start with a lightweight fabric so that you can get some experience before moving onto thicker fabrics. Take your time and practice changing the presser foot and needle for different fabrics, then adjust the tension and stitch length to get the best results.
The more you practice coverstitching, the more comfortable you will feel with the technique. You can find a variety of coverstitch projects on the internet or create your own. With time and practice, you will be able to use the coverstitch technique to create well-made garments with a professional finish.
Thread
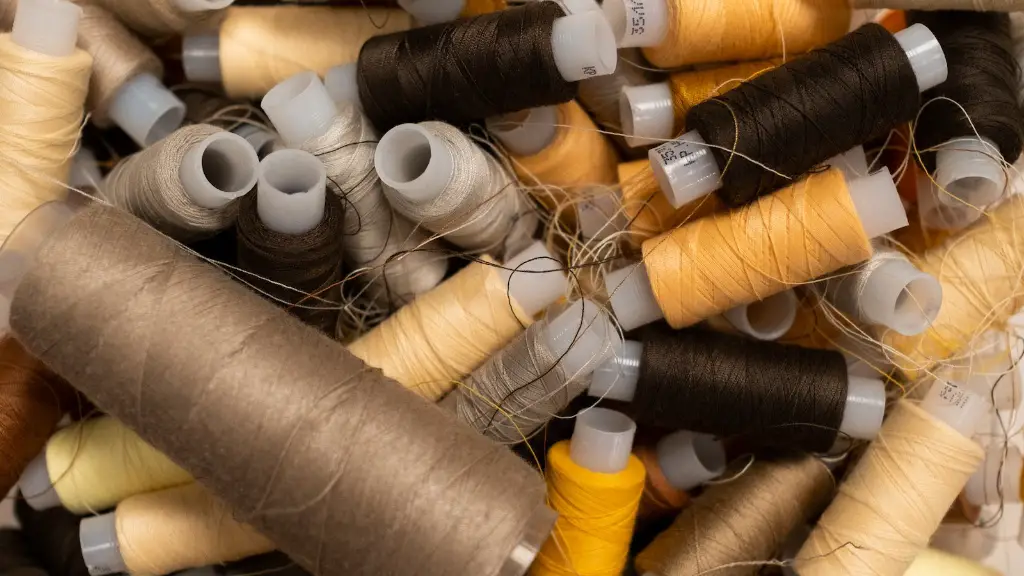
When selecting thread for coverstitching, be sure to choose a strong polyester thread that is designed for coverstitch machines. Polyester thread is specially made for coverstitch machines and is far more resistant to abrasion than cotton thread. Make sure to get the correct weight of thread; heaver thread is best for heavier fabrics and lighter thread is best for lightweight fabrics.
Polyester thread has a much longer life than cotton or synthetic thread and is designed to stretch with the fabric. This elasticity helps to ensure that the stitches are even and look good when the fabric is stretched. Polyester thread is also much less likely to break than other types of thread, so you can be sure that your stitches will look good for longer.
Finally, be sure to get the right color thread for your project. Choosing the right color can make a huge difference in the overall look of your garment. Matching the thread color to the fabric is always a good idea, as this will ensure that the stitches blend in and are less visible.
Maintenance
It’s important to regularly maintain your coverstitch machine to ensure it is in top working condition. First, make sure to use the correct needles and presser feet for the fabric you are working with. Also, use different needles for different fabrics as this will help to prevent the needle from becoming bent or damaged. Make sure to change the needle frequently to ensure the stitches stay looking even and neat.
Also, be sure to oil and clean your machine often. Keeping the machine clean and free of dust and thread clippings will help to keep it running smoothly. Finally, pay attention to the bobbin case when winding new bobbins. A correctly wound bobbin is essential to ensure that the machine runs correctly and produces professional results.
Safety
When sewing with a coverstitch machine, safety is always a priority. Make sure to use all of the necessary safety precautions such as wearing eye protection, keeping your hands away from the needle and measuring the tension. Also, never leave the machine unattended while it is running and make sure to unplug it when it is not in use. Finally, always consult your owner’s manual for more detailed safety instructions.
Coverstitching with a sewing machine is a great way to add a professional and polished finish to your projects. With some practice, you can master this technique and create beautiful, custom garments. Just remember to use the correct thread, needles, presser feet and safety measures, and you’ll be well on your way to creating beautiful garments with a perfect, professional finish.
