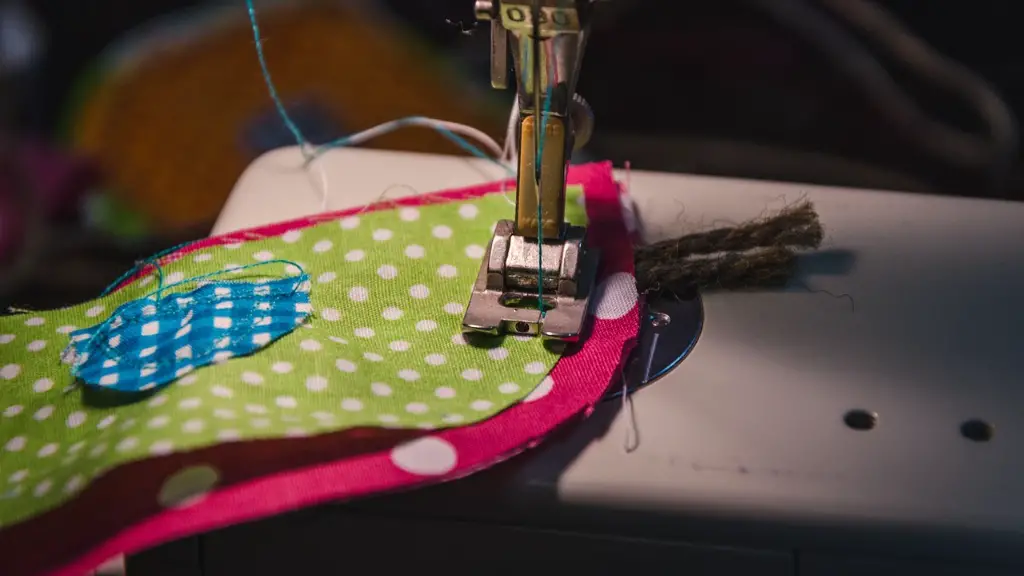
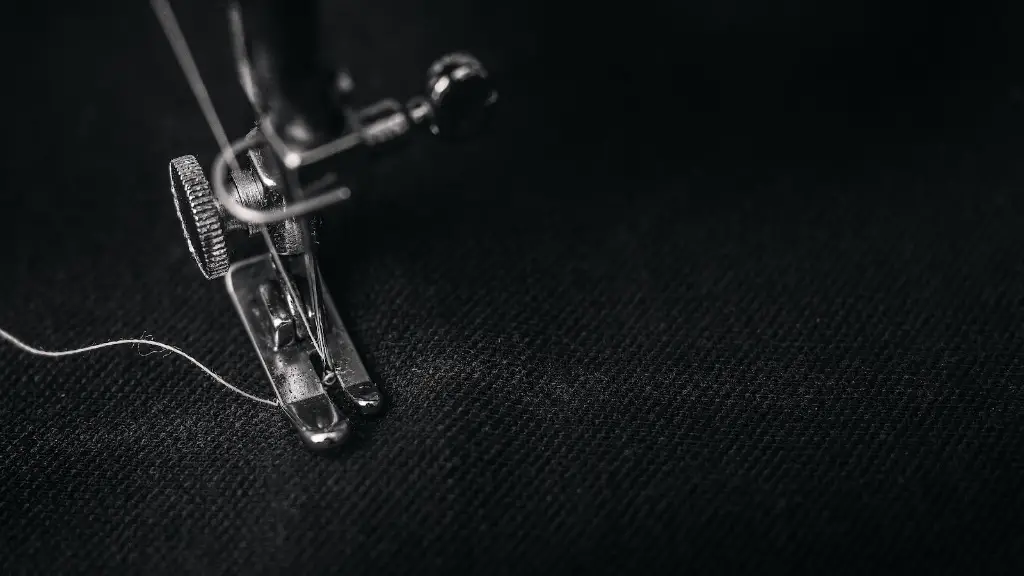
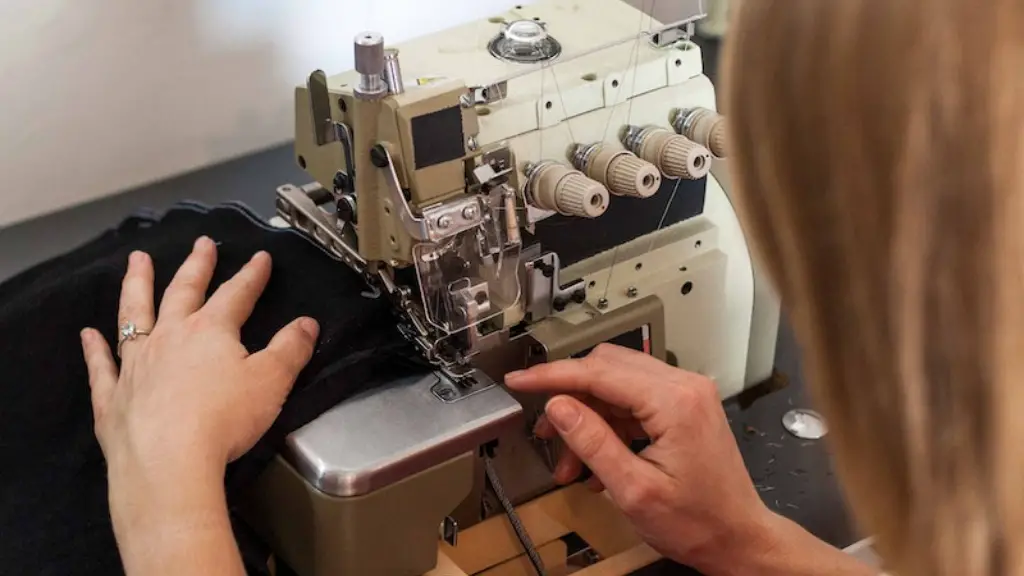
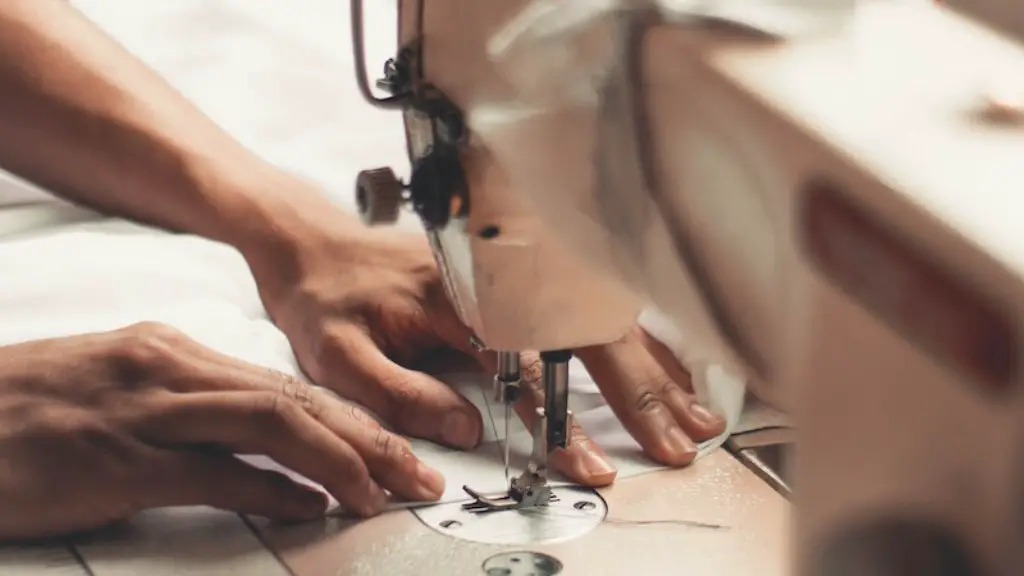
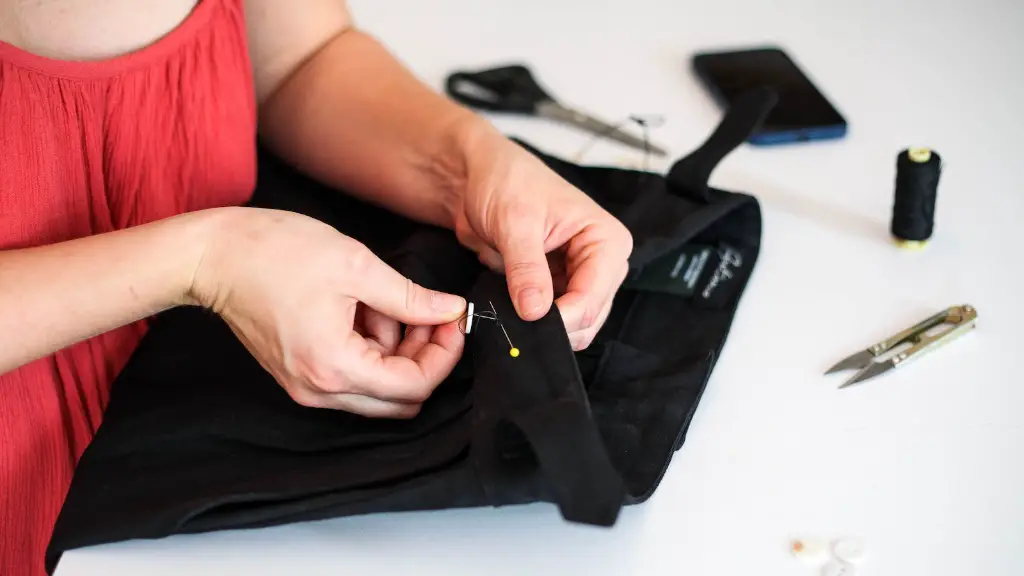
Embroidery is a great way to add personal touches to any garment or project. It’s also surprisingly easy to do with a Singer sewing machine and a few essentials. In this guide, we’ll look at the basics of embroidery with a Singer sewing machine, from selecting a design to using the right machine settings for the perfect finish.
When it comes to the type of machine you will be using for embroidery, the Singer Sewing Machine is a great option. It is a well-made and reliable tool that will last you for many years. It offers a variety of stitches for different types of embroidery, such as applique, cross-stitch, and many more. Additionally, most modern models of Singer sewing machine come with a computerized control panel which make selecting the right stitch, thread type, and other settings hassle-free.
As with any embroidery project, the key is to start with the right materials. Choose threads in a color that will show up well against the fabric you’re working on. The type of fabric you select will also determine the best kind of threads to use. If you need help choosing thread, consult a Singer sewing professional who can advise on the best type of thread for your project.
Once you have the fabric and threads you need, it’s time to select a design for your project. If you don’t have a pattern in mind, it’s easy to browse the web for designs or you can use embroidery software to create a custom design. There are a variety of embroidery software programs available for both PCs and Macs that can help you create and edit your own designs or upload from other websites.
When it comes to the actual stitching, the most important thing is that the stitches should always be even and regular. To ensure this, use the right machine settings for the fabric and stitches you are working with. A stitch size of four or five is usually sufficient for most embroidery projects. If you need help selecting the right settings, consult the Singer sewing manual or an experienced embroidery technician. In some cases, it can help to try out a few different settings to see which types of stitches work best for your particular project.
The most important element of lettering embroidery is that the letters look polished and professional. A Singer sewing machine can help you achieve this. Set the machine to a satin- or zigzag stitch so that the edges of the letters look neat and even. Additionally, use stabilizing material on the back of the project, such as a tear-away stabilizer, to ensure the fabric does not stretch or bunch up as you work. This will ensure that the finished product looks neat and professional.
Finally, the last step to creating neat and professional letters with your Singer sewing machine is to finish your project. Once the embroidery is complete, trim away any excess fabric, then use an edge stitch to finish the edges of the piece. This will help to ensure that the finished product looks neat and professional.
Tips for Selecting The Best Threads
When choosing threads for your Singer embroidery projects, there are certain things to keep in mind. Firstly, pick a thread that will show up well against the fabric you are working with. For example, thick, bold threads are best used with darker fabrics while lighter threads are better suited to lighter fabrics. Additionally, if you are embroidering a logo or lettering, choose threads that will help to highlight the design – metallic threads tend to be a popular choice for logos as they help to make the design stand out.
When it comes to selecting the right thread for a particular fabric, it’s important to take the time to research the best type of thread for the job. If in doubt, consult an experienced embroidery professional to get some advice on the best thread to use. Also, remember to keep a few spools of different thread colors on hand so that you can experiment and achieve the perfect look for your project.
How to Position Your Design on the Fabric
Once you have chosen the design for your project, it is important to position the design correctly on the fabric. An easy way to do this is to use a fabric marker to draw a guideline around the design so you have something to refer to during the stitching process. You can also make use of an embroidery hoop, which will hold the fabric in place while you are stitching, as well as helping to keep the stitches even.
In addition, it is important to always begin stitching from the center of the design. This will ensure that the finished product looks even and professional. Also, when working with complex designs, it may help to break the design up into smaller parts to make it easier to stitch.
Choose The Right Stabilizer
To keep the fabric from stretching while you are stitching, it is important to use a stabilizer. Stabilizers are a type of backing material that is placed against the back of the fabric to keep it in position and prevent it from stretching and bunching up while you are stitching. There is a wide range of stabilizers available, including tear-away stabilizers, cut-away stabilizers, sew-in stabilizers, and heat-away stabilizers.
When selecting a stabilizer for your project, it is important to choose one that is suited to the fabric you are using and the type of stitch. For example, if you are using a lightweight fabric, you may want to use a lightweight tear-away stabilizer, whereas for a heavier fabric, a cut-away stabilizer or a sew-in stabilizer may be a better option. Additionally, if you are stitching intricate or very detailed designs, a tear-away or heat-away stabilizer may be the best option.
Maintenance and Cleaning
To keep your Singer sewing machine in top condition, it is important to regularly clean and maintain the machine. Most modern Singer machines come with a cleaning brush that can be used to remove any build-up of lint and thread that may occur during stitching. Additionally, it’s important to regularly oil the machine and make sure all the screws and parts are tight and secure. Also, check the bobbin and needle regularly, as wear and tear on these parts can affect the quality of your stitches, particularly if they are worn or broken.
Additionally, if your machine has computerized settings, it’s important to make sure these are set correctly and up to date with the most recent software version. Checking the settings and software regularly will ensure that you get the perfect stitch every time.
Troubleshooting Tips
When something isn’t quite working out with your Singer embroidery project, it can be helpful to have a few troubleshooting tips in mind. Firstly, check to see that the thread tension is correct. If the tension is too high, the fabric may creep and bunch up, while too little tension can cause puckering and loops in the fabric. Secondly, check that the needle is the right size and type for the fabric and thread you are using, as the wrong needle can cause the thread to break or shred.
If you still can’t seem to get the perfect stitch, it can help to refer to the manual of your Singer sewing machine, as they often have helpful tips and advice. Additionally, if you are still having trouble, check with an experienced Singer technician or even a local Singer store, who may be able to help you troubleshoot the issue.
Specialist Tools and Accessories
Although it’s possible to create professional looking embroidery projects with just a Singer sewing machine and thread, experienced embroiderers may want to invest in some specialist tools and accessories. Most Singer sewing machines come with a variety of presser feet and hoops that can help to give you a professional finish. Additionally, specialist thread stands, thimbles, and other tools can help speed up the stitching process and make it easier to work with complex designs.
For embroidery projects that require a more intricate design, a stitch-by-stitch machine can be a great investment. These machines allow you to create highly detailed designs that would otherwise be impossible on a regular sewing machine. The stitches are precise and precise and they are often faster than a standard machine, allowing you to complete the project in just one session. It’s important to note, however, that stitch-by-stitch machines are more expensive than standard machines.
What Training Is Required
Although embroidery is a relatively simple skill to learn, it is a good idea to get some experience and training before attempting more complex projects. Many Singer stores and sewing centers offer classes in embroidery, offering you the chance to learn the basics before taking on more complicated pieces. Additionally, qualified embroidery professionals can provide advice on selecting the right materials, threads, needles and stabilizers.
For those looking to build up knowledge and expertise in embroidery, there are a number of online courses and classes available. These courses can help to develop your skills and teach you everything you need to know about embroidery with a Singer sewing machine. From stitch types and fabric selection to troubleshooting and maintenance, these courses can help you become an expert embroiderer in no time.
Is Embroidery With a Singer Sewing Machine Good For Beginners?
Embroidery with a Singer sewing machine can be a great way for beginners to learn the craft. Singer machines are easy to use and are designed to give the perfect finish with minimal effort. Additionally, there are lots of resources and guides available online that can help new users to quickly get to grips with the basics. However, as with all sewing crafts, it’s always a good idea to get some professional help and guidance to make sure you’re getting the most out of your machine.
What Projects Can Be Created?
With a Singer sewing machine, it’s possible to create a variety of embroidery projects. From clothing to home décor items, there are plenty of options to choose from. Common projects include logos, lettering, and monograms, as well as appliqué designs and decorations. Additionally, with the right tools and specialist stitches, it’s even possible to create smaller projects, such as bookmarks and cards.
Can You Use a Singer Sewing Machine for Quilting?
Yes, in addition to embroidery, a Singer sewing machine can be used for quilting. Most modern Singer machines come equipped with a quilting foot, making it easy to stitch quilting lines and create intricate designs. Additionally, Singer sewing machines feature a variety of stitches and settings that can be used to customize the quilting process. However, keep in mind that quilting can be an advanced skill and it is recommended to get some guidance from an experienced quilter before attempting these projects.
