Background Information
Gathering fabric is a great skill to have and a basic technique within any seamstress’ repertoire. Gathers are perfect for evenly ruffling fabric, Used for projects such as dresses, skirts, and curtains. Adding gathering stitches to fabric can be completed by hand or by machine, with the help of a ruffling or gathering foot. Gathers are created on the fabric by stitching a series of stitches at a much longer length than normal – up to– four times as long.
Gather Stitch Parameters and Accessories
Before gathering, you should check the material you’re working with to determine the best stitch for gathering. Choosing the right stitch length and stitch width is the key to ensure that the gathering can happen. Depending on the type of fabric and thread, stitch length should be anywhere from 4-5mm with a stitch width of 0-2mm. The type of fabric and thread used can also determine the needed accessories. Thread and thread weights can also affect stitch length and stitch width. Heavy duty materials need heavier thread and vice versa. Cotton thread is fine for lightweight fabrics but stronger threads should be used for heavier duty materials.
How to Do a Gather Stitch on Sewing Machine
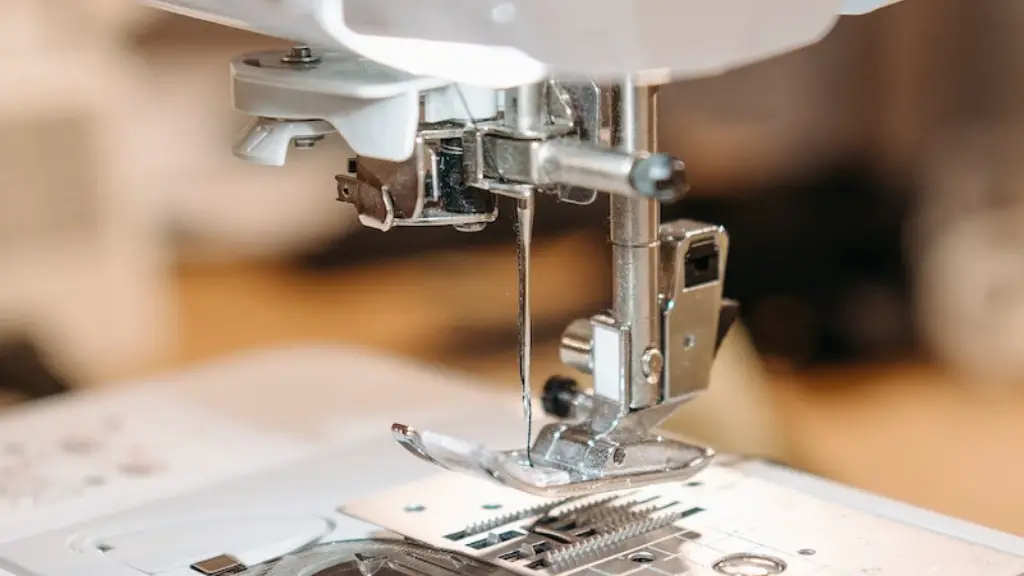
To start, you’ll need to attach your sewing machine’s gathering foot. Begin by setting the machine to a longer stitch length, 4-5mm, with a stitch width of 0-2mm. Gently hold the fabric and line the edge along the gather foot’s edge, making sure not to tug on the fabric. Start stitching from one end and continue to the other. Make sure to backstitch at both ends for extra strength, and lengthen the stitch length between these backstitches if possible. If you’re gathering fabric for a waistband or skirt opening, it’s important to keep the gathers parallel to each other. For sewing curtains, you can overlap the gathers to make a pleat.
Test Gathering
Once you’ve completed the gathering, check to make sure that your stitch length is even by pinching and holding. If the stitch length varies, your gathers won’t appear even. Remove the fabric from the sewing machine and give the gathers a gentle tug. The thread should pull easily. If it doesn’t, the stitch length is too short. To even out the gathering, reduce the stitch length and try again.
Topstitching
Topstitching is a critical step to finish off the project. After setting the machine to the usual stitch length (2.5-3mm) and stitch width (2-2.5mm), start at one side and stitch along the previous gathering stitch, parallel to the edge. This will help to keep the gathers in place. Remember to backstitch at both ends for extra stability, as topstitching can be quite robust. Trim any excess loose thread.
Difficult or Heavy Fabric Materials
If you’re working with heavy fabrics such as denim or leather, use a thicker thread with a heavier sewing machine needle. Starting at a shorter stitch length allows more control when making the gathers. This can prevent the gathering stitches from getting “lost” in the fabric. Increasing the stitch length gradually helps to create more even gathers, making sure to check your progress by pinching the fabric between your fingers as you go.
Alternatives to Gather Stitches
While gathering stitches are relatively common and easy to do, there are alternatives to consider. Gathering tape is a great option for lightweight fabrics, and can be used to gather fabric quickly and easily. Twisted elastic thread can also be used for gathering and shirring, especially for projects like sleeves or bodices.
Gather Stitch Markings
Gather stitch markings serve a few key purposes. They help to keep the gathers even, as well as aid in pressing and placement. Marking your fabric with pre-determined stitches can also help you control the fullness at the finished edge of the fabric. Multiple markings along the fabric should have enough space for additional gathers to be added, as well as for pleating.
How to Thread the Bottom of the Fabric
For a more professional finish, you can opt to thread and sew the bottom of the fabric. Cut two pieces of thread and thread the first piece through the bottom of the fabric at the left side. Leave a small tail and tie the thread off. Repeat the same step at the right side of the fabric. With the two threads hanging off both sides, gently pull each thread to gather the fabric evenly. Tie the ends of the threads together and pull to draw up the fabric.
Compensating for Slippage
Slippage can occur when fabric is gathered and can be very frustrating. To avoid this problem, always backstitch when beginning and ending a stitch, as well as add a few stitches in between the beginning and ending stitches. Another way to prevent slippage is to reduce the stitch length. Use a sharp needle, making sure to press the fabric with steam or an iron before stitching.
Adding Closures and Fastenings
Once the gathering is completed, it’s time to attach the closures and fastenings. Gather closures should be inserted face down and can be secured with pins or straight stitch. Other alternatives include snug snaps and hook and eye closures to secure the gathers. Tack stitches can also be used to hold pleats or gatherings in place.
Press or Iron Carefully
Once the gathering and closures have been completed, it’s important to press or iron the fabric carefully. Doing so too heavily can damage the fabric or stretch the gathers out. To avoid this, use the lowest possible setting on your iron and use a pressing cloth or press from the wrong side of the fabric.


