From intricate designs to simple everyday items, sewing has been a staple craft for centuries and continues to be a popular hobby. Knowing how to sew by hand or with a machine is a great skill to have and the traditional straight stitch is one of the most foundational. This stitch involves sewing the fabric together from one side going to the other side in a straight line.
To get started, you will need to gather all the materials. This includes a sewing machine, thread, scissors, pins, fabric and a needle. Depending on the brand and type of sewing machine you have, the settings may be a bit different but most machines have a standard operating procedure.
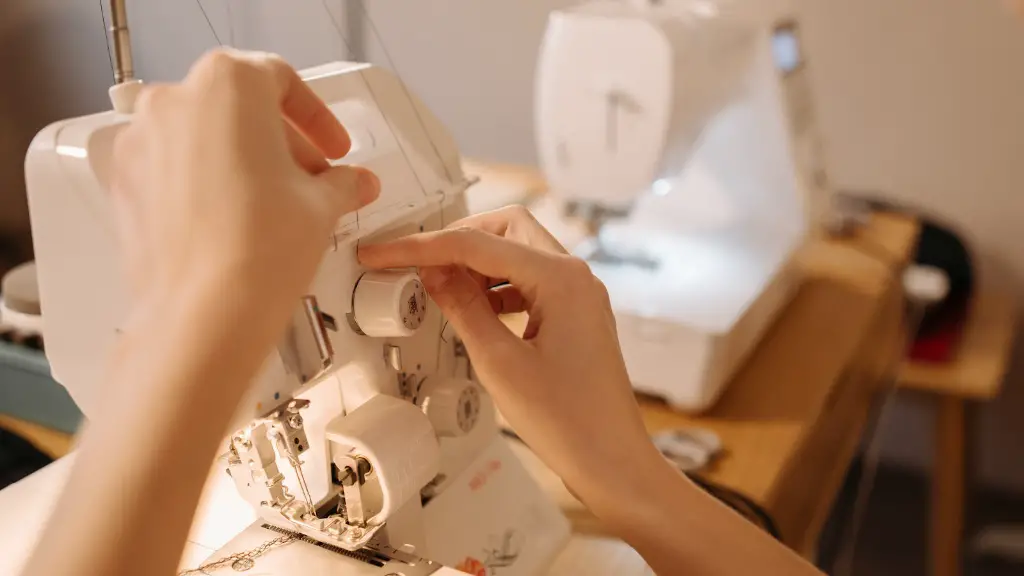
First, you must thread the machine needle. Taking the thread, pull the end through the hole in the needle. Then, wrap the thread around the metal bobbin and pull the thread through the tiny hole under the metal plate on the opposite side of the machine. Secure the thread by turning the metal knob so it holds the thread.
After that, you have to adjust the machine to the desired straight stitch. You can either adjust this manually or let your machine do it for you (if applicable). The stitch length setting should be between 0.5 and 2.5, depending on your preference.
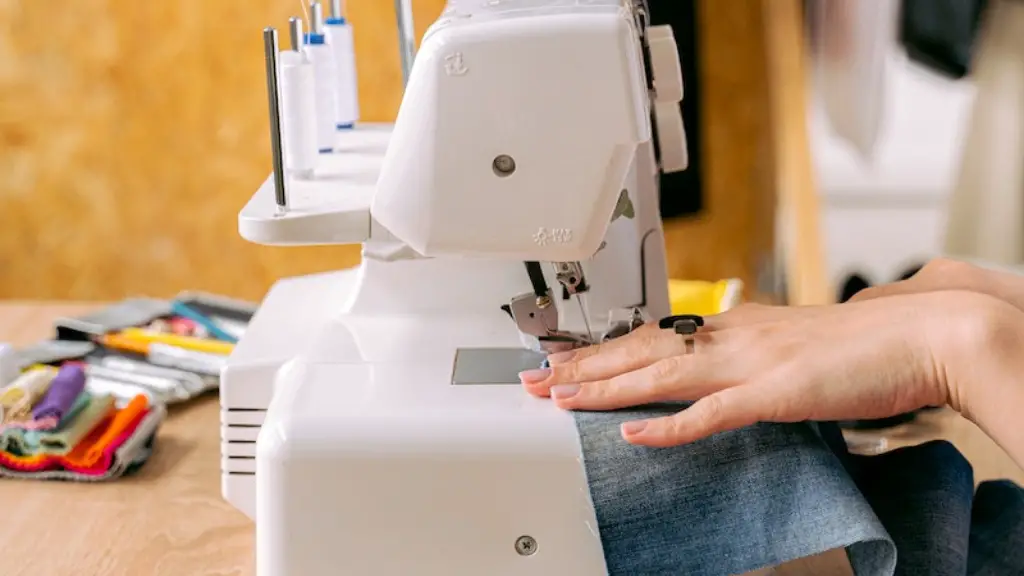
Once you are satisfied with the settings, begin to sew by placing the fabric in the machine and pressing down on the pedal to activate the machine. Slowly move the fabric along the needle and guide it evenly to the other side. Make sure to keep your fingers away from the needle and use the hand wheel to adjust the position of the needle if necessary.
If you need to stop in the middle of a stitch, don’t forget to ‘tie off’ or secure the thread. This will prevent the thread from unraveling in the future. All you need to do is press the back stich button, hold the button until the needle is down, lift the presser foot and pull out the thread.
Winding a Bobbin
Before you start sewing, you must wind a bobbin thread so the machine can stitch. To wind a bobbin, you will need to fill the bobbin with thread and place it in the bobbin case. Thread the machine needle, as mentioned above. Then press the start/stop button to activate the machine.
Place a spool of matching thread on the spool pin and bring the thread down the thread guide and into the groove of the bobbin winder. Make sure that the bobbin winder is switched to ‘on’ and press the foot pedal to start the needle. As the needle rotates, the thread is pulled up from the spool and fed onto the bobbin.
Unwind the thread onto the bobbin until it is full. When the bobbin is full, press the stop/start button to stop the machine and detach the bobbin case. Take out the full bobbin with the thread and cut off the thread around the bobbin. Now, you have a bobbin full of thread and you are ready to start sewing.
Gathering Fabric
Before gathering the fabric for sewing, it is important to pre-wash the fabric and pre-shrink it. This is important to prevent any potential shrinkage once the garment has been sewn. Place the right sides of the fabric together and pin the fabric at evenly spaced intervals with the pins. This will help keep the fabric together while you sew.
Once you have pinned the fabric, start to stitch the two pieces together with a straight stitch. Begin at one end of the fabric and slowly move the fabric as you guide the thread through the fabric. Sew until you reach the other end of the fabric and then gently remove the pins. Use a scissors to trim away any loose thread ends.
Finally, take a piece of iron-on interfacing or interfacing tape and place it over the edges of the fabric. This will help keep the edges from unraveling and give the fabric a neat, professional finish. To finish the fabric, you can turn it inside out and press with a hot iron for a strong and flat hem. This will help ensure a sturdy and clean finish.
Finishing Stitches and Seams
Once you have completed the sewing technique, you may choose to sew a few finishing stitches in order to add more strength to the seams. These stitches can be added on either side of the seam, either through machine or hand stitching. To do this with a machine, simply sew a few stitches before and after the seam, backstitch to secure the thread and then press the seam in the desired direction.
Alternatively, you can use a simple backstitch with a hand needle and thread to secure the seam. This is a great way to add additional strength and durability to the seam without having to use a machine. To do this, thread the needle and knot the end of the thread. Insert the needle into the fabric where the seam should start, pull the thread through and make a tiny stitch. Then, insert the needle into the fabric where the last stitch ended and go back to where the seam should end.
Repeat this process until you have finished the seam and securely knots the thread to finish up. Trim any excess thread from the seam and your work of art will be complete!
Seam Pressing
To ensure a perfect stitch, it is important to press the seams after sewing. This will give the fabric a neat and professional finish. To press a seam with a machine, just set the machine to the seam press setting and go over the seam one more time. This will press the seam down and help keep the fabric neat and flat.
If you do not have a machine, you can always do this manually. Just use a hot iron and press the fabric on both sides of the seam. Make sure to press in the same direction as the seam, either up or down, depending on the type of garment you are making.
You may also want to use a pressing cloth to press the fabric. This is especially helpful for thinner fabrics and will prevent them from burning or melting. To use a pressing cloth, simply place it over the fabric and press with the hot iron as usual. The heat from the iron will help press the seam and give the fabric a neat and tidy finish.
Making a Seam Allowance
When sewing with a sewing machine, you must always make sure to leave a seam allowance. This is the extra space you leave on either side of the seam. The standard allowance is usually 5/8 of an inch, but this may differ depending on the type of item you’re making. If you are working with a pattern, then the pattern will specify how wide the seam allowance should be.
When placing the fabric in the machine, use the hole in the throat plate of your machine as a guide. Place your fabric so that it is the correct distance away from the needle and this should give you the correct seam allowance. You will also want to add a stay stitching along either side of the seam in order to reinforce it and make it stronger.
When cutting the fabric, always make sure to have at least 1/4 inch extra on either side of the fabric. This will give you enough fabric to fold over and create a neat and even hemline.
Checking for Accuracy
After you have finished your sewing project, it’s also important to check for accuracy. Make sure that the seams are neatly pressed and that there are no loose threads or fabric snags. If you come across any mistakes, it’s important to fix them now, as it’s much easier to fix them while they are small.
It’s also a good idea to have a ruler handy to measure and check the seam allowance. Make sure that the seams are all the same width and that none of them are too tight or too loose. Once you are satisfied with the accuracy, you can go ahead and finish the project.
Pressing Final Touches
When you have checked for accuracy, the final step is to press the fabric one last time. Use a hot iron to press the seams and make sure to press in the same direction as the seam. This will give the fabric a neat and professional finish. You may also want to use a pressing cloth, as mentioned before, to prevent any fabric from burning.
After the fabric has been pressed, you can go ahead and trim away any excess thread. Trim only the smallest amount of fabric away and make sure not to cut too much. Then, you can turn the garment right side out and it’s ready to wear.
Conclusion
Now you know how to do a straight stitch on a sewing machine. This is a very basic stitch and can be used for almost any sewing project. You can use it for repairing clothes, making curtains and creating intricate designs. With practice and patience, you can master the craft of sewing and create beautiful garments, accessories and gifts.
