Main Topic: How to Do Embroidery on a Sewing Machine
Sewing machines have come a long way in the past century; these days, it is very easy to turn your sewing machine into a powerful embroidery machine. But before you jump into the world of embroidery, there are a few things you’ll need to know. Here are some tips on how to do embroidery on a sewing machine.
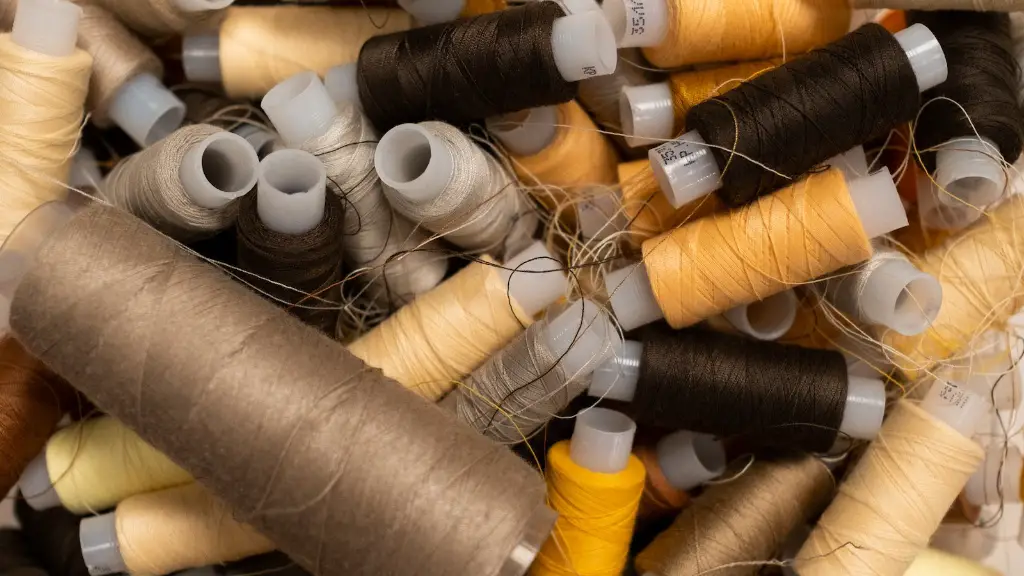
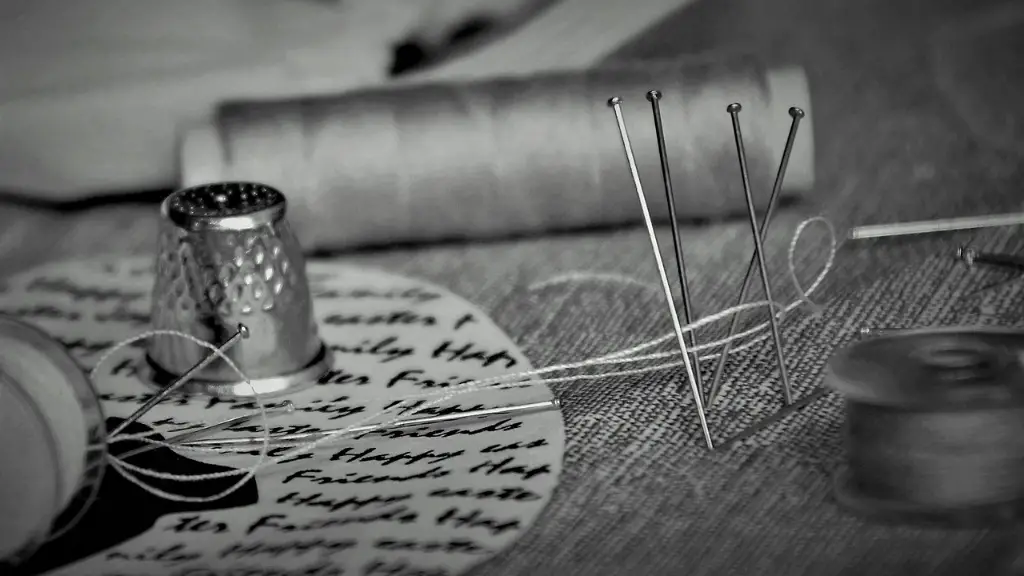
The first step to successful embroidery is selecting the right machine and ensuring you have all the necessary supplies. Once you have chosen the correct machine for the job, you should research the specific instructions for your machine, as different models vary in the supplies they need. Basic supplies include embroidery floss, needles, hoop, stabilizers and the type of fabric you plan to use. Embroidery floss comes in all different colors and textures, so there’s plenty of options to choose from. Hoops, or frames, you use to stabilize the fabric and keep it in place while stitching. Depending on the fabric and design, you may need different stabilizers like lightweight interfacing or tear away stabilizers.
When you’re ready to start stitching, make sure you measure out the area you want to embroider. Mark the space you will work in with a washable fabric marker or chalk in order to get an accurate design. This is a crucial step as it will determine the final look of the embroidery. After that, you can start to transfer the pattern you have chosen over to the fabric.
The next step is to choose the type of stitch and thread that best suits the project you are working on. There are different types of stitches for different projects and certain types of thread work better with certain fabrics and designs. Embroidery machines usually come with built-in stitches, but you might also want to consider a more intricate option like an overlock stitch. This can be a helpful tool if you are looking to create unique designs.
Finally, thread the machine and load the design. This is where you will actually begin to stitch your design. As you embroider, aim to be consistent in your stitching and make sure that your tension is just right. Tension is the amount of pressure being put on the threads while they are being stitched, so if it’s too tight, it could damage the fabric. Likewise, if the tension is too loose, the threads may not be securely stitched.
Once you’ve reached the end, it is time to secure the design. You can do this by tying off the threads to the fabric, or even embroidering over the back of the fabric. This is important as it ensures that your design stays in place and won’t unravel. Finally, you can remove your finished project from the hoop, trim any loose threads and admire your first embroidery project!
Fabrics for Embroidery and Machine Settings
When it comes to fabrics for embroidery, there are various types available, from silk and linen to synthetic cotton and muslin. Most types of fabric can be embroidered, but some may need special preparation to make it ready for sewing. Natural fabrics like cotton, silk and linen are best sewn on low tension settings, while synthetics and stretchy fabrics are best sewn on a higher tension setting. It is advisable to do a test on a scrap of fabric and adjust the tension accordingly.
The sewing machine’s settings also need to be adapted for embroidery. A low speed is ideal for intricate designs or thin fabrics as it allows more control. It is also important to reduce the presser foot pressure, as this will make it easier to stitch the design. Lastly, if your sewing machine has an adjustable stitch length, it should be set closer to create a denser design.
To give your design more texture and dimension, there are a few techniques you can try, such as couching, which involves laying a thin thread over the fabric and securing it with a heavier thread. Or, you could do a cross stitch, which is a great way to create a decorative pattern to add to your design. There are also free-motion embroidery techniques such as thread painting, which is a great way to add colour, texture and depth to your finished piece.
Tips for a Professional Finish
To achieve that professional, polished look, keep the following tips in mind. Firstly, take your time to pre-plan the design, choose the right fabric and thread and mark out the area you will be stitching. It is important to remember that the most important part of any project is the preparation stage.
When you’re ready to start stitching, use the mirror image option of your machine. This allows you to stitch the design in the opposite direction, so the stitches are on the backside of the fabric. The result is a perfectly symmetrical design that looks like it was done by an expert.
Another tip is to use an appropriate stabilizer. This helps the fabric stay in place while you are stitching and helps your project look neater. If you’re stitching a large design, it is a good idea to use more than one stabilizer. Lastly, regularly check the tension of the thread to ensure it doesn’t pull the fabric.
Removing Embroidery from Fabric
Sometimes it is necessary to remove embroidery from fabric for various reasons. You can do this by undoing the stitches and carefully removing the threads. Use a unraveling tool or tweezers to pick away the layers of thread. If the fabric is delicate, be gentle and take your time to avoid any damage or tearing.
If you have used an adhesive fabric stabilizer, you will need to remove it from the back of the fabric before you can proceed with the next step. To do this, use a lint roller to pull off the stabilizer. Alternatively, you could dampen the fabric to soften the stabilizer, then peel away the excess material.
It is also important to remember that some fabrics may shrink if they are washed. To prevent any damage, always check the care label and hand wash your project. To create a smooth finish, use a mild detergent and a soft scrub brush. Once you’re done, rinse well and carefully press the fabric before adding a new design.
Planning and Organizing Embroidery Projects
Organizing and planning ahead are key to successful embroidery projects. Before you start embroidering, make sure to have everything you need before getting started. This includes thread, needles, stabilizers, fabric and any other materials you will need. You also need to have a plan for the design you want to achieve, so it is important to sketch out what you wish to create.
One way to make your project easier is to create a completed sample. This ensures you get a feel for the technique, stitching or fabric you are using before you start on the actual project. To help stay organized and save time, create a list of all the different supplies and steps you need to take. This will make it easier to refer back to a starting point if anything goes wrong along the way.
Storing your fabric in the most efficient way is also important. Make sure your fabric is rolled and wrapped neatly and is not squished into a drawer. Laundering your fabric before you start is a smart move so you’ll know exactly how it will look after the project is completed. This also reduces the chance of any shrinkage occurring in the future.
Embroidery for Beginners
Sewing machines have come a long way in recent times, making embroidery a great pastime for novice seamstresses. Embroidery is accessible to everyone and can be done on any type of sewing machine. Creating beautiful finished pieces is an incredibly rewarding experience and a wonderful way to express your creativity.
When getting started with embroidery, it is important to build your confidence one step at a time. Start small and be patient with yourself. Practice is key and with a bit of time and patience, your skills will develop. Trust your instincts; the most important thing is to have fun and enjoy the creative process.
It is also worth investing in some instructional books or videos to learn the basics of embroidery. Watch tutorial videos and practice each step until you feel comfortable. And don’t forget to join stitching communities as there are plenty of experienced professionals and beginners who can offer great advice and support.
Once you have gained some initial experience, you can start to experiment with larger projects. Follow the same steps you have learned and don’t be afraid to try something new. If a mistake happens, simply start again! With a bit of determination and some dedication, you’ll be on the right track to creating beautiful works of art.
