How to do Buttonhole Stitch on a Sewing Machine
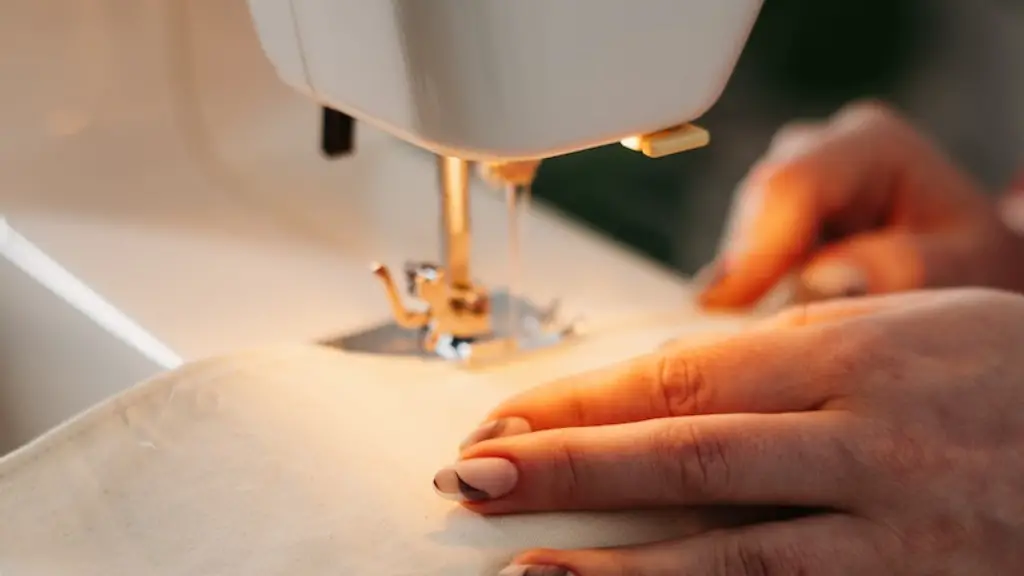
Buttonhole stitch is a great way to add detail and customization to any of your sewing projects. With the help of a sewing machine, you can easily sew a perfect buttonhole stitch in no time. A buttonhole is basically a small tunnel with a space at the end which allows for a button to be inserted. This stitch can be used for hems, pockets, collars, plackets, cuffs and more. In this guide, you’ll learn the basics of creating buttonhole stitches with a home sewing machine.
Understand Your Sewing Machine
Before you begin your project, the most important thing to do is to familiarize yourself with your sewing machine and its settings. Understanding your sewing machine’s dials and settings can help you create the perfect buttonhole setting and ensure a flawless buttonhole stitch. It’s also important to check and make sure that your machine has a buttonhole foot attachment. This is an interchangeable foot that fits onto the bottom of your sewing machine and is used to create buttonholes.
Measure and Mark the Buttonhole
Once you’ve familiarized yourself with the settings of your machine, it’s time to measure and mark the buttonhole. This step is critical when sewing a buttonhole as it helps you mark the boundaries of the buttonhole so that your stitch isn’t too short or too long. To do this, you’ll need to measure the diameter of the button you’re using as well as its depth. Once you have the measurements, you can mark the area where the buttonhole needs to be stitched.
Stitch the Buttonhole Tack
Once you’ve marked the area where the buttonhole needs to be stitched, you can begin stitching the buttonhole tack. This is the first step in creating the buttonhole and is used to secure the area where the buttonhole will be stitched. To do this, you’ll need to lower the needle into the fabric and then raise the needle to the highest position. Once the needle is raised, you’ll need to knot the thread and cut the thread.
Sew the Buttonhole Outline
Once the buttonhole tack is stitched, you can begin stitching the actual outline of the buttonhole. To do this, you’ll need to lower the needle again and set the stitch length to the longest setting. This will ensure that the stitches are evenly spaced and the buttonhole outline is perfectly even. Once the stitch length is set, you can stitch the outline of the buttonhole. Make sure to keep the buttonhole stitches as straight and even as possible as this will ensure a perfect buttonhole stitch.
Backstitch the Buttonhole Outline
Once the outline of the buttonhole is stitched, it’s time to backstitch the edges of the buttonhole. To do this, you’ll need to set the stitch length back to the normal setting and raise the needle to the highest position. Then take your thread forward, lower the needle and stitch a few backstitches to secure the edges of the buttonhole. Once you’ve secured the edges of the buttonhole, you can tie off the thread and cut it.
Create a Button Shank
Once the buttonhole is stitched, it’s time to create a button shank, or a bridge that will allow buttons to slide through the buttonhole. To do this, you’ll need to use a piece of thread or a small piece of ribbon. Take your thread or ribbon and stitch a few stitches over the buttonhole. Tie off the thread and trim the ends, so the thread is flush with the fabric.
Check the Buttonhole and Make adjustments
The final step in creating a buttonhole is to check the buttonhole and make any necessary adjustments. Check the stitch length and make sure it is even throughout the buttonhole. Make sure the edge is straight and the top of the buttonhole is open and wide enough for the button to fit through easily. If necessary, you can add a few extra stitches to make the buttonhole bigger.
Sew the Button and Attach It
Once you’ve checked the buttonhole and made any necessary adjustments, you can finally sew the button and attach it. To do this, you’ll need to fit the button into the buttonhole and thread the needle and thread through the holes in the button. Secure the button by stitching a few stitches on each side of the button and tie off the thread when finished.
Embellish the Buttonhole
The last step is to embellish the buttonhole. This is a great way to take your buttonhole stitch to the next level and add some personality to your project. You can use a variety of different threads, ribbons or beads to create detailed and unique buttonhole stitches.
Tips and Tricks
Creating a buttonhole stitch on a sewing machine can be tricky. Here are a few tips and tricks you can use to ensure a flawless buttonhole stitch:
- Always use a sharp needle when stitching buttonholes. A sharp needle will help the thread to penetrate the fabric more easily.
- Using a piece of waxed thread can help reduce fraying and ensure that the buttonhole stitch is secure.
- Using an invisible thread will give you a cleaner finish as the thread will be less visible on the fabric.
- When positioning the buttonhole, make sure it is not too close to a seam or hem as this will make it difficult to stitch.
- Always use a pin to mark the positions of the buttonholes to ensure they are placed correctly.
- When stitching the buttonhole, be sure to move the fabric slowly and evenly to ensure an even and neat stitch.
Types of Buttonholes
There are a variety of different types of buttonholes that you can create with a sewing machine. Each type of buttonhole has its own unique look and is suited for a specific purpose. The most common types of buttonholes are:
- Single-step buttonhole: This type of buttonhole is usually used for clothing items as it is simple but effective.
- Four-step buttonhole: This is a more detailed type of buttonhole that features two rows of stitches on each side. It is usually used on coats and heavier fabrics.
- Keyhole buttonhole: This type of buttonhole features a small hole in the center surrounded by a row of stitches. It is usually used on blouses, jackets and sweaters.
- Reinforced buttonhole: This type of buttonhole is very strong and can withstand a lot of wear and tear. It is usually used for items that will be frequently used, such as jeans.
Preparation and Safety
Before starting a sewing project, it’s important to make sure that you have all the necessary tools and supplies. Be sure to have the right type of thread, needles, fabric and tools for the specific project. Also, be sure to read and understand the instructions of your sewing machine and always be aware of the safety measures to avoid any accidents.
Advantages of Using a Sewing Machine
Using a sewing machine offers a ton of advantages. It allows you to sew faster and with more precision than hand sewing. It is also great if you are just starting out as sewing machines can show you where to stitch and how to manipulate the fabric. Sewing machines are also great for large projects as they can save a lot of time and effort.
Upkeep and Maintenance
The key to getting the best results from your sewing machine is to keep it well maintained. Be sure to regularly clean your machine and change the needles when necessary. Also, make sure to lubricate the machine with the proper lubricating oil to avoid any damage to the internal components of the machine.


