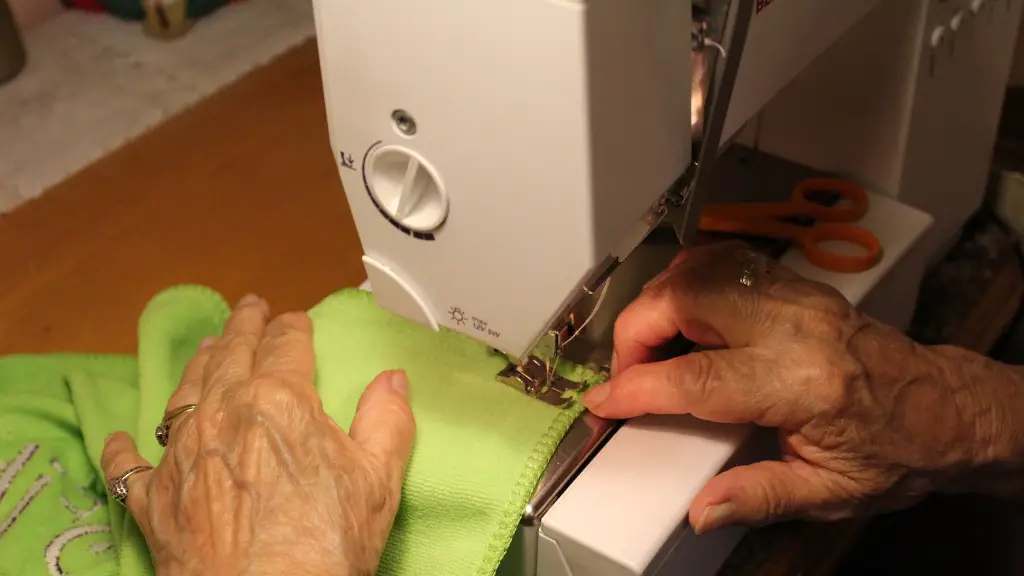
Elastic smocking is a great technique to create romantic, ruffled and gathered effects on fabrics. These techniques can give garments a very vintage look and can be a great way to customize the garments you make. Elastic smocking is usually done by hand but, with a few tips, you can also do elastic smocking on a sewing machine. Here’s what you need to know:
When using a sewing machine for elastic smocking, you’ll first need to choose a fabric that is best suited for elastic smocking. You should avoid fabrics that are too thick, like velvet or other bulky fabrics, as these will not be able to stretch when the elastics are pulled. Opt for lightweight fabric such as silk, chiffon, organza and linen instead. You should also choose an elasticated thread to use with the sewing machine and make sure that it has enough elasticity for the smocking.
Once you’ve chosen the fabric and thread, you’ll then want to create the markings for the smocking. This can be done by drawing the design on the fabric with a fabric marker or chalk. You should draw lines where the gathers will be, being sure to leave enough space between them, and then making a cross-hatch pattern in between the lines. Once the design is marked on the fabric, you are ready to begin the elastic smocking.
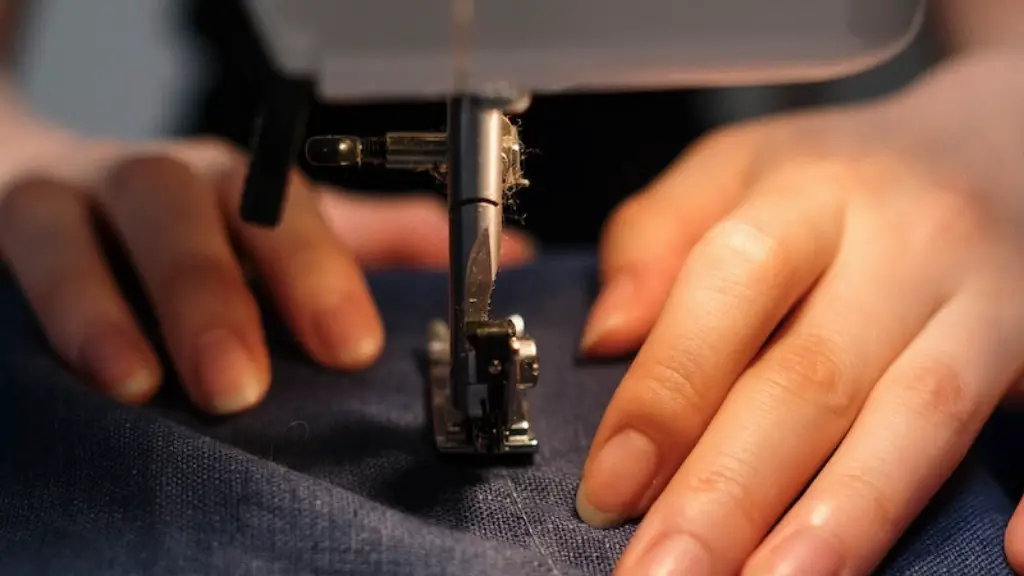
To do the elastic smocking, you’ll need to set your sewing machine to a zig-zag stitch, with a wide stitch length. Then, begin stitching along the marking, keeping the elastics taut as you go and being sure to back stitch at the beginning and end of each line. Once the entire design has been stitched, you can then carefully pull the elastics to gather the fabric up. When the design is finished, you’ll want to press the fabric to set it in place.
The elastic smocking technique is a great way to add texture and interest to any garment. Not only is it easy to do with a sewing machine, but the effect you can achieve is so stunning. With the right supplies and a bit of patience, you’ll be able to create beautiful pieces of clothing with elastic smocking.
Thread Tension for Elastic Smocking
The thread tension on your sewing machine is incredibly important when elastic smocking. If the tension is too tight, it won’t be able to stretch enough and the fabric won’t be able to gather properly. If the tension is too loose, the thread won’t be strong enough to hold the smocking in place. You should always test the thread tension before you start smocking. To do this, try stitching a line of smocking on a scrap of fabric and then pull the thread to test the elasticity of the thread.
When setting your thread tension, change it until the thread is able to pull and make the fabric gather nicely, but not so much that it snaps or breaks. Once you’ve adjusted the thread tension, be sure to test stitch another line of smocking before you start on your project so that you can check that the thread tension is right.
It is also important to use an elasticated thread for elastic smocking, as this type of thread allows the fabric to stretch when it is gathered. Elasticated threads can be a bit more difficult to find, but they are worth the effort as they will give you the best results when smocking with a sewing machine.
Tension Discs for Elastic Smocking
One helpful tool when elastic smocking is a pair of tension discs. These discs are designed to help control the tension of the thread when smocking, allowing you to adjust it more precisely. The discs attach to the thread and help to evenly distribute the tension of the thread as it is being pulled. This helps to ensure that the gathers are even and consistent.
Tension discs come in different sizes, so you’ll need to choose the size that best fits your project. Once the tension discs are attached to the thread, you can then begin smocking. As you stitch, the discs will help to maintain the tension, ensuring that the fabric gathers evenly and that the smocking is even and neat.
Finishing Elastic Smocking
Once the elastic smocking is finished, you can then make adjustments to the design if necessary. You can adjust the gathers by gently tugging on the elastics, making sure that the gathers are even and that the design looks balanced. Once the design is satisfactory, you can then press the fabric to help set the design in place.
To help the elastic smocking last longer, you can hand stitch the edges of the smocking to the fabric. This will help secure the smocking in place and will prevent it from coming undone. Another option is to stitch a second line of stitching across the top of the smocking to further secure it in place.
Elastic Smocking Tips
The key to successful elastic smocking is patience, practice and using the right supplies. Take your time when marking and stitching the design, as this will ensure that the smocking looks even and neat. Choose a lightweight fabric that is suitable for elastic smocking, and use an elasticated thread for the best results.
If you are new to elastic smocking, be sure to practice before embarking on your project. Practice stitching the smocking on a piece of scrap fabric and draw lines on the fabric to get used to the smocking technique. With a bit of practice, and a few tips, you’ll be able to do beautiful elastic smocking on a sewing machine.
Embellishing Elastic Smocking
Once the elastic smocking is completed, you can then embellish it to add extra texture and interest. Embellishments such as beads, sequins and even bows can be added to the smocking to give it an extra special touch. To attach the embellishments, you should use a thread that is strong enough to hold the embellishments in place.
When adding embellishments, you should always make sure that the fabric is secure so that the embellishments don’t pull the fabric too much. You should also be sure to add the embellishments in places where the fabric is secure and where the smocking will not be distorted or pulled out of shape.
Embellishing elastic smocking can be a fun and creative process. From simple beads to intricate hand stitching, you can add whatever you feel best suits the project. With a bit of creativity and practice, you can easily create beautiful garments with elastic smocking and embellishments.
Alternative Ways to Use Elastic Smocking
While elastic smocking is usually used for clothing, there are other alternative ways to use the technique. You can use elastic smocking to add a romantic touch to accessories such as headbands and purses, or to create decorative pieces such as wall hangings and curtains.
With the right supplies, the right fabric and some practice, you can create a range of different projects using elastic smocking. You can even use elastic smocking in unexpected ways, such as creating jewelry or even making origami shapes with smocked fabric.
Elastic smocking can be a great way to add texture and interest to any project. By experimenting and playing around with different fabrics, threads and embellishments you can easily create unique and beautiful pieces.
