Tools Needed for a Successful Pintuck
Making pintucks on a sewing machine is an easy and rewarding task. Creating pintucks gives you the opportunity to add texture, dimension, and an interesting twist to any project. In order to make a pintuck on a sewing machine, the following tools are necessary: sewing machine, the pintuck’s coordinating thread, the fabric for the pintuck, a clear ruler, and a disappearing ink pen.
Types of Pintucks
A single pintuck is a single line of stitching and usually runs parallel with a fold or a seam. A multiple pintuck is a double or triple line of stitching and is often used to fill a particular area of the fabric instead of running straight down it. Decorative pintucks are two lines of stitching that crisscross each other and are used in different Gathers to add a decorative flair to a specific part of the garment.
Marking Out the Pintuck
In order to get an evenly spaced and accurate pintuck, it is important to mark out the pintuck with a ruler and a disappearing ink pen. Measure out from the edge of the fabric where the pintuck will be placed, then use the ruler to draw the lines for the pintuck. Take care to mark out the same length for each line. Once the lines have been marked, it is important to tie a knot in the end of the pintuck’s coordinating thread.
Setting Up the Sewing Machine
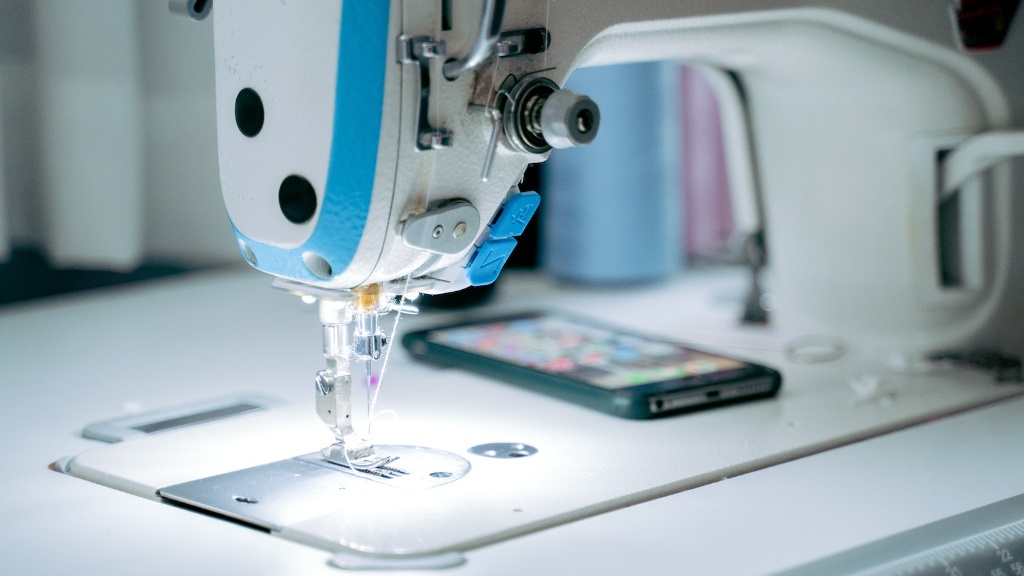
To create the pintuck, the width of the stitch must be changed. This differs slightly depending on the sewing machine’s make and model, but typically the width of the stitch should be set between 4-5mm. It is important to set the stitch length to a very small stitch, so the fabric does not unravel. Once the settings have been adjusted, the fabric can be placed under the presser foot and the pintuck thread can be run through the sewing machine.
Sewing the Pintuck
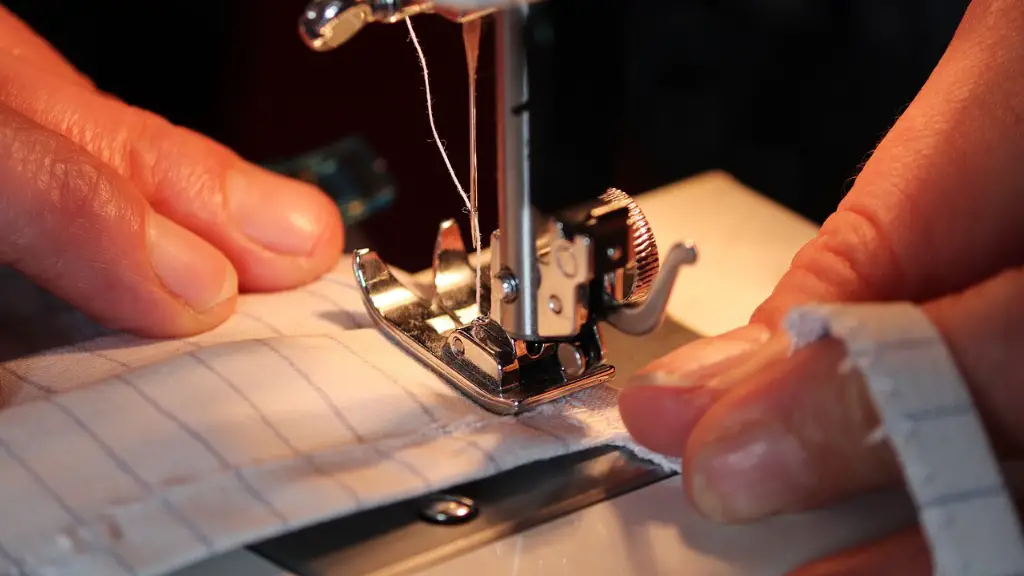
When sewing the pintuck, the thread should be placed directly at the edge of the line and the hands should be moved in slow and steady movements while guiding the fabric through the sewing machine. To ensure an even and professional-looking pintuck, it is important to keep the thread and the fabric under tension at all times. Once the pintuck is complete, the excess thread can be cut away and the fabric can be pressed to flatten out the pintuck.
Finishing the Pintuck
Once the pintuck is finished, the fabric can be sewn into whatever project it is intended for. For example, if the pintuck is used to add a decorative flair to a dress, then two parallel rows of the pintucks can be sewn to the upper skirt part of the dress and then pleated with gathers for a unique look. Alternately, the pintuck can be used to add a unique trim to a pillowcase or a tartan skirt. Either way, creating a pintuck adds a special touch to any sewing project.
Adding Embellishments
After the pintuck has been finished, it can then be embellished with buttons, beads, sequins, ribbon, or other types of trimmings for a unique look. The embellishments should be added in a way that compliments the design of the pintuck, and care should be taken to ensure that the embellishments are secure and properly sewn down.
Cleaning Up After
Once the pintuck is finished and the embellishments are securely in place, the loose threads can be trimmed. Before sewing the pintuck into the garment, it is important to inspect the pintuck and check for any areas that need to be rechecked, re-done, or touched up. Once the pintuck is finished and the adornments are in place, the actual garment or pillowcase can be sewn and the end product is ready for use.
Doing Double Needle Pintucks
Using a double needle to do pintucks is a great way to add interest to a project. Double needle pintucks are essentially two parallel rows of pintucks that are created simultaneously. To do this, a special double needle must be used, and the settings on the machine have to be adjusted for the pintuck. Double needle pintucks can add a unique and beautiful detail to any project. The fabric should be pre-washed and pressed before beginning a double needle pintuck, as this will help to give a clean finished look.
Using the Iron To Create Pintucks
Another way of creating pintucks is to use an iron. To do this, the fabric should be ironed to a high heat setting and then folded into the desired shape. A wooden spoon or a similar item should then be placed inside the folded shape and pressed onto the fabric. This will create a smooth, defined shape in the fabric which will look like a pintuck when finished. The pintuck can then be pressed, starched and sprayed with a fixative to help it keep its shape.
Making a Gathered Pintuck
Making a gathered pintuck can give a garment an extra level of detail. To do this, a single or double row of pintuck should be made with a regular sewing machine and the fabric should be folded in half with the wrong sides together. Both layers of the fabric should be machine stitched together with a gathering stitch. Once the gathering stitch is complete, the fabric should be pulled until it is secure and the fabric should be pressed to remove any extra fabric.
Adding Salt to the Pintuck
Adding salt to a pintuck can help create a more textured look. To do this, a tablespoon of salt should be dissolved in a cup of hot tap water until it is completely dissolved. The pintuck should then be immersed in the salty water for about 10 minutes and then dried. The salt helps to add texture to the pintuck by shrinking the fibers and creating a unique pattern.
Using Zigzag to Make a Pintuck
Using a zigzag stitch to create a pintuck can give a finished garment a more modern look. To do this, the same process of marking out the pintuck should be done as with a regular pintuck. However, instead of using a straight stitch, a zigzag stitch should be used to create the pintuck. The zigzag stitch should be adjusted so that it is slightly looser than a regular pintuck in order to create a softer look.


