Preparation and Troubleshooting
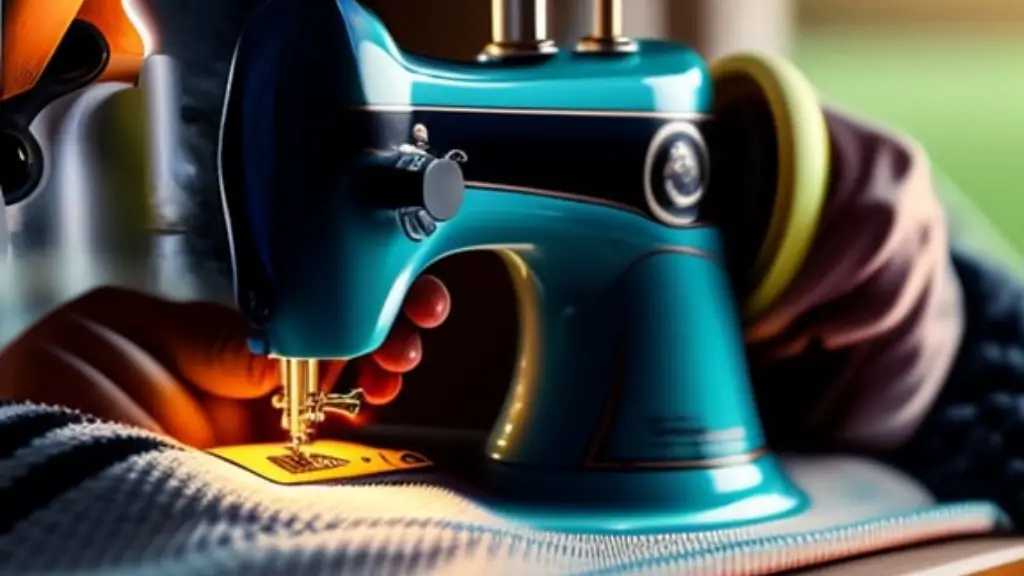
A jamming sewing machine is a frustrating yet common problem for sewers and repair specialists alike. Knowing how to diagnose and fix a jam is an important skill for every sewist. Preparing yourself with the necessary tools, knowledge and practice can ensure that your sewing projects will not be hindered.
The first step to getting a machine in working condition is to get organized. Start by finding the owners manual and gathering the necessary tools and supplies. If a manual can not be located, look for an instructional video online that can show you how to correctly disassemble and mount the machine. Have a screwdriver and pair of precision scissors nearby and on hand.
After gathering the necessary tools, begin to take the machine apart. Unplug the power source and locate the areas of the machine where the machine might be jammed. Internal components may need to be removed in order to locate the jam; this is where precision scissors, durable cloth and tweezers may come in handy. Once the jam is found, begin removing it carefully and gently. Inspect and clean any removable parts.
Despite cleaning and inspecting the jam, it may be difficult to determine the exact cause of the jam. If the jam is caused by mechanical or electrical issues, it may be necessary to have a professional take a look. If there is thread or fabric stuck in the area, be sure to carefully remove it. A professional may be able to advise on the best course of action to fix the machine and keep it running properly.
Testing after Repair
Once the jam has been cleared and all the components are cleaned and reassembled, the machine can be tested. Begin by plugging in the machine and leave it on for a few minutes to warm up before testing. Use a scrap piece of fabric to check for smooth operation. Make sure the fabric feeds smoothly into the feed dogs and through the machine. If the fabric does not move smoothly, turn the hand wheel opposite the direction the machine is set to sew in and manually feed the fabric through the machine.
Check for any unusual noises and make sure that the settings for the stitch size, length and tension are correct. Test the needle position and make sure the machine is sewing a straight stitch. It may be necessary to adjust the settings as needed. When the machine has been tested, unplug the power source and cover the machine.
Regular Maintenance
Regular maintenance of a sewing machine can help avoid jams in the future. Use sewing machine oil to lubricate the interior parts and replace or clean the machine’s dust cover on a regular basis. It is also important to make sure the machine is set up correctly. For example, if the bobbin casing is not inserted properly, or the needle is improperly threaded, then the machine could jam.
Cleaning the machine is important as well. Fresh cotton batting, used to wipe the machine, can help remove dust and lint from the interior. For more delicate cleaning, use a can of compressed air to clean the electrical components and ensure proper air circulation.
Use of the Right Thread
Sewers often overlook the importance of selecting the correct thread for each project. Cotton thread is usually the best option, as it can handle being tightened in the needle and it is more likely to glide through the fabric than synthetics. In addition, cotton threads are more durable and less likely to break. Make sure to use the correct thread for the fabric that is being sewn.
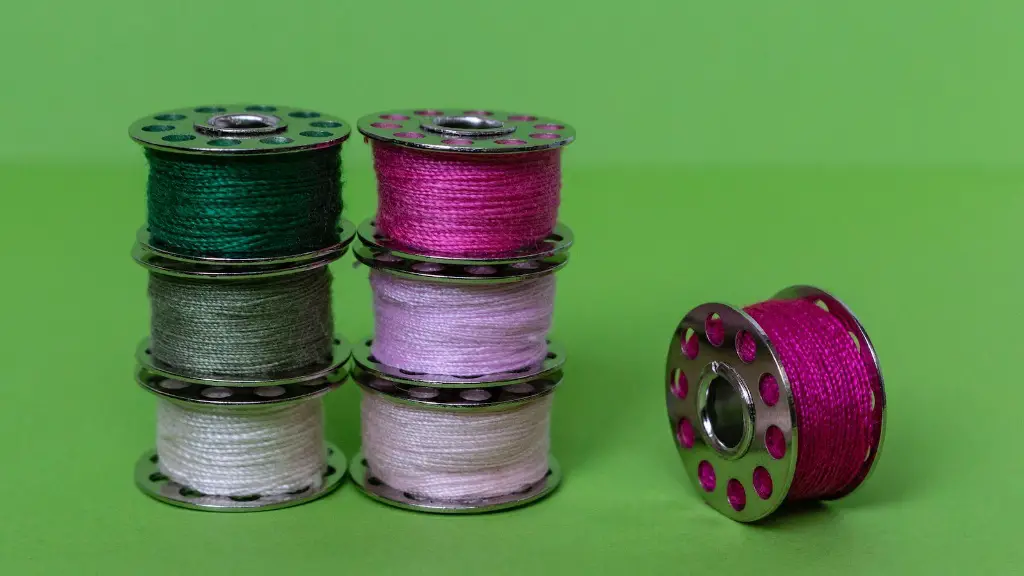
Be sure to check your thread before each project to make sure it is in good condition and compatible with the fabric you are using. Use thread unwinders and bobbins when changing out spools of thread, as they are less likely to tangle and jam the machine than loose spools.
Respecting Machine Capacity
When sewing with a sewing machine, it is important to understand that each machine has a certain capacity. Overloading the machine by either pushing too much fabric through at once or using thick fabric can cause a jam. This is especially true if the user attempts to sew through multiple layers of fabric all at once.
Be sure to position the fabric on the machine so that the bulk of the fabric is away from the needle plate. Areas that are heavily adorned, such as those with pockets, embroidery, or buttons must be cut by hand to avoid overloading the machine.
Using the Appropriate Needle
Using the correct needle for each project is essential for a successful sewing experience. When selecting a needle, think about the thickness of the fabric being used, the threads that are being threaded into the machine, the size of the eye of the needle and the types of stitches being used.
Needles come in different sizes, styles, and points. Selecting the right needle can reduce the chance of the machine getting jammed. Disposable needles are an option as well. Change the needle after six to eight hours of sewing, or every time the machine is serviced.
Preventing Jamming
The best way to avoid a jam is to avoid unnecessary wear and tear on the machine. Have a racecar mechanic come in and properly service and maintain the machine on a regular basis. Investing in quality sewing supplies can also help reduce jams.
It is also important to keep your work area organized and free from lint and dust. Inspect the machine for loose threads and lint. Finally, take frequent breaks and focus on quality, not quantity. Take the time to learn the proper techniques for using the machine accurately and efficiently.
Further Tips and Tricks
If the machine begins to jam, turn the power off and unplug the machine. Do not force the machine to operate as this can cause further damage. For more difficult jams, try gently pushing the fabric from the top and the back of the machine. If the machine still does not function properly, call a professional for assistance.
If the problem is still unclear, it may help to try a basic repair. If the machine is still not functioning, take the opportunity to practice some basic stitching techniques. This can help you to become more familiar with the machine and how to use it properly. Practicing with a jamming machine can also help you plan strategies for future projects.
Conclusion
Although a jamming sewing machine is a common issue that all sewing enthusiasts may face, having an understanding of the root cause and taking the necessary steps to diagnose and fix the machine will help avoid future jams. Regular maintenance and attention to detail can help keep the machine running smoothly. With careful preparation and troubleshooting one can ensure successful sewing projects with their sewing machine.


