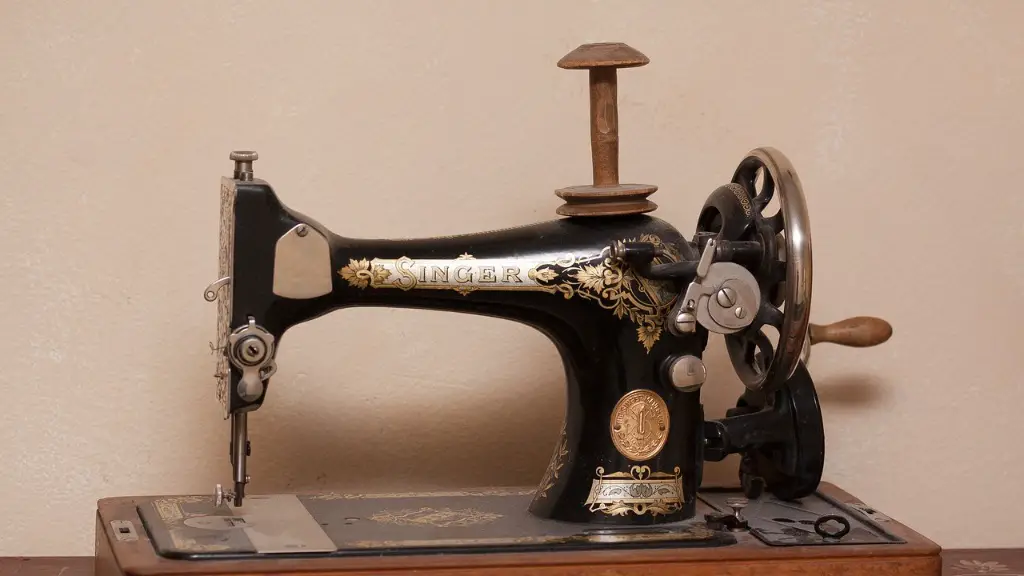
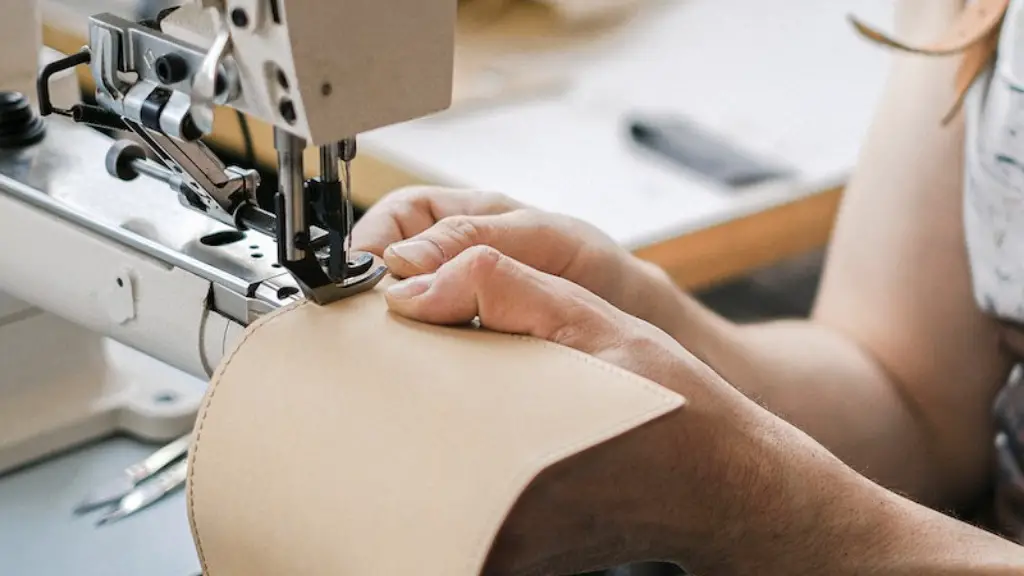
When it comes to a sewing machine, the gears are a critical component for the machine to run properly. Without the proper care, a sewing machine can have problems with erratic movement, poor timing, and broken thread. To prevent these disasters from occurring, periodic lubrication of the machine’s gears is an absolute must. Luckily, this process is straightforward, given the correct reagents and safe handling practices. Here’s an overview of what you need to know about greasing sewing machine gears.
Be mindful of recommended lubricants
When it comes to lubricants, it is essential to use the one that is recommended by the sewing machine manufacturer. Using a wrong type of grease can lead to adverse effects, such as thread jamming and oil leakage. Even worse, if the wrong lubricant is used, it could lead to permanent damage to the machine and the need for expensive repairs.
To find out the recommended lubricant, look in the sewing machine manual – or consult an expert or distributor if one was not provided. Each type of sewing machine will have different requirements for grease and oil, so ask for specifics if that is not outlined in the manual. Once you know what type of lubricant you need, it’s time to start cleaning and lubricating.
Clean and prepare
Before you begin the lubrication process, it is essential to first clean the machine gear. This is to remove any dirt, oil, grease, thread, lint and other debris that might be lurking inside the mechanism. Start by turning off the machine completely, unplugging the power cord, and then using a small soft brush to remove any debris.
Using a soft, lint-free cloth, wipe off the gear and its interior nooks-and-crannies with solvent such as an isopropyl alcohol. This will help to break down and liquify any residue prior to lubricating. Be sure to wear gloves when handling solvents and exercise caution by always working in a well-ventilated area.
Apply the grease
Once the gears have been sufficiently cleaned, you can start the lubrication process. Always use the lubricant recommended by the manufacturer and apply it correctly. When applying the grease, use a small amount and use a clean, soft brush the evenly spread it around. This will ensure the lubricant reaches all of the gears’ internal surfaces.
Avoid over-lubricating the gear, as these can gunk up the mechanism, which will reduce the machine’s efficiency and may even lead to undesired repairs. Also, be sure to clean any excess grease and residue – an old toothbrush can come in handy for this job. If you are not sure if you have applied too much grease, always err on the side of caution and wipe off any excess lubricant.
Lubricate regularly
Now that you have successfully greased your sewing machine gears, you must remember that this is not a one-time process. As time passes, debris and oil can build up again and reduce the performance of the machine. To prevent this from happening, make sure to lubricate the machine’s gears on a regular basis – typically once a year.
By regularly greasing the machine’s gears and keeping it clean, you can ensure that your sewing machine will run as smoothly as possible and last a long time. Sewing is so much easier with a well-running sewing machine, so take the time to keep up with any necessary maintenance.
Maintain balance
It is of utmost importance to retain the balance when lubricating the gears. To maintain balance, simply ‘walk’ the lubricant over the entire surface of the gear. If the lubricant is not balanced, then friction and heat can build up, which will lead to undue stress, potentially poor stitching, and eventually machine failure.
Knowledge is power
Knowledge is key to ensure a smooth sewing experience. When it comes to greasing sewing machine gears, it is essential to find out the right lubricant, be mindful of the recommended lubricants, clean and prepare the gears in advance, apply the grease correctly, and maintain balance. Additionally, remember to lubricate the gears on a regular basis to help ensure that your sewing machine will remain in top condition for many years to come.
Good habits
Creating good habits is the most vital aspect to help keep your machine functioning at peak performance. It always helps to check your machine regularly and make sure all the screws are tightened to their correct levels, that the correct tension is set, and that there is no debris build-up anywhere in the machine.
Also, it is recommended to use special sprays that prevent the build-up of dust and other debris, as well as lubricating sprays that help keep the lubricant from collecting debris. Lastly, don’t forget to empty the bobbin case and check the filament for snags weekly or after every few uses.
Be careful
One of the most important things to remember while lubricating the sewing machine gears is to be careful. Follow all safety guidelines provided by the manufacturer and make sure that the area is well-ventilated. Gloves should always be worn when handling solvents and remember to always use the recommended lubricant.
Additionally, when applying the grease, it is important to use a gentle, controlled motion – to prevent over-lubricating and to make sure the lubricant is evenly spread over the gears. And, of course, don’t forget to clean out the excess grease and residue – an old toothbrush can come in handy for this job.
Take it slow
A great tip when it comes to lubrication is to take it slow. Haste can lead to undesired results and can even cause damages to your machine. So, focus on being precise and never rush – mistakes can cost you time and money in the long run.
Remember to be gentle when machinery is being disassembled and reassembled. Handles, gear wheels, and other internal mechanisms should be treated with care, and screws should be tightened just enough to hold the parts in place – never over do it or force it.]
Use the correct tools
When it comes to greasing sewing machine gears, tools such as a ratchet set can be of great help. Ratchet sets usually include a variety of different sized screwdrivers and a socket to attach to the ratchet rod. This helps make the reassembly process easier and faster. Also, a few sizes of tweezers and small scissors can come in handy for removing any debris lodged inside the machine.
It is also helpful to have a flashlight, magnifying glass, and a set of cleaning brushes handy when loosening and re-tightening the gear mechanisms.
Check for parts wear
Before re-assembling the internal mechanisms, inspect all parts for wear and tear. Oftentimes, worn out parts and pieces in a sewing machine gear mechanism can be the cause of the machine not functioning properly. These must be replaced before proceeding with the reassembly process.
Generally, essential parts such as a clutch mechanism, dog feeder, worms and gear wheels do not have to be replaced frequently. However, significantly worn-out parts must replaced – such as the feed dog and needle bar – for the machine to perform at peak levels.
Keep your machine running
Properly greasing and taking good care of the sewing machine gears are essential for keeping your machine running smoothly. When done correctly, periodic lubrication of the machine’s gears can help you avoid the disasters that could occur from improper maintenance.
Always refer to the user manual for specific instructions, use the correct lubricants, clean the equipment, apply the grease correctly, and maintain balance when lubricating the gears. Also, remember to check regular and use the right tools to keep your machine running properly.
